EN
3.
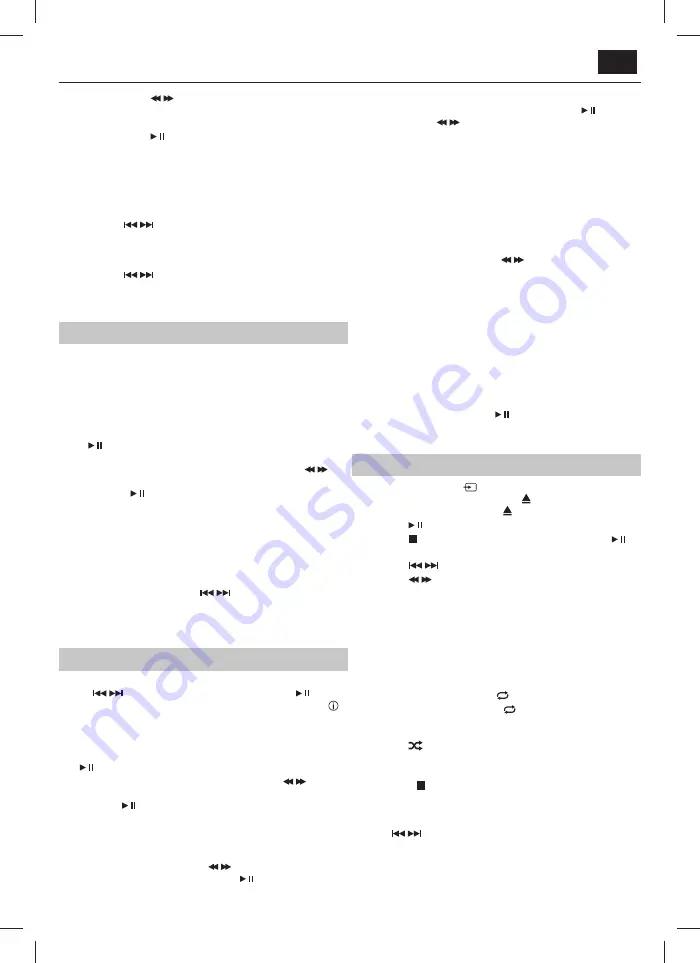
Press and hold the
/
buttons on remote control
to scan through the frequency range quickly. The
scan will stop once it has found a station.
4.
Press and hold the
button to scan through the frequency
range quickly; it will store any stations found automatically.
5. SAVE a station:
You can store up to
30
FM stations in memory.
– Press the
FREQ
button and then, using the number
buttons enter the frequency that you want to store.
– Press the
SAVE
button, it will show "P01" on the display.
– Press the
/
button to select the station preset
number you want to save the frequency under.
– Press the
SAVE
button again to confi rm.
6.
Recall the preset stations:
– Press the
/
button to recall your stored stations.
Note:
–
RDS is aviable on stations that support this service
DAB+ Operations
1.
Press the
SOURCE
button on the unit or the
DAB/FM
button
on the remote control to switch to the DAB+ mode.
2.
The fi rst time the unit enters DAB mode it will
start scanning for stations automatically.
3. Station
tuning
- see the Menu Operation section of this User
Manual for guidance on how to navigate the MENU.
–
Full scan
– In MENU select
<Full scan>
, and press
button to enable full scanning. Alternatively,
press and hold >|| when in DAB mode.
–
Manual tune
- In MENU select
<Manual tune>
and press
/
button to select station from 5A:174.928MHz to 13F:239.200MHz.
Then press
button to activate the selected station.
4. Store
Stations:
It is possible to store up to 30 of your favorite stations. This
will enable you to access your favorites quickly & easily.
– To store a preset, you must fi rst be listening
to the station you would like to save.
– Press and hold one of the number buttons
0-9
to store the station under that number.
– Alternatively, press
SAVE
, use
/
to select
the preset number and press
SAVE
again.
– To recall a stored station preset press the
corresponding number on the number keypad.
Menu Operation
Press the
MENU
button to enter the menu settings.
Use the
/
button to select the menu contents. Press the
button
to confi rm the selection or to enter the next setting interface. Press the
button to go back to the previous setting interface. Press the
MENU
button
to exit the menu.
*DAB only
1. Full
scan*
– Select the
<Full scan>
, and press
button to enable full scanning.
2. Manual
tune*
- Select the
<Manual tune>
and press
/
button to select station from 5A:174.928MHz to 13F:239.200MHz.
Then press
button to activate the selected station.
3. DRC (Dynamic range control)*
This function will analyse the audio signal to reduce loud noises
and amplify more quiet ones. This will enable a more clear and
consistent sound delivery, particularly at lower volumes. Enter the
menu and fi nd
<<DRC>>
, use the
/
button to select either
DRC OFF, DRC HIGH or DRC LOW, press the
button to confi rm.
4. Station
order*
Enter the menu and fi nd
<<Station Order>>
, press the
button, then the
/
button to select one of the station ordering
options:
<< Multiplex >>
,
<< Alphanumeric >>
,
<< Active >>
.
NOTE:
Station Name with question mark: ?Station Name (e.g ?BBC RADIO 4)
This implies that station is not available due to poor signal or it is not
broadcasting.
Try repositioning antenna.
5. Pruning stored stations*:
If the unit has performed a scan in a diff erent location, you may fi nd
there are some stored stations that no longer receive a signal. The
prune function will automatically remove stations with no signal from
the stored station list.
Enter the
<<Main menu>>
, press
/
to fi nd and enter
<<Prune station>>
, then select
<<Yes>>
to prune.
6. TA*
(Traffi
c Announcement)
Plays local radio live traffi
c announcements. TA is off by default.
FM only**
7. Scan
setting**
- Strong station only/All stations
8. Audio
setting**
- stereo allowed/Forced mono
9. System
setting
–
Time
- Time set up
–
Language
- language set up
–
Factory Reset
- To reset the unit to the original settings, enter the
factory reset interface, follow the directions to
<Press ENTER to
prune station>
and press the
button. Then the unit will restart.
–
Software upgrade
–
SW version
- Information about the software version of the system.
CD operations
1.
Press the source button
on the unit, or CD button on the remote
control to enter the CD mode. Press the
button to open the disc
drawer, put a CD in, then press the
button again to close.
2.
Press the
button to pause or play the song.
3.
Press the
button on remote control to stop playing, press the
button to re-start.
4.
Press the
/
button to skip to the previous or next song.
5.
Press the
/
button on remote control to fast forward or fast
rewind the playback, press again to resume normal speed.
6.
To directly select a specifi c song press the corresponding number
buttons 0-9 on remote control.
Example:
– If the track number consists of two digits, for example 25, press
button “2“, and then button “5“ to select the 25th track.
– You can just press the number 9 - a single digit works.
7. REPEAT
button:
While in playing mode, press the
button to set repeat mode.
– For CD and CD-R discs, press the
button to repeat playing songs.
– Press once to repeat current song. Press again to repeat all tracks.
– Press a third time to cancel.
8.
Press the
button on the remote control to play the
tracks in a random order. Press again to resume.
9.
You can set the disc to play tracks in a programmed order:
– Press the
button on remote control to stop playing.
– Press the
PROGRAM
button on remote
control. The screen displays:
P01
.
– Use the number buttons on the remote
or
/
to select the song.
– Press the
PROG
button again to confi rm the selection
and the screen will then display
P02
. Repeat the
process for your second selection and so on...
– Press the
PROGRAM
button on the remote control to confi rm.
EN
Summary of Contents for XL-B517D
Page 2: ......


