E-6
EN
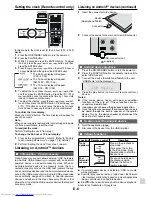
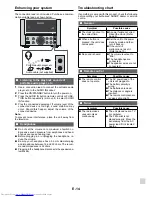
Setting the clock (Remote control only)
In this example, the clock is set for the 24-hour (0:00 - 23:59)
display.
1
Press the ON/STANDBY button to turn the power on.
2
Press the CLOCK button.
3
Within 10 seconds, press the ENTER button. To adjust
the day, press the
or
button and then
press the ENTER button.
4
Press the
or
button to select 24-hour or
12-hour display and then press the ENTER button.
The 24-hour display will appear.
(0:00 - 23:59)
The 12-hour display will appear.
(AM 12:00 - PM 11:59)
The 12-hour display will appear.
(AM 0:00 - PM 11:59)
5
To adjust the hour, press the
or
button
and then press the ENTER button. Press the
or
button once to advance the time by 1 hour. Hold
it down to advance continuously.
6
To adjust the minutes, press the
or
but-
ton and then press the ENTER button. Press the
or
button once to advance the time by 1 minute.
Hold it down to advance the time by 5 minutes interval.
To confirm the time display:
Press the CLOCK button. The time display will appear for
about 5 seconds.
Note:
When power supply is restored after unit is plugged in again
or after a power failure, reset the clock.
To readjust the clock:
Perform “Setting the clock” from step 1.
To change the 24-hour or 12-hour display:
1
Clear all the programmed contents. [Refer to “Factory
reset, clearing all memory” on page 15 for details.]
2
Perform “Setting the clock” from step 1 onward.
Listening on Android™ devices
■
Introduction : Open Accessory
Open Accessory support allows external USB hardware
(an Android USB accessory) to interact with an Android-
powered device in a special accessory mode. When an
Android-powered device is in accessory mode, the con-
nected accessory acts as the USB host (powers the bus
and enumerates devices) and the Android-powered device
acts in the USB accessory role. Android USB accessories
are specifically designed to attach to Android-powered
devices and adhere to the Open Accessory Protocol, that
allows them to detect Android-powered devices that support
accessory mode.
Listening on Android™ devices (continued)
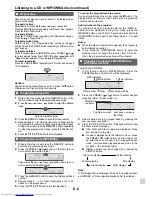
1
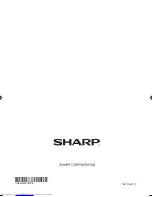
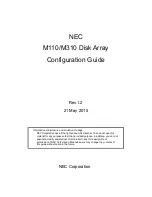
Insert the connector to the device.
Connector
Device
(Smartphone/Tablet)
2
Connect the device to the main unit via USB connector.
USB connector (not
supplied)
■
Android device playback
1
Press the ON/STANDBY button to turn the power on.
2
Press the FUNCTION button repeatedly (main unit) to
select USB function.
3
Connect the device (Smartphone/Tablet) to the unit.
“USB Media” will be displayed.
4
Press the play button (on main unit, remote control or
device).
Notes:
●
If the source device has an extra bass or equalizer
function, set them to off. If these functions are on,
sound may be distorted.
●
Incoming calls will pause the playback/application.
●
Once the calls are answered, the conversation can only
be heard through the built-in speaker of the cellular
device. Turn on the device speaker or disconnect the
device to start conversation.
■
To disconnect the Android device
1
Quit the application (apps).
2
Disconnect the device from the USB terminal.
■
Various functions
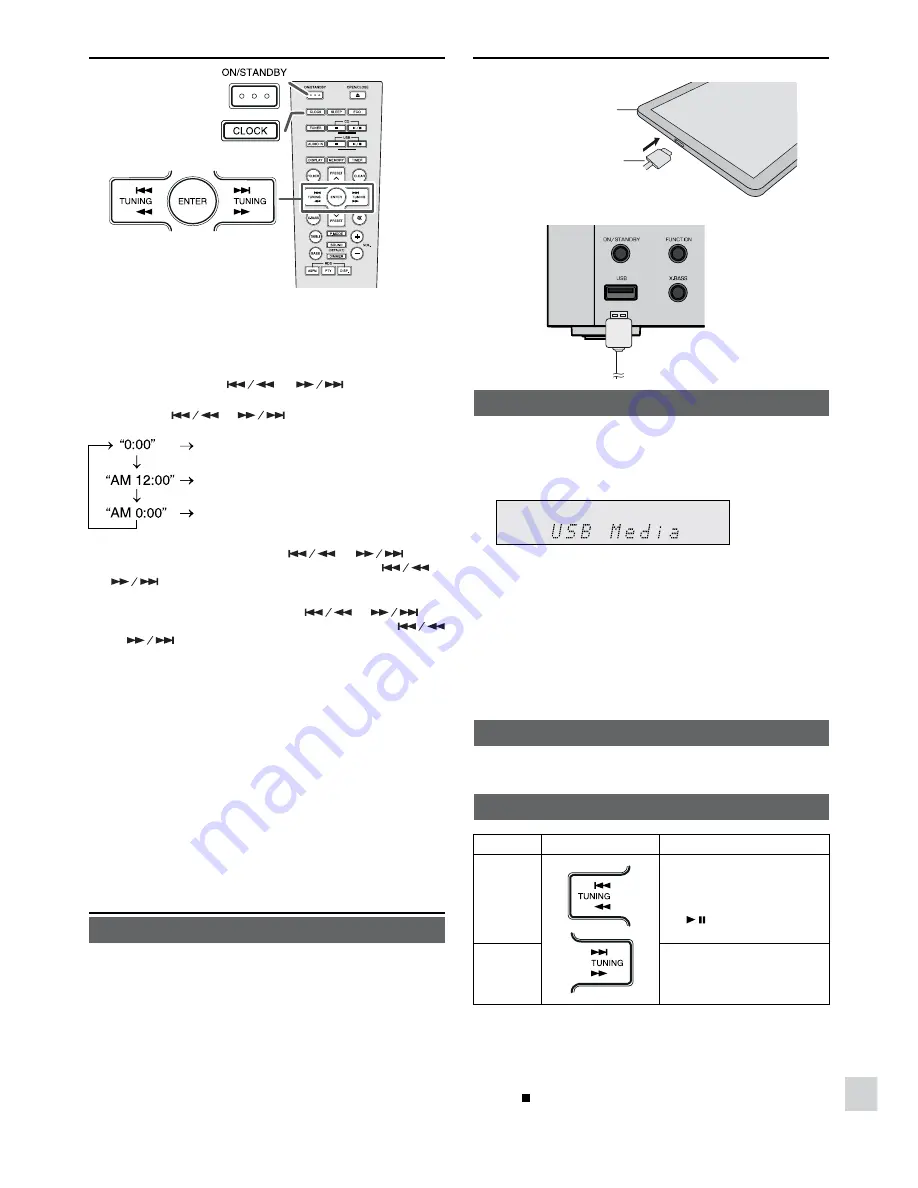
Function Remote control
Operation
Track
up/down
Press in the playback or
stop mode.
If you press the button
in the stop mode, press
the / button to start the
desired track.
Fast
forward/
reverse
Press and hold down in
the playback mode.
Release the button to
resume playback.
Notes:
●
If non-compatible device is detected, “USB no media”
will be displayed.
●
Controls (play / pause / skip up / skip down / fast forward
/ fast reverse) will function based on actual Applications
(Apps) controls used on Android devices.
●
Stop button is invalid during Android device playback.
Android is a trademark of Google Inc.


