Changing the Calendar Display Format
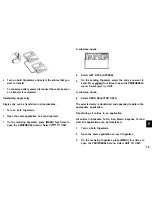
In the Calendar application:
The Organizer lets you change the default Calendar display to
one you find more convenient. There are three aspects to
change the display: setting the Calendar view, setting the
weekly
format, and setting the date format. You can use these
options to set up a way of working that you prefer.
Setting the Calendar view
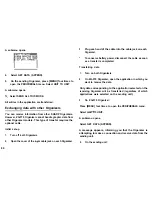
1. Press [MENU] twice to open the PREFERENCES menu.
2. Select WEEKLY FORMAT.
A submenu appears. The current setting is indicated by a tick.
3. Select the desired format.
Then the 1-Month/2-Month Calendar
View
will show the weeks
You can set up the Calendar to show either 1 -Month Calendar
view or P-Month Calendar view each time the Calendar
application is opened. The default setting after initialization is
the 2-Month Calendar view.
in your desired format.
Setting up the date format
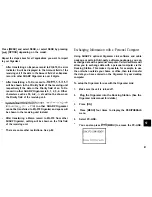
1. Press [MENU] twice to open the PREFERENCES menu.
Select CALENDAR SETUP.
A submenu appears. The current setting is indicated by a tick.
2. Select the desired calendar view.
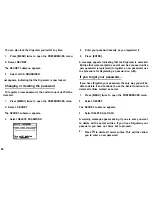
Almost all Organizer applications require a date to be entered
at some point. The default format for date entry is “MM/DD/
YYYY”, where MM is the two-digit month, DD is the two-digit
day of the month and YYYY is the four-digit year. The date will
be displayed as “MMM DD, YYYY”, where MMM is the three-
character abbreviation for the month name. However, you can
choose instead to have the date entered in the format “DD.
Setting the weekly format
MM. YYYY”, which will then be displayed in the format “DD
MMMYYYY”.
You can set the 1-Month/2-Month view in the Calendar
application to show the weeks in either a Sunday-to Saturday
For example, in MM/DD/YYYY format, the date January lst,
format (this is the default) or a Monday-to Sunday format.
1999 will be entered as “01011999” and displayed as
1,
1999”. However in DD. MM. YYYY format, the same date will
be entered as “01011999” and displayed as “1 JAN 1999”.
87

