background image

6

7

Getting Started
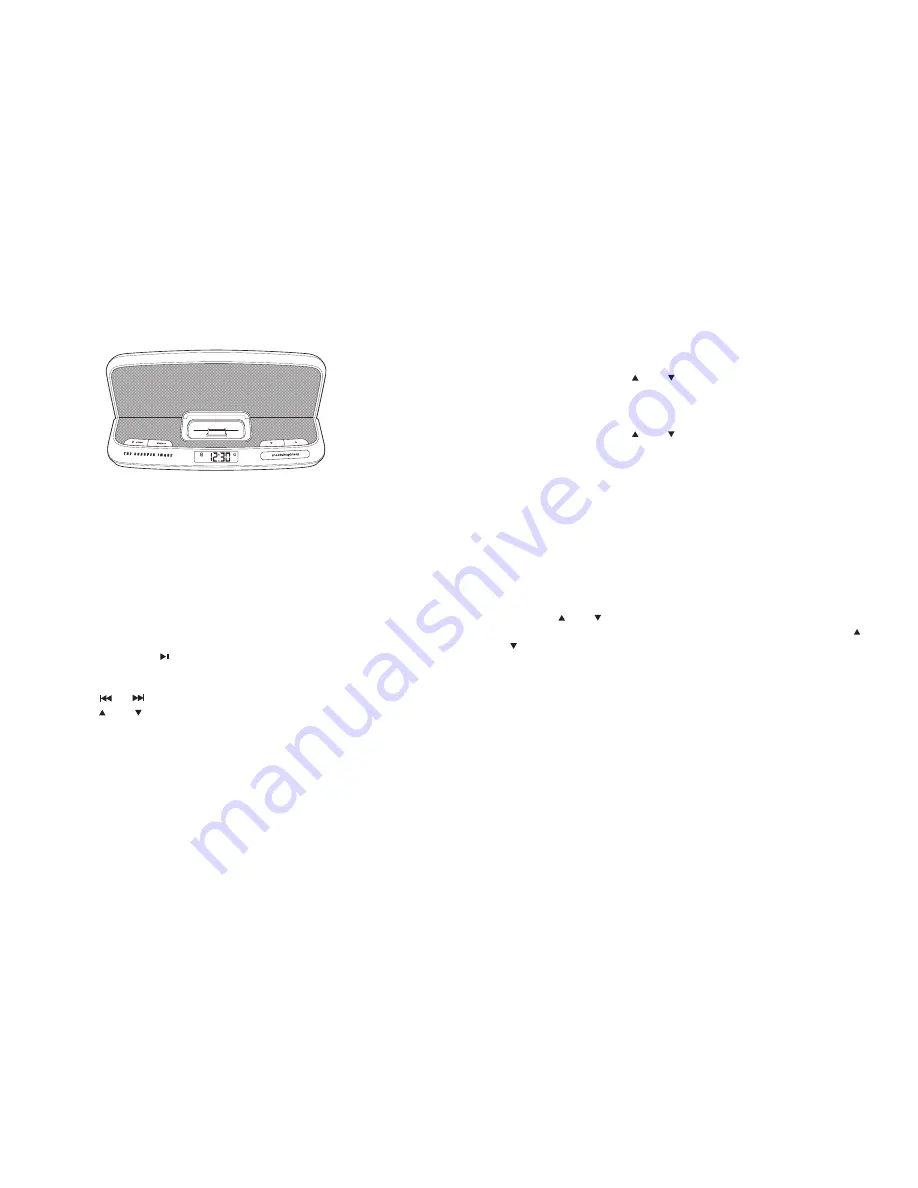
Listening to your iPhone/iPod:

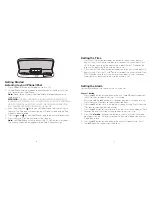
1.  Press the power button on the top of unit to turn ON.

2.  Fit iPod/iPhone carefully into dock, docking connector should easily match 

with socket on your iPod/iPhone. 


Note:

 Do not force. Carefully slide iPod/iPhone over dock connector to 

avoid damage.


WARNING:

 DOCKING CONNECTOR IS DESIGNED FOR APPLE iPOD/

iPHONE MUSIC PLAYERS ONLY. ATTEMPTING TO ATTACH OR FORCE ANY 
NON-iPOD/iPHONE MUSIC PLAYER INTO THE DOCKING CONNECTOR 
WILL DAMAGE AND EVEN DESTROY YOUR DEVICE.

3.  Press the play/pause (

) button on your iPod/iPhone to play, press again 

to pause. The iPod icon will appear on the LCD display to indicate the iPod 

mode has been selected.

4.  Press the 

 or 

 on your iPod/iPhone to go to the next or previous track.

5.  Press the   and   on the unit to adjust the volume.

Note:

 Your iPod/iPhone will charge even if the POWER button is turned off. 

The unit only needs to be plugged in for the iPod/iPhone to charge.

Setting the Time

1.  Press the HOUR button located on the bottom of the unit, hour digits will 

begin flashing. Press the   and   buttons to select the current hour. Press 

HOUR button again to exit the hour setting mode OR after 10 seconds the 

display will stop flashing to indicate the hour is set.

2.  Press the MINUTE button located on the bottom of the unit, minute digits will 

begin flashing. Press the   and   buttons to select the current minute. Press 

MINUTE button again to exit the minute setting mode OR after 10 seconds 

the display will stop flashing to indicate the minute is set.

Setting the Alarm 

For your convenience, two separate alarms may be set:

Alarm 1 button

1.  Press the 

al 1

 button on the bottom of the unit. The 

al 1

 icon will appear on 

the LCD display to indicate the alarm1 is activated.

2.  Press and hold the 

al 1

 button for 3 seconds, hour digits will begin flashing. 

Press the   and   buttons to select the desired hour.

3.  Press the 

al 1

 button again, minute digits will begin flashing. Press the   and 

 buttons to select your desired minutes.

4.  Press the 

al 1

 button for the third time to exit the alarm setting mode or after 5 

seconds the display will stop flashing to indicate the alarm is set.

5.  Press the “

al mode

” button on the bottom of the unit until the wake mode 

icon appears on the LCD display to indicate the wake mode of your choice: 

iPod or beep tone. 

6.  Press the 

al 1

 button on the bottom of the unit again to deactivate the al 1. 

The 

al 1

 icon will disappear from the display.

EC-P115_Folding Travel Dock_DetaPage 1   7/7/09   10:26:45 PM

Summary of Contents for EC-P115

Page 1: ...s comprado y operado en el país en el cual se compró el producto Un producto que requiera modificaciones o adaptación para habilitar su funcionamiento en cualquier país que no sea aquel para el que fue diseñado fabricado aprobado y o autorizado o la reparación de productos dañados por estas modificaciones no está cubierto bajo esta garantía LA GARANTÍA AQUÍ ESTABLECIDA SERÁ LA ÚNICA Y EXCLUSIVA GA...

Page 2: ...HOCK FIRE OR INJURY TO PERSONS An appliance should never be left unattended when plugged in Unplug from outlet when not in use and before putting on or taking off parts or attachments 2 3 Close supervision is necessary when this appliance is used by on or near children invalids or disabled persons Use this appliance only for its intended use as described in this manual Do not use attachments not r...

Page 3: ...tional 4 four AA batteries not included Battery Precautions Use only the size and type of batteries specified When installing batteries observe proper polarities Incorrect installation of battery may cause damage to the unit Do not mix different types of batteries together e g alkaline with carbon zinc or old batteries with new ones If the unit is not going to be used for a long period of time rem...

Page 4: ...tting mode OR after 10 seconds the display will stop flashing to indicate the hour is set 2 Press the MINUTE button located on the bottom of the unit minute digits will begin flashing Press the and buttons to select the current minute Press MINUTE button again to exit the minute setting mode OR after 10 seconds the display will stop flashing to indicate the minute is set Setting the Alarm For your...

Page 5: ...sity of the LCD display from hi low off Snooze Operation Press the snooze nap sleep bar on top of the unit while the alarm is sounding The alarm will be silenced and return 9 minutes later Snooze can be pressed several times during the 1 hour alarm cycle You may use this feature until you turn the alarm OFF Nap Operation The Nap function will wake you after a nap of 15 30 45 or 60 minutes without ...

Page 6: ...the limits for a Class B digital device pursuant to Part 15 of the FCC Rules These limits are designed to provide reasonable protection against harmful interference in a residential installation This equipment generates uses and can radiate radio frequency energy and if not installed and used in accordance with the instructions may cause harmful interference to radio communications However there i...

Page 7: ...therwise awaiting parts or repair or any other conditions whatsoever that are beyond the control of SI PRODUCTS This warranty is effective only if the product is purchased and operated in the country in which the product is purchased A product that requires modifications or adoption to enable it to operate in any other country than the country for which it was designed manufactured approved and or...

Page 8: ... nunca debe ser dejado sin atención cuando está enchufado Desenchúfelo del tomacorriente cuando no lo esté usando y antes de colocar o quitar piezas o accesorios Es necesaria una supervisión estricta cuando lo usan niños o personas inválidas o incapacitadas o cuando está próximo a ellos Utilice este artefacto sólo para el uso para el cual está diseñado y como se describe en este manual No use acce...

Page 9: ... A incluido u opcionalmente 4 cuatro pilas AA no incluidas Precauciones sobre las pilas Use únicamente el tamaño y tipo de pilas especificado Cuando coloque las pilas tenga en cuenta las polaridades adecuadas La instalación incorrecta de las pilas puede causar daños a la unidad No mezcle diferentes tipos de pilas entre sí por ej pilas alcalinas con pilas de carbón cinc o pilas usadas con pilas nue...

Page 10: ... de HORA para salir del modo de configuración de hora O luego de 10 segundos la pantalla dejará de parpadear para indicar que la hora está configurada 2 Presione el botón de MINUTOS ubicado en la parte inferior de la unidad los dígitos de los minutos comenzarán a parpadear Presione los botones y para seleccionar los minutos actuales Presione nuevamente el botón de MINUTOS para salir del modo de co...

Page 11: ...ff apagada Uso de la alarma de repetición Presione la barra snooze nap sleep repetición siesta dormir en la parte superior de la unidad mientras suena la alarma La alarma será silenciada y volverá a sonar 9 minutos después Puede presionarse el botón de repetición varias veces durante el ciclo de alarma de una hora Puede continuar utilizando esta característica hasta APAGAR la alarma Uso de función...

Page 12: ...o y probado y se ha comprobado que cumple con los límites de los dispositivos digitales de la Clase B según la Sección 15 de las Normas FCC Estos límites están diseñados para proporcionar una protección razonable contra interferencias dañinas en una instalación residencial Este equipo genera usa y puede irradiar energía de radiofrecuencia y si no se instala y usa según las recomendaciones puede ca...

Reviews: