- 2 -
IMPORTANT: BEFORE USING YOUR PORTABLE ICE MAKER FOR THE FIRST TIME
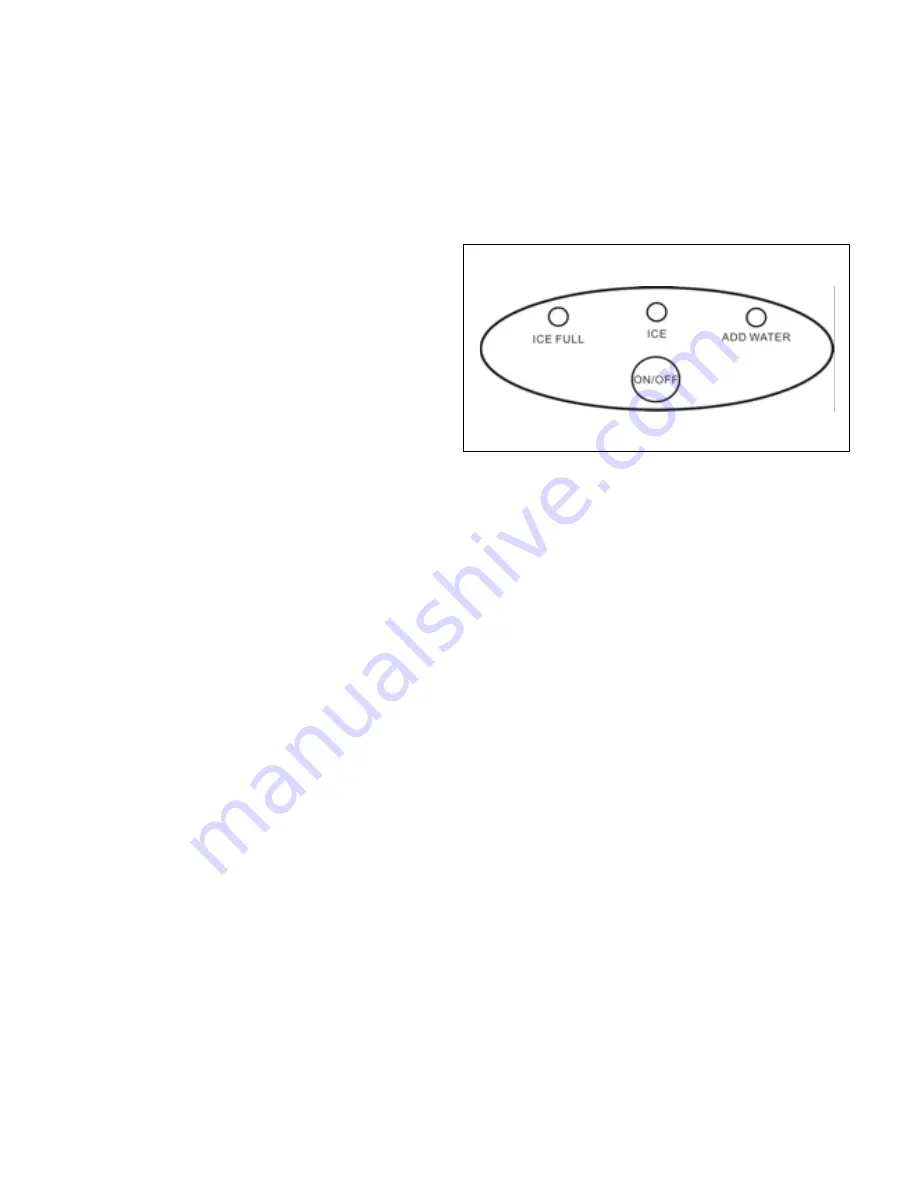
CONTROL PANEL OPERATION
OPERATING INSTRUCTIONS
1. Do not turn this device upside down, as this may damage the compressor.
2. Place device on a flat level surface. Allow 6” of space on the top, back and sides for
proper ventilation.
3. Let the device sit for at least 2 hours, with the front lid open.
ON/OFF:
Turns unit ON or OFF.
ICE FULL:
This light will come on with a
“BEEP-BEEP” noise when the ice has reached
the maximum capacity of the storage cabinet.
Remove ice with the scoop and press ON/OFF
to resume ice making.
ICE:
This light will turn solid green when the ice
is being made.
ADD WATER:
This light will come on with a long “BEEP” noise when the reservoir is empty. If you wish
to make more ice, turn the device off, add water and turn it back on.
1. Open the lid and fill the reservoir with water. Use clean, potable water only.
(NOTE: Make sure the
water level in the water reservoir is not over the ice collecting tray.)
2. Plug the device into an AC outlet.
3. Press the ON/OFF button to turn the unit on. The ice maker begins to work and the the ICE button
will light up constant green.
4. The first batch of ice will be ready in approximately 10 minutes.
(NOTE: For the first three cycles,
the ice may be small and irregular in size. This is normal. Due to fast freezing, ice cubes may
appear “Cloudy.” This is air trapped in the water and will not affect quality or taste of ice.)
IMPORTANT: If there is water in the reservoir but no ice is being made, there may be air in the line.
Remove the rubber stopper to let a few drops of water out. The rubber stopper is accessible from
inside the reservoir.
5. When the ice tray is full, you will hear a “BEEP-BEEP” noise, and the ICE FULL light will illuminate.
Please remove some ice with the scoop. Press ON/OFF to resume making ice. Do not allow the ice
tray to overfill.
6. Although this unit makes ice, it is NOT a freezer. Ice that is left in this device will melt and then be
re-frozen. You must remove the ice as it is made, and store it in a freezer or cooler.


