18
Operating the SR-120
USING THE OSD (On Screen Display)
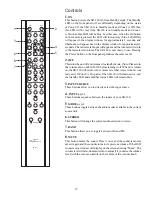
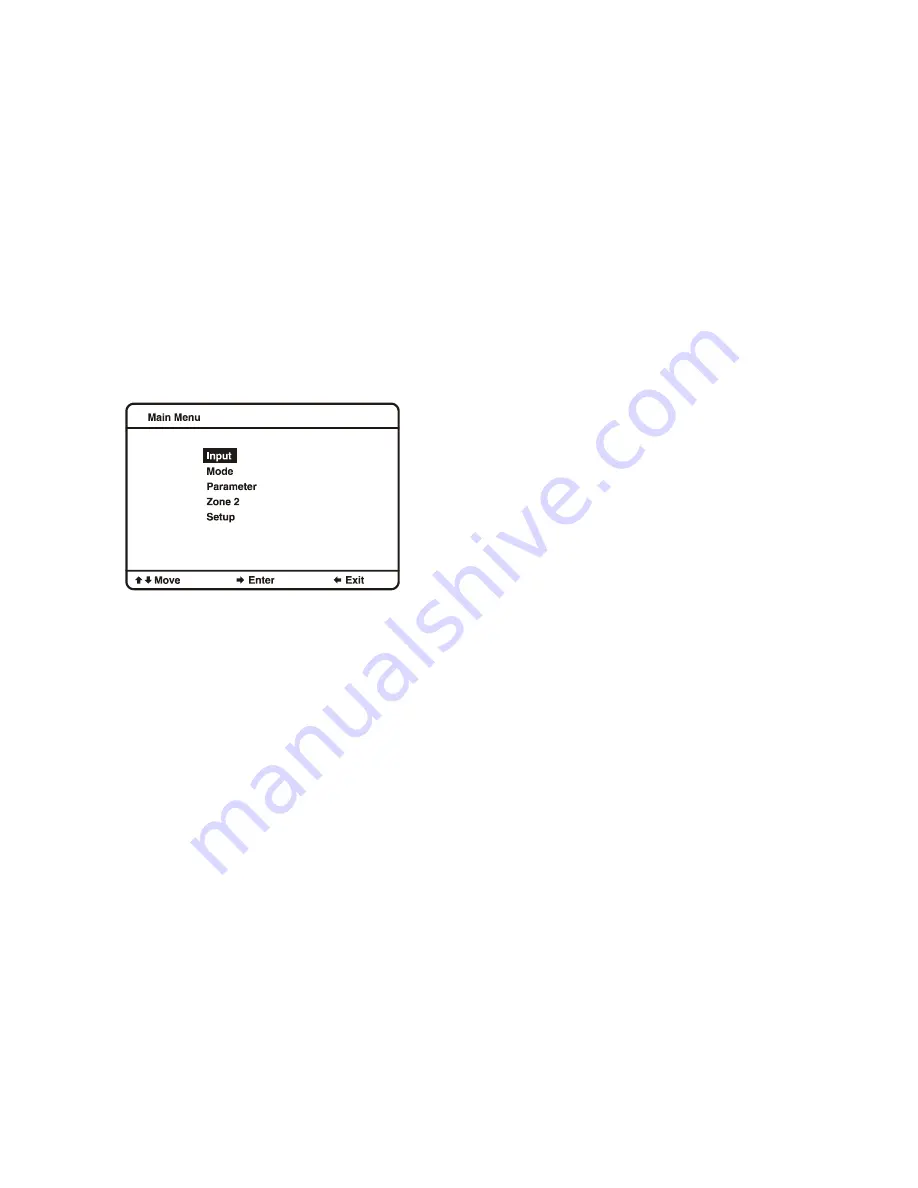
The SR-120 has an intuitive and easy to use OSD, with
adjustable transparency presented over live video (HDMI
only).
With your display device, SR-120, amplifiers, and source
unit all turned on and working, press the Menu button on
the SR-120’s remote control. There are five options on the
MAIN MENU; INPUT, MODE, PARAMETER, ZONE 2
and SETUP.
To move to a different option press either the Up or Down
arrow on the remote control; press the Enter button to select
an option.
INPUT
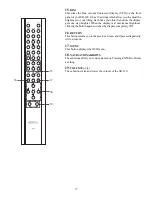
When you select INPUT, you will see the various inputs
that are available on the SR-120. You can choose between
16 inputs.
Tuner
DVD
Cable
SAT
VCR
Aux 1 to Aux 12
Use the menu navigation (arrow) buttons to move around
the menu. The currently
selected
item will be highlighted in
yellow, while your current position on the menu will be in
orange. To select an item, use the arrow buttons to move the
orange highlight to the item you want, then press the Enter
button. Some selections will offer additional choices on sub-
menus to the right (TUNER offers tuning options; others
offer the option of setting which back panel connectors are
used to provide the audio and video signal for that input)
MODE
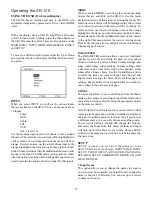
When you select MODE, you will see the various decoding
modes that are available on the SR-120. Use the menu
navigation (arrow) buttons to move around the menu. The
currently
selected
item will be highlighted in yellow, while
your current position on the menu will be in orange. To
select an item, use the arrow buttons to move the orange
highlight to the item you want, then press the Enter button.
Some selections will offer additional choices on sub-menus
to the right. This menu selects the
current
viewing mode.
Preferred modes can also be configured for each individual
input and type of source.
PARAMETER
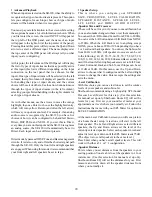
The PARAMETER selection allows you to set individual
speaker levels, bass and treble for each set of speakers
(front, surround, etc), various Dolby Volume settings, and
some sound image width settings. Volume settings offer
a dB scale (a line from left to right with a pointer), while
others offer a binary choice. Use the Up and Down arrows
to select the item you want to change and the Left and
Right arrows to change the value. There are three pages of
settings; simply hit Down or Up again after you reach the
end to jump to the next/previous page.
ZONE 2
This selection allows you to control Zone 2 from the Menu.
(Raising the volume or selecting an input from this menu is
equivalent to doing so directly using the appropriate button
on the remote control.)
Note: With the Zone 2 feature active you can listen to what
is playing in the main zone in Zone 2 (whether it is digital or
analog) or to a different source in Zone 2 (but, if you choose
a different source, you can only choose an analog source).
You can switch Zone 2 On and Off, change the Volume,
and select the Input from this menu (Volume and Input
will only work if the Power is set to On). Choose SYNC
to listen to the same source in Zone 2 as is being played in
the main zone.
SETUP
SETUP is where you set up all the features on the
SR-120. You have seven choices; INPUT NAME, INPUT
SETUP, VIDEO SETUP, ADVANCED PLAYBACK,
SPEAKER SETUP, SHERBOURN ROOM EQ AND
LOAD DEFAULT.
Input Name
This option allows you to change the names for sources
you are using. For example, you might want to change the
name of Source 2 to Blu-Ray. You can use up to 8 letters
to name each source.
Summary of Contents for SR-120
Page 1: ...1...

