32
AM/FM Tuner Operation
This section describes how to operate the TUNER in the
SR-120. Make sure the appropriate antennas are connected
for the best reception.
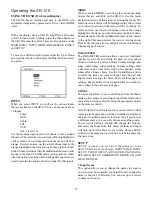
AM/FM (front panel); Band (remote control)
This allows you to choose AM or FM
Direct (front panel)
This allows you to enter a frequency directly on the
number buttons
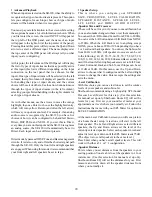
Scan/Preset (remote control)
Determines whether the Up and Down buttons on the
remote control will scan to the next detected station or
move to the next preset.
Up/Down (remote control)
Select the next (or previous) preset or scan up or down to
the next detected station, depending on what scan mode
was selected with Scan/Preset.
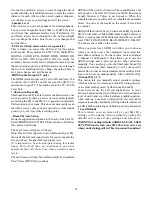
Tuning Up/Down (front panel)
S
can up or down and stop at the next detected station
Number Buttons (front panel)
Allow you to enter a frequency directly (after pressing
the Direct button). If the Direct button has not been
pressed, the number buttons are each assigned to a preset.
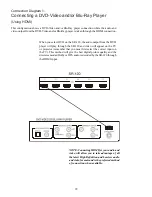
Mem, OK (front panel)
These are used to set create a station preset. To assign
the station currently playing to a preset, press MEM,
followed by one of the preset number buttons, followed
by OK.
Troubleshooting Guide
The Sherbourn SR-120 was designed and built to provide
years of trouble-free performance. Most problems that occur
can usually be solved by checking your setup or making
sure that the audio and video components connected to
the processor are on and fully operational. The following
information will help you deal with common setup problems
you may experience during normal use of your unit. If
problems persist, contact Sherbourn Technical Support.
The SR-120 will not turn on (No Power)
Important – Please note the SR-120 requires initialization
after the power cord is plugged into the line cord
receptacle. Push and hold the power button for approx.
5 seconds. The unit will power up after this small delay.
The second push of the power button will turn the unit
off and after this the unit will turn on and off in a normal
fashion.
Make sure the unit’s line cord is connected to an un-
switched outlet.
Make sure the AC Power rocker switch on the back of
the unit is in the “ON” position.
No Sound (from one or more full range speakers)
Speaker cables may have come undone. Turn off your
system, check the cables, and tighten the binding posts.
An audio cable may have an internal break.
The volume level is low for the channels concerned.
Recheck the calibration procedure.
The Mute switch is on.
The channel has not been turned on in the Speaker Size
Menu (L/R Front cannot be set to None.).
The correct surround mode is not selected. (Some DVD
discs are stereo only).
Note: In Source Direct mode, only the front left and right
speakers are engaged. They must also be set to Large.
No Subwoofer (or poor output)
The subwoofer’s amplifier is off or its controls are set
low.
Are all other speakers set to LARGE in the Speaker Size
menus?
SUB is not switched on in the Speaker Size Menu.
Recheck the calibration procedure.
Check the Crossover settings .
If the bass is weak during Dolby Digital or DTS playback,
check that the correct audio output is selected in your
DVD menu, otherwise it may just play stereo into your
SR-120 and you won’t get the true LFE signal to the
subwoofer.
Summary of Contents for SR-120
Page 1: ...1...

