19
Before you start
3.
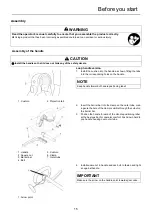
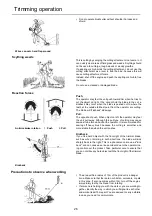
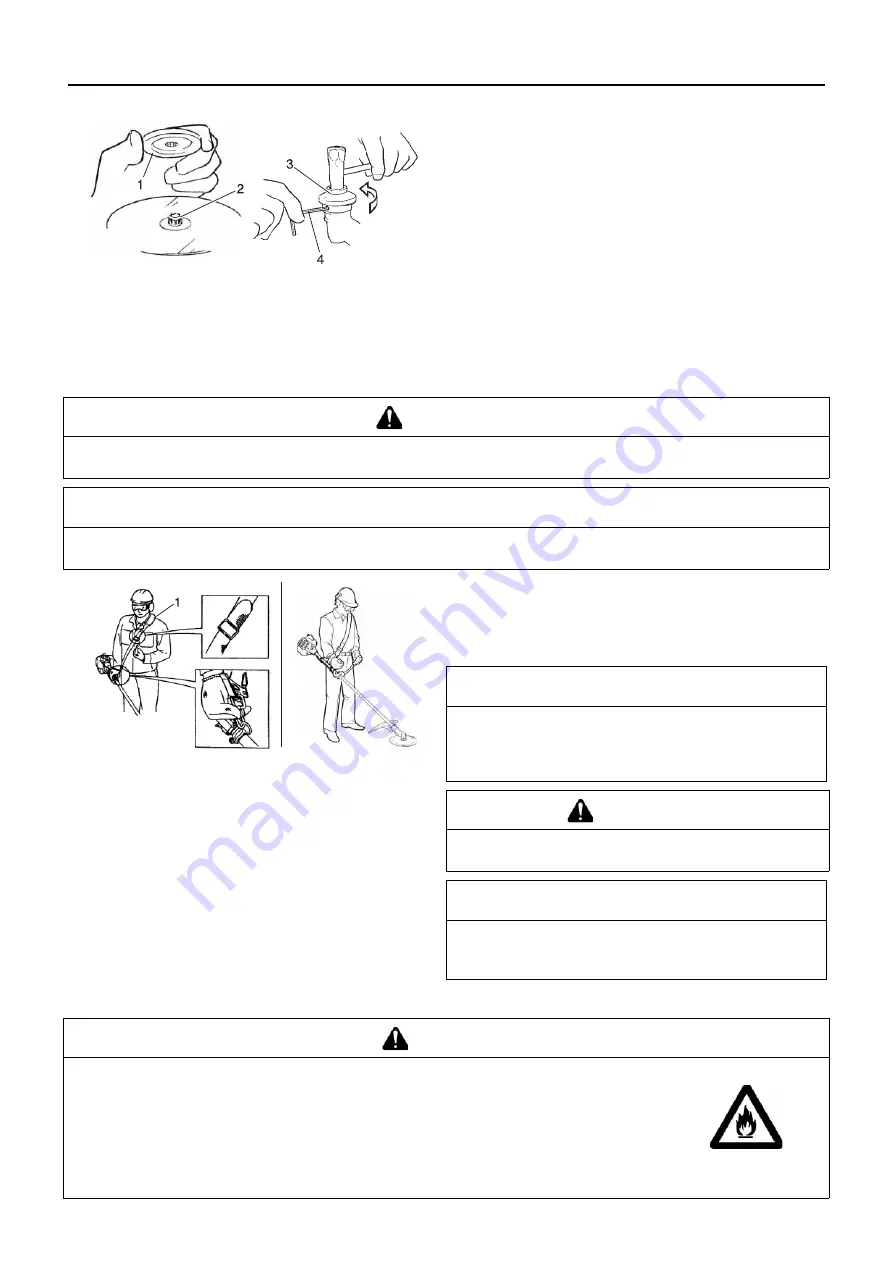
Fit the blade over the flange on holder A.
4.
Install blade holder B on the output shaft. The recess in the
holder must fit tightly against the blade.
5.
Install the bolt guard and then the blade retaining bolt. Using
the socket wrench, tighten the bolt firmly in a counter-clock-
wise direction.
6. Remove
the
L-wrench.
Adjusting the balance
Adjusting the shoulder harness
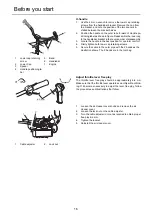
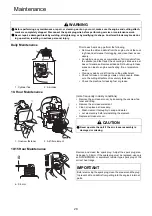
1.
Hook the harness hook to the hanger on the outer tube.
2.
Wear the shoulder harness so that the hook stays at your
right hand side.
3.
Adjust the length of the shoulder harness so that you can
hold and operate the machine comfortably.
Preparing the fuel
1. Holder B
2. Output shaft
3. Bolt guard
4. L-wrench (blade not
shown for clarity)
WARNING
This product is designed to fit a wide variety of body sizes, but may not be adjustable for extremely tall persons.
Do not use the unit if your feet can reach the cutting attachment when the unit is attached to the harness.
IMPORTANT
A person's size can affect the balancing adjustment. Also the balancing procedure may not work with some units on some per-
sons. If the shoulder harness does not fit you or cannot be adjusted well, please ask your dealer for assistance.
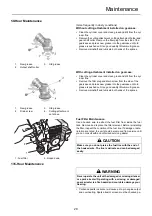
1. Shoulder harness
IMPORTANT
Adjust the shoulder harness so the shoulder pad rests comfort-
ably on the off-side shoulder and the cutting path of the cutting
attachment is parallel to the ground. Make sure all hooks and
adjustment devices are secure.
WARNING
Always wear a shoulder harness when operating this
product with a blade.
NOTE
Using a shoulder harness with a brush-cutter allows you to
maintain proper control of the product and reduces fatigue dur-
ing extended operation.
DANGER
Fuel is highly inflammable and there is a risk of fire if it is handled incorrectly. Carefully read
and observe the precautions in the section of this manual titled "For safe use of your prod-
uct".
Once the refuelling is complete, securely tighten the fuel tank cap and do not forget to
check that there are no leaks or discharges of fuel from the fuel pipe, fuel system grommets,
or around the fuel tank cap. If you do find fuel leaks or discharges, stop using the product
immediately and contact your dealer to have it repaired.
If the fuel ignites, it could cause burns and fire.
Summary of Contents for C310S
Page 2: ...2...
Page 39: ...37 X750 017 692 X750 282 680 2 2010 1Notes and rear cover MEMORANDUM...
Page 120: ...40 Konformit tserkl rung...
Page 121: ...41 X750 017 692 X750 282 680 2 2010 1Notizen und hintere Umschlagseite NOTIZEN...
Page 161: ...39 X750 017 692 X750 282 680 2 2010 1Note e quarta di copertina MEMORANDUM...
Page 163: ...3...


