7
Starting the Engine
WARNING!
Danger from rotating impeller!
The impeller will rotate whenever
the blower is operated! Never
operate this blower unless the
intake cover and blower tubes
are properly installed and in good
working order!
Danger from thrown dust or
debris!
Always wear eye protec-
tion when operating this machine!
Never direct the blower stream
toward people or animals!
Never operate this blower unless
all controls are properly installed
and in good working order.
CAUTION!
The recoil starter can be dam-
aged by abuse!
■
Never pull the starter cord to
its full length!
■
Always engage the starter
before cranking the engine!
■
Always rewind the starter cord
slowly!
Never operate the blower if
blower tubes are missing or
damaged!
IMPORTANT!
The engine ignition is controlled by a
two-position “ON-OFF” switch located
on the left side of the blower handle
grip. This switch is typically labeled “I”
for
ON
and “O” for
OFF
.
Starting Procedure
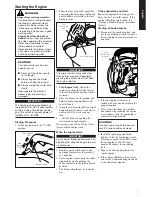
1. Switch the ignition to the “I” (ON)
position.
24007
Ignition Switch
Run (ignition
“ON”)
Stop
(ignition
“OFF”)
24008
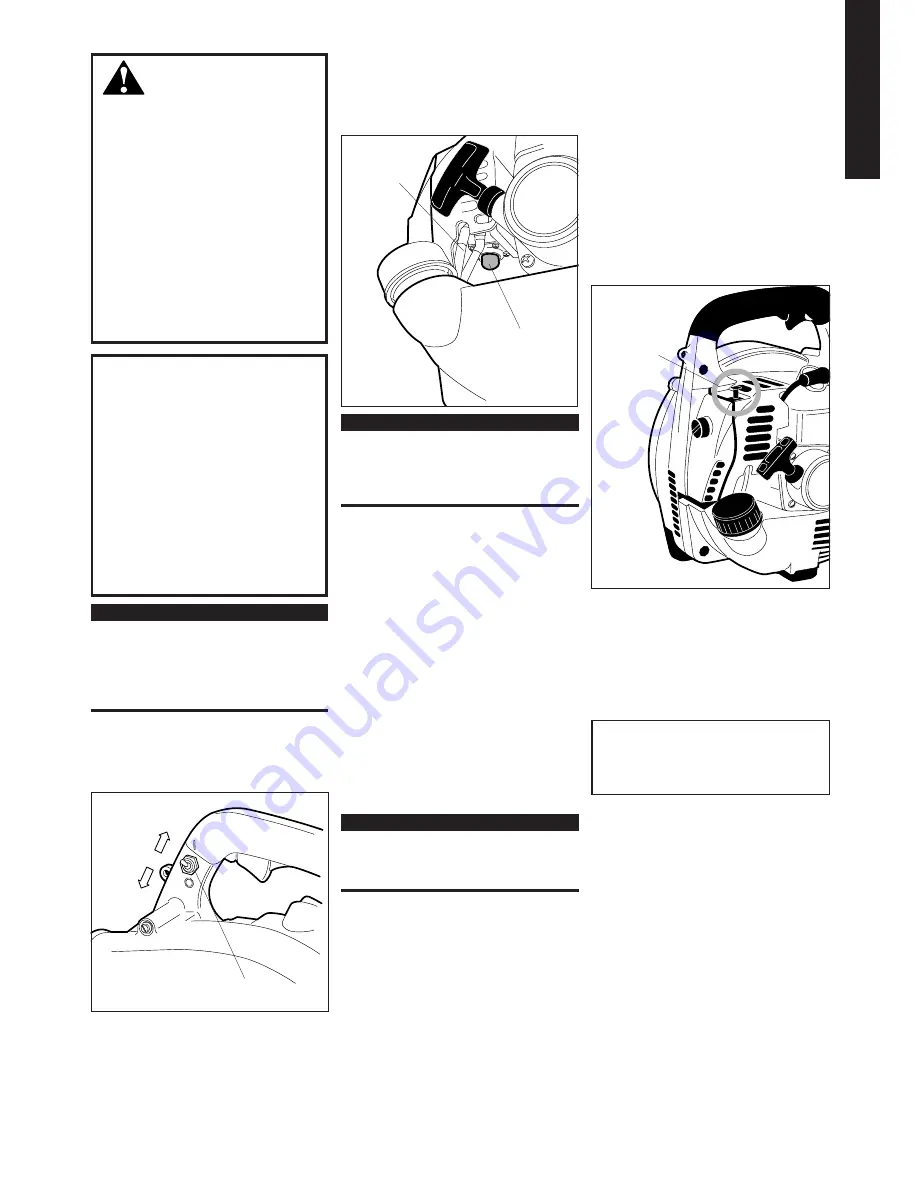
2. Prime the fuel system by repeatedly
depressing the fuel primer bulb until
no air bubbles are visible in the fuel
discharge line.
Fuel Primer Bulb
Fuel
Discharge
Line
IMPORTANT!
The primer system only pushes fuel
through the carburetor. Repeatedly
pressing the primer bulb will not flood
the engine with fuel.
3.
Cold Engine Only.
Choke the
engine by pulling the choke control
to the fully extended position (choke
is closed).
4. Place the blower on the ground, and
hold the blower handle firmly with
your left hand.
5. Grasp the starter cord with your right
hand and pull the starter cord slowly
until you feel the starter engage,
then…
6. …start the blower by pulling the
starter cord upward rapidly.
If necessary, repeat Step 6 two or three
times until the engine starts.
When the engine starts
IMPORTANT!
For maximum blower performance and
operating life, allow the engine to warm
up before use.
1. Run the engine at idle speed until
operating temperature is reached (2
or 3 minutes).
2. As the engine warms, open the choke
gradually by slowly pushing the
choke control in to the fully retracted
position.
3. The blower should now be ready for
use.
If the engine does not start
Repeat the appropriate starting proce-
dures for “hot” or “cold” engine. If the
engine still will not start, follow the
“Starting a Flooded Engine” procedure
(below).
Starting a flooded engine
1. Disconnect the spark plug lead, and
use the spark plug wrench to remove
the spark plug in a counter-clockwise
direction.
24012
2. If the spark plug is fouled or is
soaked with fuel, clean or replace the
plug as required.
3. Clear excess fuel from the combus-
tion chamber by cranking the engine
several times while the spark plug is
removed with ignition off.
CAUTION!
Incorrect spark plug installation can
result in serious engine damage!
4. Install the spark plug and firmly
tighten it with the spark plug wrench.
If a torque wrench is available, torque
the spark plug to 148–165 inch-
pounds. Reconnect the spark plug
lead.
5. Repeat the starting procedures for
“warm engine.”
6. If the engine still fails to fire or start,
refer to the troubleshooting flowchart
at the end of this manual.
Choke
Control (pull
to close)
English
7
Arranque del motor
¡ADVERTENCIA!
¡Peligro con el impulsor giratorio!
El impulsor girará cada vez que se
ponga en funcionamiento el
soplador. Nunca ponga en
funcionamiento este soplador a
menos que la tapa de la admisión y
los tubos sopladores estén
correctamente instalados y en
buenas condiciones de
funcionamiento.
¡Peligro con el polvo o los
residuos despedidos!
Siempre
utilice equipo de protección ocular
cuando opere este equipo Nunca
dirija el flujo del soplador hacia
personas o animales.
Nunca opere este soplador a menos
que todos los controles estén
correctamente instalados y en
buenas condiciones de
funcionamiento.
¡PRECAUCIÓN!
El arrancador manual puede resultar
dañado por el uso abusivo.
■
¡Nunca tire del cable del
arrancador en toda su
extensión!
■
Siempre acople el arrancador
antes de hacer girar el motor
con una manivela.
■
Siempre rebobine el cable del
arrancador lentamente.
Nunca opere el soplador si los tubos
del mismo faltan o están dañados.
¡IMPORTANTE!
El encendido del motor está controlado
por una llave de dos posiciones
“ENCENDIDO-APAGADO” ubicada en
el costado izquierdo de la empuñadura
del soplador. Esta llave se encuentra
típicamente marcada con el símbolo “I”
para
ENCENDIDO
y “O” para
APAGADO
.
Procedimiento de arranque
1.
Lleve la llave de encendido a la
posición “I” (ENCENDIDO).
24008
2.
Cebe el sistema de combustible
oprimiendo repetidamente el bulbo
del cebador de combustible hasta
que no se vean burbujas de aire
en la línea de descarga
de combustible.
Bulbo cebador de
combustible
Línea de
descarga de
combustible
¡IMPORTANTE!
El sistema de cebado solamente hace
pasar combustible a través del
carburador. Presionando
repetidamente el bulbo de cebado no
inundará el motor con combustible.
3.
Con motor frío únicamente.
Cebe
el motor tirando del control de
cebado hasta la posición totalmente
extendida (el cebador quedará
cerrado).
4.
Coloque el soplador sobre el suelo y
sostenga firmemente la empuñadura
del mismo con la mano izquierda.
5.
Tome el cable del arrancador con la
mano derecha y tire del cable del
arrancador lentamente hasta que
sienta que el arrancador se acopla, y
luego…
6.
…arranque el soplador tirando del
cable arrancador rápidamente hacia
arriba.
Si es necesario, repita el paso 6 dos o
tres veces hasta que el motor arranque.
Después de que arranque el motor
¡IMPORTANTE!
Para el mejor rendimiento y vida útil
del soplador, permita que el motor se
caliente antes de utilizar el equipo.
1.
Opere el motor en marcha lenta hasta
que alcance la temperatura de
operación (2 ó 3 minutos).
Arranque del motor
2.
A medida que el motor se vaya
calentando, abra el cebador
gradualmente empujando lentamente
el control del cebador hacia su
posición totalmente replegada.
3.
El soplador deberá estar ahora listo
para ser utilizado.
Si el motor no arranca
Repita el procedimiento de arranque
adecuado para el motor en “caliente” o
“frío”. Si aun así el motor no arranca,
siga el procedimiento “Arranque de un
motor ahogado” (explicado a
continuación).
24012
Arranque de un motor ahogado
1.
Desconecte el cable de bujía y utilice
la llave de bujías para retirar la bujía
girándola hacia la derecha.
2.
Si la bujía está sucia o embebida en
combustible, limpie o reemplace la
misma según sea necesario.
¡PRECAUCIÓN!
La instalación incorrecta de la bujía
puede ocasionar serios daños al
motor.
3.
Quite el exceso de combustible de la
cámara de combustión accio-nando el
motor con la manivela varias veces
mientras la bujía per-manece retirada
y el encendido desactivado.
4.
Instale la bujía y apriétela firme-mente
con la llave para bujías. Si dispone de
una llave de torsión, configure el par
de ajuste de la bujía en 148 a 165
pulgadas-libra. Vuelva a conectar el
cable de la bujía.
5.
Repita el procedimiento de arranque
para “motor caliente.”
6.
Si aun así el motor sigue sin arrancar,
consulte el diagrama de localización y
reparación de fallas ubicado al final de
este manual.
Control del
cebador
(tire para
cerrar)
24007
Llave de
encendido
Operar
(encendido en
“ENCENDIDO”)
Parar
(encendido en
“APAGADO”)
Español
Summary of Contents for EB240S
Page 2: ...Espa ol...
Page 4: ...Espa ol...
Page 6: ...Espa ol...
Page 8: ...Espa ol...
Page 10: ...Espa ol...
Page 12: ...Espa ol...
Page 14: ...Espa ol...
Page 15: ...15 NOTES...
Page 16: ......

