


AccuFab-L4D & L4K_User Manual_V3.2.20_June 2021
24
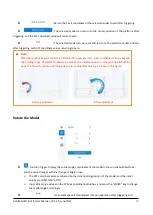
higher. The slicing time will be greatly shortened. For example: slicing time for a model of 500
layers will be 5
–
24 s.
⚫
Software will show the info of the graphic card and CUDA version. Check the upper left corner of
the slicing interface. The information displayed in red indicates that the GPU switching conditions
are not met.
⚫
If the CUDA version shows "undefined," it means the driver version is not the latest version. Please
update.
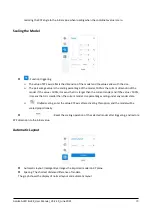
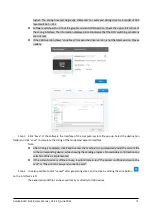
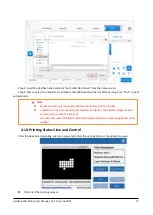
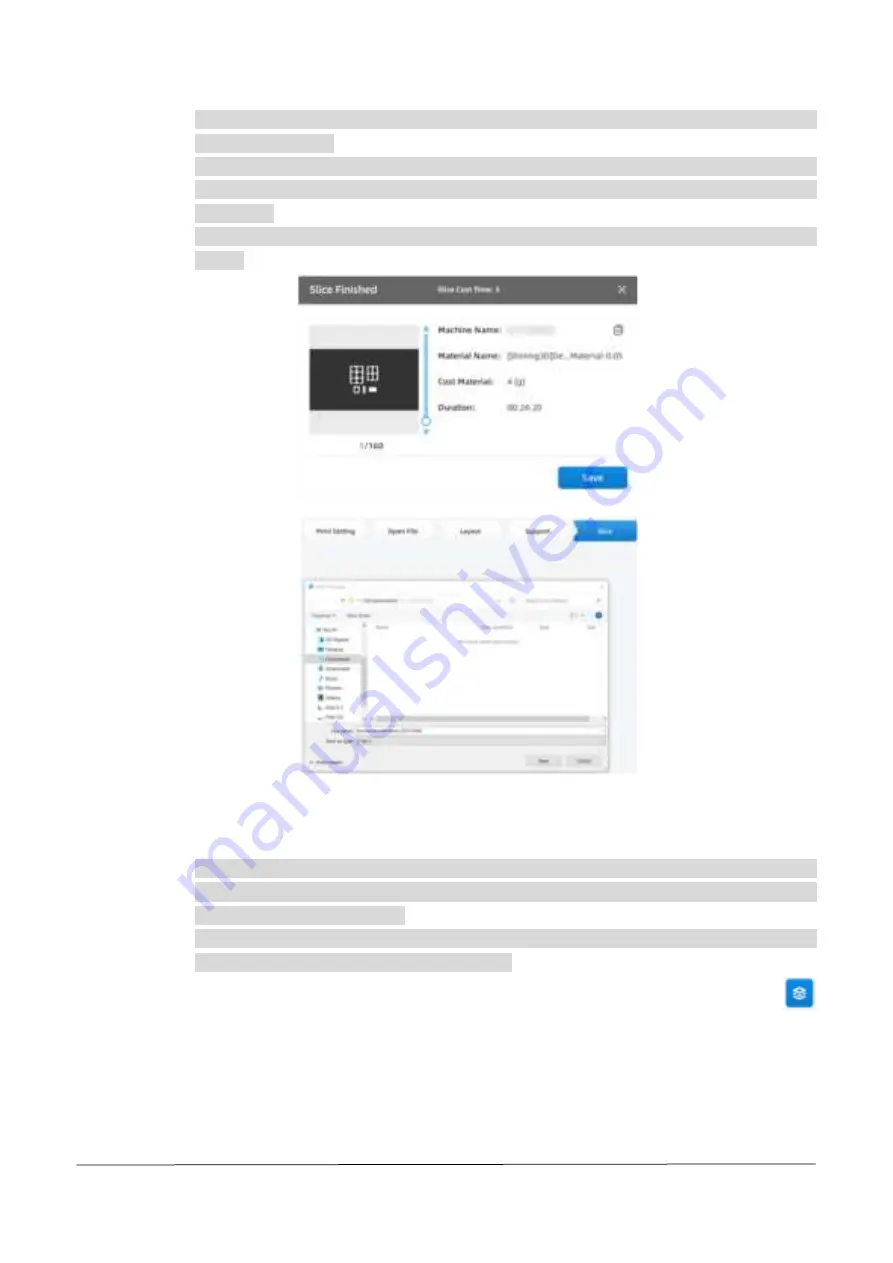
Step 2
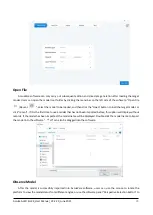
Click “Save” of the software the interface of
the computer system file pop up. Select the destination
folder and click "save" to complete the slicing of the model and export sliced files.
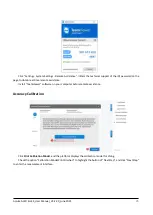
Note:
⚫
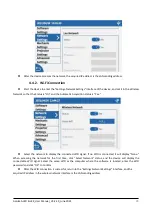
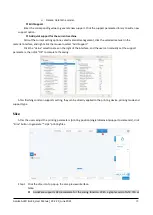
After slicing is complete, click Send to enter the machine list, automatically send the current file
to the corresponding device, while showing the sending progress. No secondary confirmation and
selection of files is implemented.
⚫
If the current device is
offline or busy, it will indicate in red “The printer is offline and cannot be
sent” or “The printer is busy and cannot be sent”.
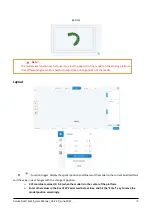
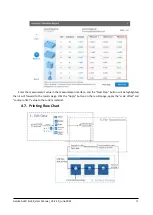
Step 3
It is also possible to click “cancel” after generating slices, and re
-slice by clicking the slice button
on the inte
rface’s left
.
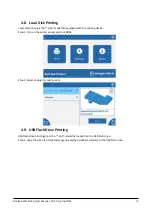
The exported model file can be saved locally or directly to USB devices.


