Aoralscan 3_Manual_V1.0.0.30 - 36 -
7.
Clinical Case Quick Guide
Note:
This chapter takes clinical case as example to show software related operations. For more
software related operations, see User Manual.
Connect the Scanner
See "5.1 Connecting the Scanner."
Activate the Scanner
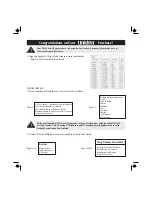
When the scanner is first used, it must be connected to the internet and activated
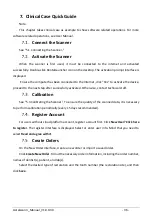
successfully. Double-click DentalLauncher icon on the desktop. The activation prompt interface is
displayed.
En
sure the computer has been connected to the Internet, click “Yes” to activate the device,
proceed to the next step after successfully activated. Otherwise, contact technical staff.
Calibration
See "5.3 Calibrating the Scanner." To ensure the quality of the scanned data, it is necessary
to perform calibration periodically (every 15 days recommended).
Register Account
For users without cloud platform account, register account first. Click
New User? Click here
to register
. The register interface is displayed. Select or enter user info. Mind that you need to
select
Read and agree with it
.
Create Orders
On the New Order interface, create a new order or import a saved order.
Click
Create New Order
. Fill out the necessary order information, including the order number,
names of dentist(s), patient, and lab(s).
Select the desired type of restoration and the tooth number (the restoration site), and then
click
Save
.


