EinScan HX User Manual
57
3.7 Post Processing
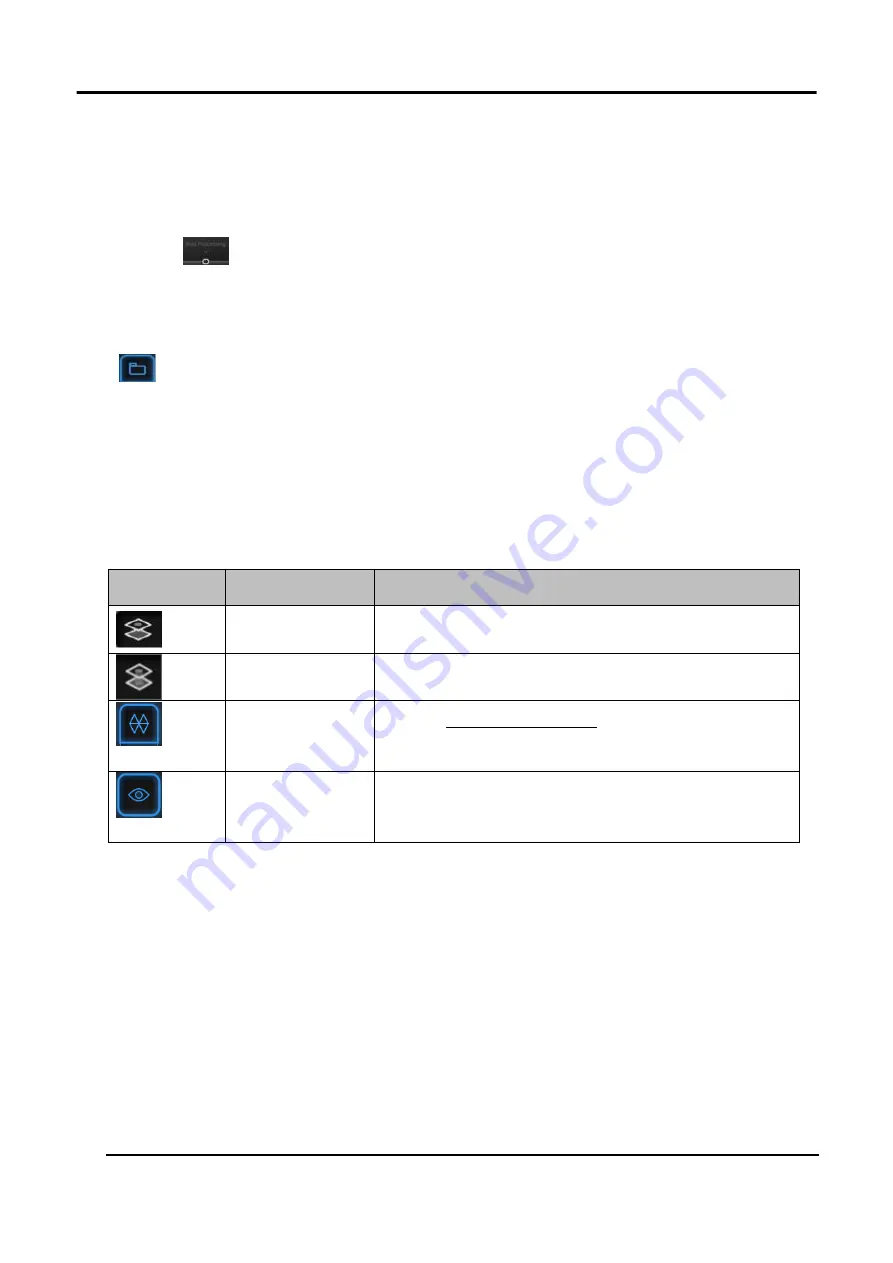
When the model data is meshed, it switches to the post-processing interface. Alternatively, you can
directly click
on the navigation bar to enter the post-processing interface and import data.
Post-processing can then be performed on the data, including simplifying, mesh optimization,
smoothening, removal of isolated faces, automatic hole mending and manual hole mending.
Click
to select the file for post-processing; or directly drag the file in STL, OBJ, PLY into the
measurement interface.
Shift+ LMB
(left mouse button): Select unwanted data, and the selected data will be displayed in red.
Ctrl+ LMB
(left mouse button): Deselect a selected region.
Table 3-13 Icons on Post Processing
Icon
Name
Description
Select Visible
To select data on the front view only.
Select Through
To select data all though
Texture
Remapping
Refer to
Show/Hide
Texture
To show or hide the texture.
3.7.1 Simplification
After simplification, the polygon numbers, file size and level of detail of data will be reduced
universally
.
High level may cause detail loss.
Set the ratio from 1 to 100, the default is 0.
Summary of Contents for EinScan HX
Page 25: ...EinScan HX User Manual 24 Figure 3 12 Different Ways of Sticking Markers ...
Page 27: ...EinScan HX User Manual 26 3 2 3 Workflow ...
Page 41: ...EinScan HX User Manual 40 Table 3 9 Preview Too bright X Good ...
Page 54: ...EinScan HX User Manual 53 Figure 3 39 Manual Marker Alignment ...
Page 57: ...EinScan HX User Manual 56 4 Click Apply to mesh ...
Page 83: ...EinScan HX User Manual 82 ...


