EinScan HX User Manual
66
Figure 3-55 Mirror
3.8 Measurement
After meshing, the Measurement menu will be available on the top. Or click
Measurement
on the
navigation bar, and import data.
The measurement interface and the post-processing interface share the same data.
Click
to enter the measurement interface.
Click
to select the file to be measured; or directly drag STL, OBJ or PLY files in format onto the
measurement interface. Drag texture ply file onto the interface and non-texture data will be shown.
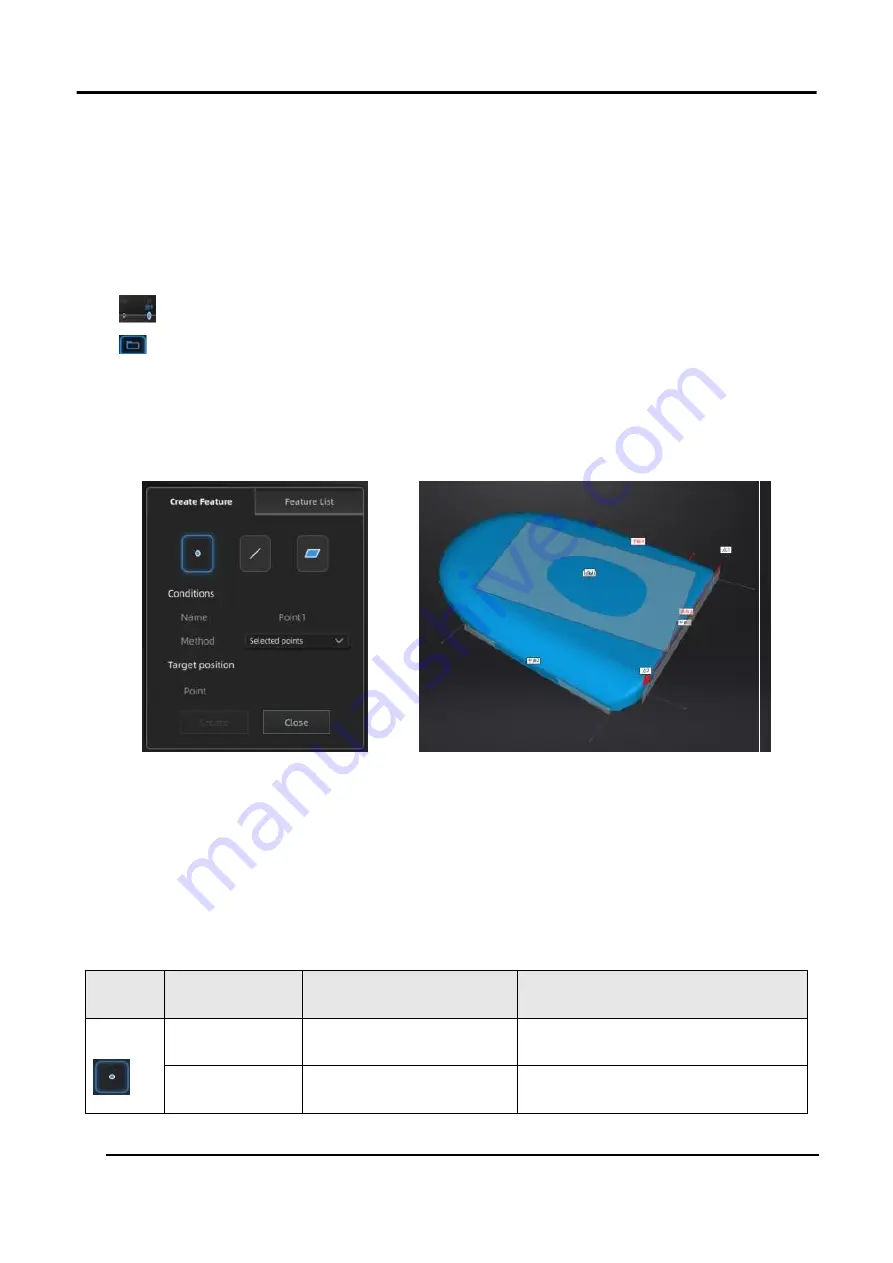
3.8.1 Create Features
Click
feature
to display the menu, click again to close the menu.
Feature Menu
Display of Features
Figure 3-56
Click on the corresponding icon to create points, lines, planes.
Then select the creation method and follow the instructions, click
Create
to generate, or
Close
to
cancel and close the window.
The features created displaying in gray, the selected feature is in Red. In the feature list, click
delete
to remove (Delete action cannot undo).
Table 3-14
Feature
Creation
Method
Requirement
Description
Point
Selected Points
—
Click on the data to select a point.
Click create to create a point.
Line-Plane
Interface
Line and Plane should be
created in advanced
Click on the created line, or select it
on the dropdown.
Summary of Contents for EinScan HX
Page 25: ...EinScan HX User Manual 24 Figure 3 12 Different Ways of Sticking Markers ...
Page 27: ...EinScan HX User Manual 26 3 2 3 Workflow ...
Page 41: ...EinScan HX User Manual 40 Table 3 9 Preview Too bright X Good ...
Page 54: ...EinScan HX User Manual 53 Figure 3 39 Manual Marker Alignment ...
Page 57: ...EinScan HX User Manual 56 4 Click Apply to mesh ...
Page 83: ...EinScan HX User Manual 82 ...


