47
1.2.2.
Scanning
Start scan
Click the button or the button
on the hardware to start scanning.
When start scanning, keep the scanner opposite to the object for 3 seconds,
and start to move when scan data shows. To improve the scan efficiency, the
movement should be continuous and uniform.
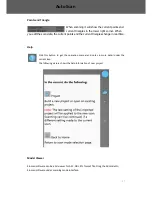
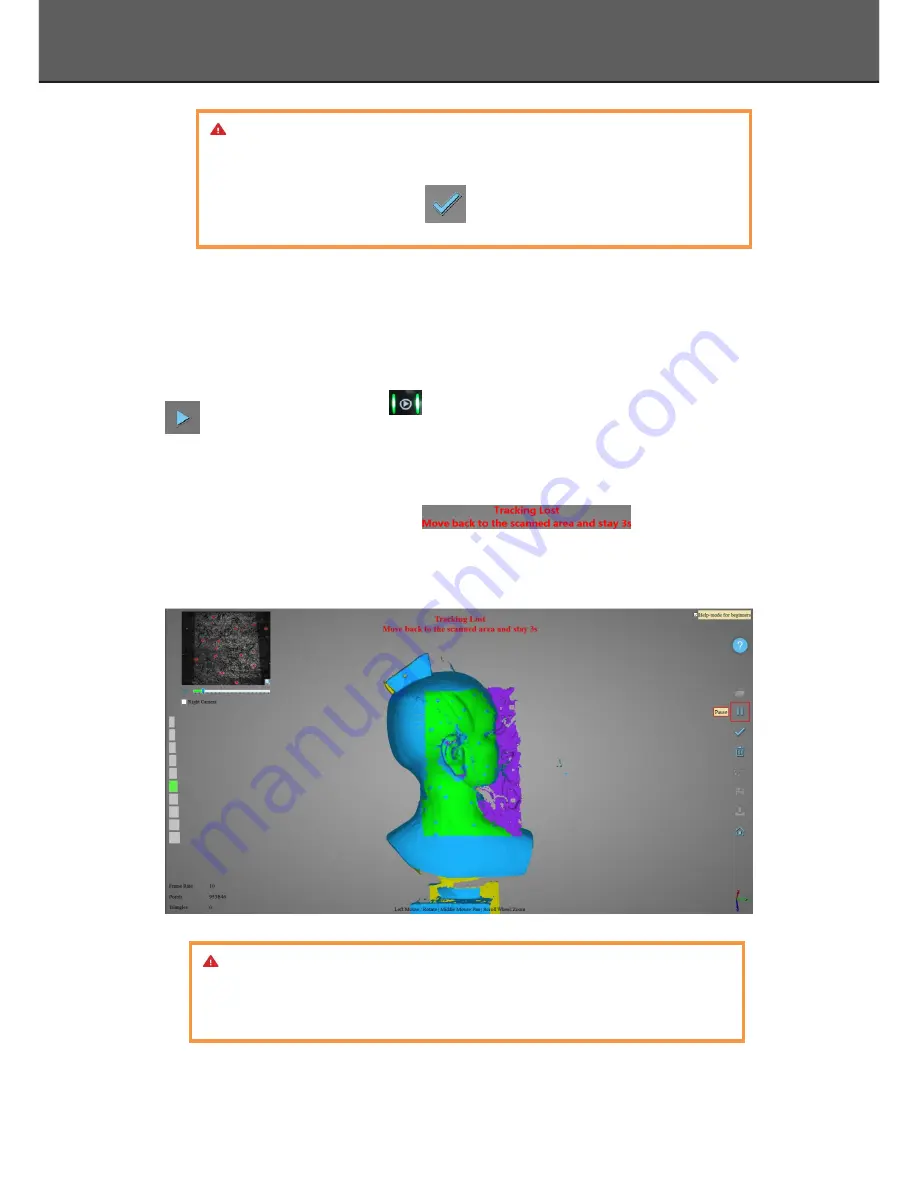
If the scanning presents purple color and
appears, it indicates
that the position tracking fails. You need to go back to the previous scan area and wait for about
3 seconds and adopt merging features for about several seconds, and then try to scan normally.
If the surface of the object has mark points, the software will recognize the mark points
Note:
1.
Preview mode is needed every time for brightness adjustment when a new
project is built or an existing project is imported for continues scanning.
2.
When open project, if click
, preview mode is no longer available.
Note:
When the scanned data quality is not good, please check the distance, and if the
brightness is proper in good distance condition. Check brightness through exposure
whether the light frame is clearly shooting on the object.
Handheld Rapid Scan
Summary of Contents for EinScan-Pro+
Page 1: ...EinScan Pro Multi Functional Handheld 3D Scanner User Manual ...
Page 3: ...2 1 3 1 Preview 60 FAQ 62 Contact Us 66 Catalog ...
Page 4: ...3 1 ...
Page 7: ...6 2 ...
Page 14: ...13 First Scan ...
Page 25: ...24 5 Fix Scan has two scan modes fixed scan without turntable and Auto Scan ...
Page 42: ...41 6 ...
Page 59: ...58 Handheld Rapid Scan ...
Page 63: ...62 7 ...
Page 67: ...66 8 ...

