


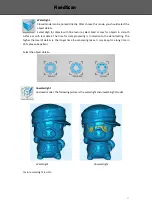
22
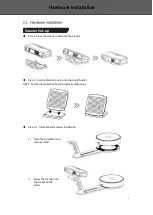
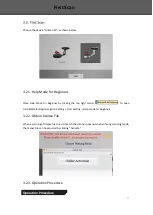
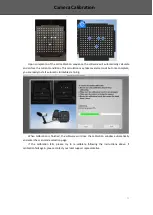
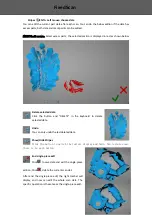
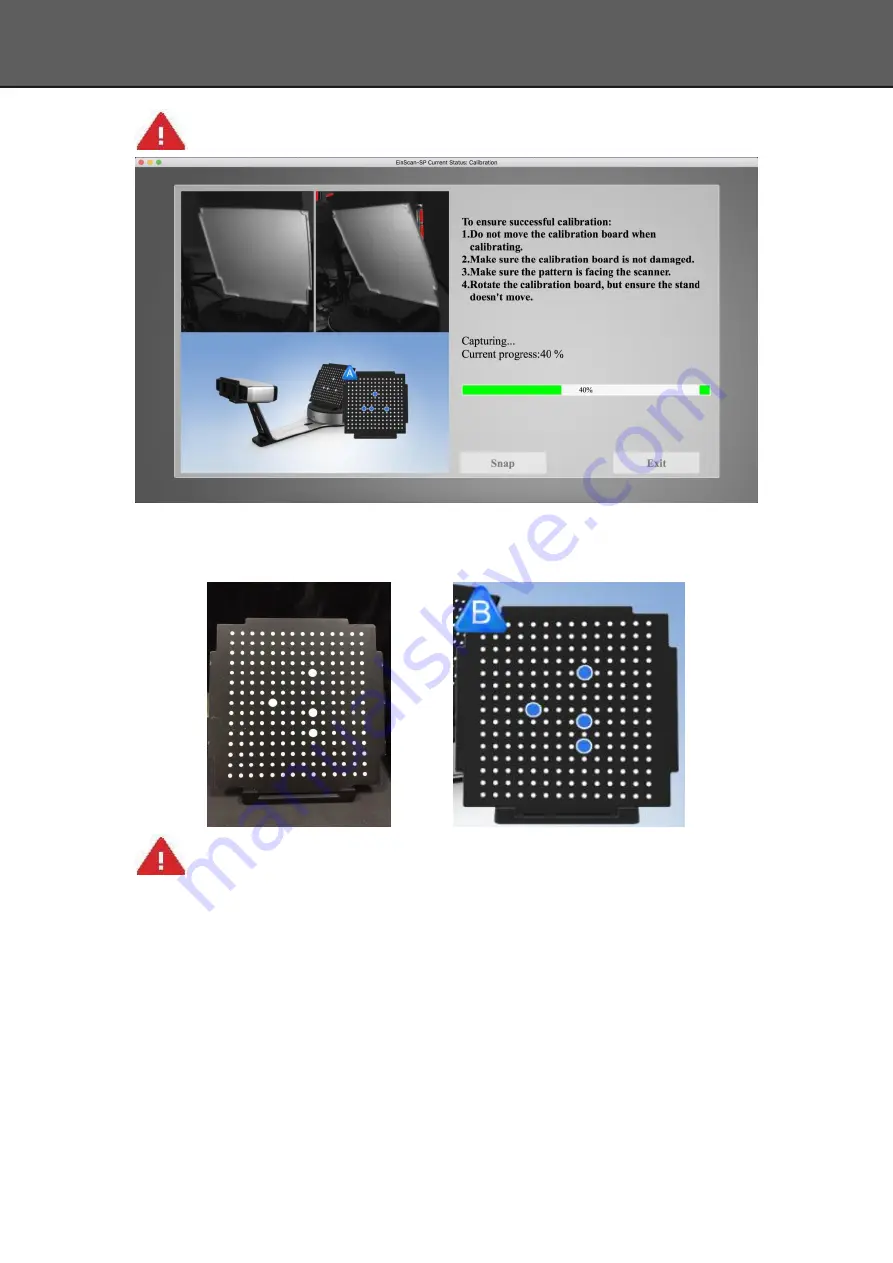
Don’t move the support. Only rotate the calibration board.
After the 1st calibration sequence, the turntable will stop and the display will show what is in
FigureB. Being careful not to move the support, remove the calibration board, rotate it 90°
counterclockwise and place the board back onto the support as shown in Fig. B.
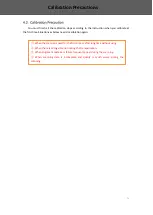
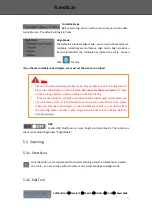
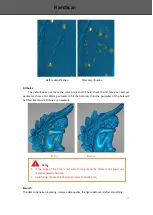
Note
:
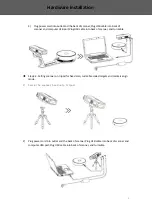
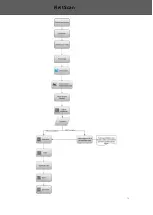
Don’t move the support. Only rotate the calibration board.
Being careful not to move the support, remove the calibration board, rotate it 90°
counterclockwise and place the board back onto the support as shown in Figure C.
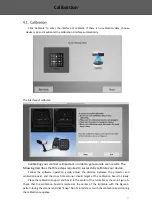
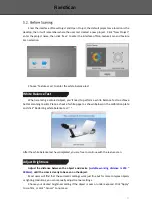
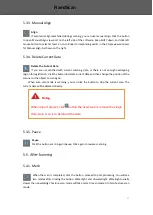
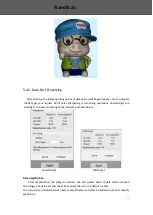
Calibration
Summary of Contents for EinScan-SP
Page 1: ...EinScan SP Desktop 3D Scanner User Manual ...
Page 4: ...3 1 ...
Page 8: ...7 2 ...
Page 14: ...13 3 ...
Page 17: ...16 First Scan ...
Page 26: ...25 5 ...
Page 41: ...40 6 ...
Page 43: ...42 7 ...
Page 45: ...44 8 ...


