background image


Turning On/Off Battery


Internal Rechargeable Battery 


Powering On/Off  


P2       Shining Technology CitiDISK DV Quick Usage Guide v5.0   


Securing the FireWire Cable with Camcorder 


Camcorder Controlled DV Recording 


P3       Shining Technology CitiDISK DV Quick Usage Guide v5.0  

Do not drop, jar, bump, shock the unit, or expose to sources of excessive 

vibration.  Keep in mind that CitiDISK DV uses a 2.5” hard drive, similar to 

those used in laptops.  Gently handle and carry your CitiDISK DV, especially 

during video recording. Battery is not fully charged, user must charge it for at 
least 4 hours before any self-powered usage. 

Turn on the battery by sliding the switch to the 

white “DOT” position.  Turn off the battery output 

by sliding to other position while in storage or in 
transit.    

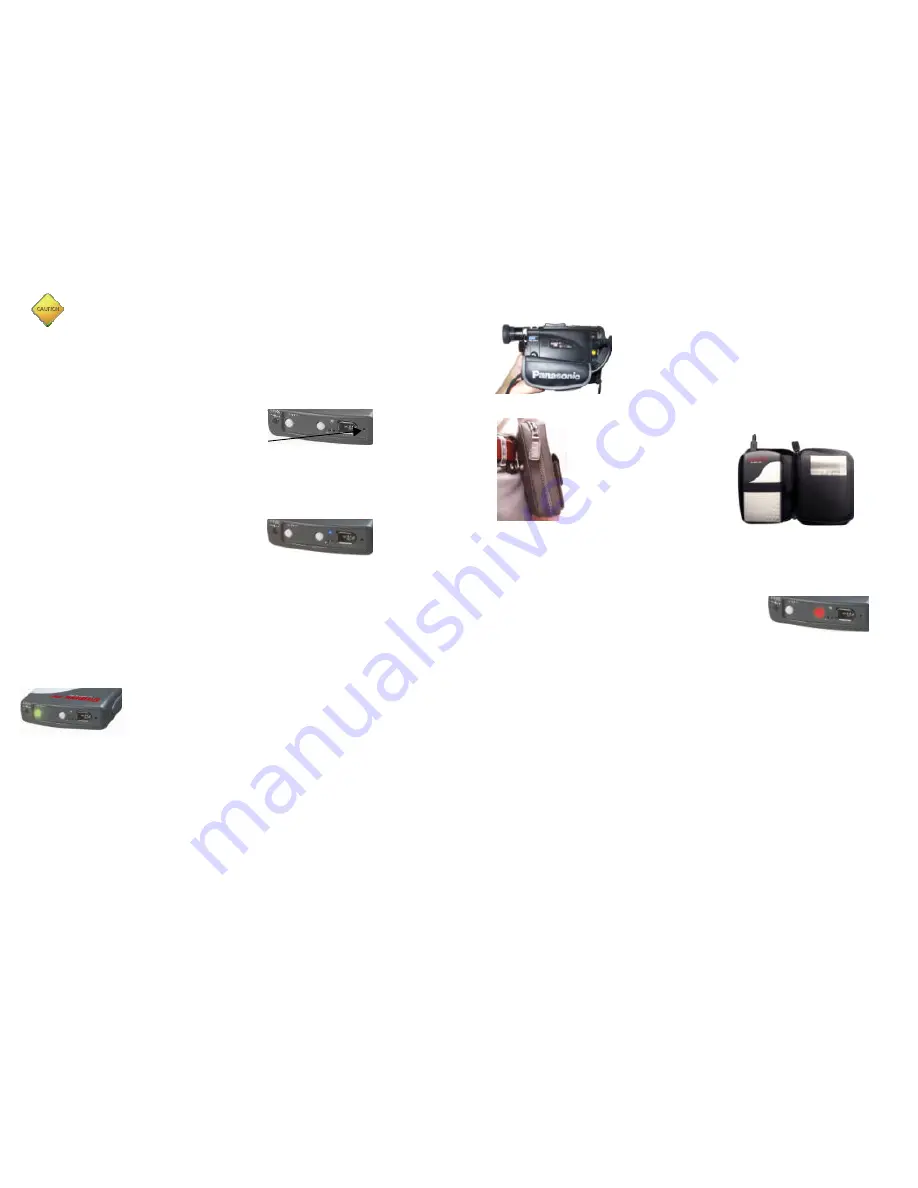
Plug in the 4-pin FireWire connector into 

camcorder iLink port vertically.  Run the 

FireWire cable through the hand-wrist and 

secure it.  Make sure the FireWire cable is 
just tightened by hand-wrist.   

Connect FireWire cable (4-pin end) to camcorder’s DV 

port.  Connect FireWire cable (6-pin end) to CitiDISK 
DV.   Set camcorder to “Camera” mode. 

Pressing “

REC

” button on the camcorder to start recording.  RED button starts to 

flash to solid 

RED

 indicating video recording is in progress.  Press  “

REC

” button of 

camcorder again to stop recording.   

RED

 button goes off. 


Note

:


Must have tape inserted in camcorder to activate “camera controlled 

REC

” 

function; otherwise, press “

REC

” on CitiDISK DV to start recording


Zip the pouch halfway, leave 

top portion of pouch open for 

FireWire cable.  Run buckle 

across belt and buckle it up.


Insert CitiDISK DV up right inside the pouch.   

Turn on the CitiDISK DV by pressing the 

GREEN

 button 

close to external power adapter input.  Turn it off by 

pressing the button again.


Re-charging power is drawn from FireWire bus 

power or external power adapter. 

BLUE LED indicates battery charging is in 

process.  Once the battery is fully charged, 
BLUE LED goes off. 

Summary of Contents for CitiDISK DV FW1256B

Page 1: ... carrying pouch One Quick Usage Guide this document Product Registration and Technical Support http www shining com P8 Shining Technology CitiDISK DV Quick Usage Guide v5 0 CitiDISK DV Quick Usage Guide Quit Video Re Capturing It is highly recommended that you read the complete CitiDISK Installation Usage Manua and Utility Suite Manual before using this product to help ensure you get the most out ...

Page 2: ...e through the hand wrist and secure it Make sure the FireWire cable is just tightened by hand wrist Connect FireWire cable 4 pin end to camcorder s DV port Connect FireWire cable 6 pin end to CitiDISK DV Set camcorder to Camera mode Pressing REC button on the camcorder to start recording RED button starts to flash to solid RED indicating video recording is in progress Press REC button of camcorder...

Page 3: ...ets it to Canopus AVI2 Choosing next file format by toggling the RED button Once the file format is determined stop toggling wait for 10 seconds Both buttons shall go off and stay off for 3 seconds Unit starts writing the new file format information into internal memory During the writing process both buttons blink rapidly for approximate 10 seconds Once the file format is updated both buttons sha...

Page 4: ...d Warranty The manufacturer guarantees that every CitiDISK DV including the kit but not the batteries embedded inside the enclosure hard disk drive warranty policy is exclusive and is warranted by its manufacturers will be free from physical defects in material and workmanship under normal use for one 1 year from the date of purchase If the product proves defective during this warranty period cont...

Reviews: