Archive DV Tape Content
DV Editing and External FireWire Hard Disk
Disconnect Fire wire cable from camcorder; re-connect it to FireWire port (4-pin or 6-
pin type) equipped computer, PC or Mac.
Use CitiDISK DV just like an external FireWire hard disk for file archive, backup and/or
other video editing functions.
CitiDISK DV is fully PLUG-ANG-PLAY specification compliant, no driver needed to load.
Quick Erase Button and Utility Programs
P4 Shining Technology CitiDISK DV Quick Usage Guide v5.0
Choosing Video File Format( FW1256B Only )
This paragraph of key entering sequence is made for CitiDISK DV FW1256B units only,
not suitable for earlier released family of CitiDISK DV FW1256 units.
??
Operate following key entering sequences only when external power adapter
plugged into the unit, and DO NOT turn unit’s power off before the sequences
completed.
??
Pickup the CitiDISK DV unit and set eyes on the front panel.
??
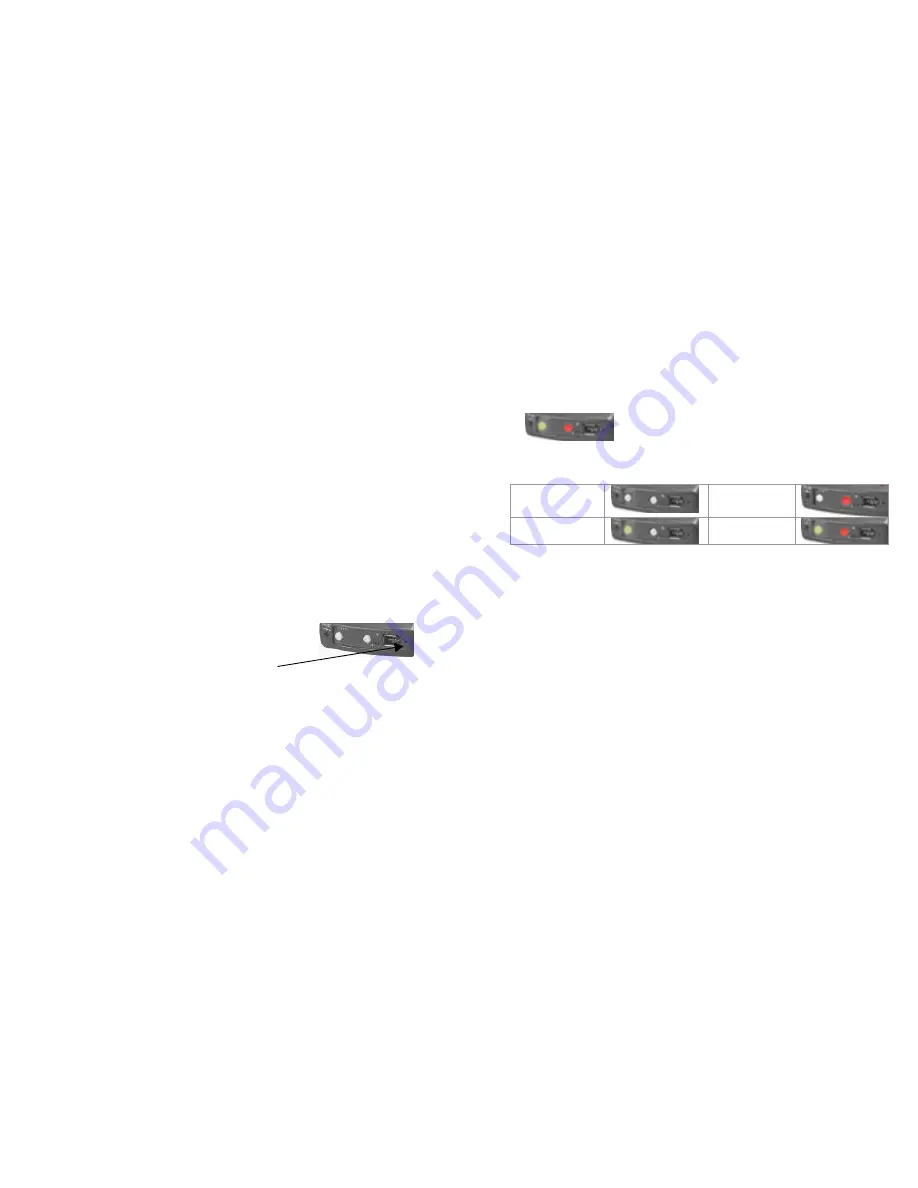
Turn CitiDISK DV unit power on. Wait till both LED’s start to blink.
Press and hold
RED
button for over 5 seconds. Current stored file format follows
pattern illustrated below. If this is the first time, “Raw DV” is the default.
Raw DV
( Clipxxyy.dv )
Windows AVI2
( Clipxxyy.avi )
QuickTime MOV
( Clipxxyy.mov )
User Defined
**
** Refer to user manual for “How to customize User Defined file format”;
manufacturer sets it to “Canopus AVI2”.
??
Choosing next file format by toggling the
RED
button.
??
Once the file format is determined, stop toggling, wait for 10 seconds.
??
Both buttons shall go off and stay off for 3 seconds.
??
Unit starts writing the new file format information into internal memory. During
the writing process, both buttons blink rapidly for approximate 10 seconds.
??
Once the file format is updated, both buttons shall be back to blink normally
indicating the writing process is done successfully. MUST turn unit’s power off
before next file format programming.
??
Unit is now ready to capture the video as new file format just programmed.
P5 Shining Technology CitiDISK DV Quick Usage Guide v5.0
Prepare both camcorder and CitiDISK DV just like you
are going to do “Camera Controlled DV Recording“.
Use pencil tip to press and hold the button for more
than 5 seconds. Power-access LED flashes in different
colors for about 5 seconds.
Note:
All of the files inside “Media” folder are subject
to be erased.
Connect FireWire cable (4-pin end) to camcorder’s DV port. Connect FireWire
cable (6-pin end) to CitiDISK DV. Set camcorder to “VCR” mode.
Position the tape to the beginning of the content. Pressing “
REC
” button of
CitiDISK DV unit.
RED
button starts to flash waiting to be fed. Press “PLAY”
button on camcorder to start archiving.
RED
button changes to solid
RED
indicating recording is in progress. Stop DV recording by pressing “
REC
”
button of CitiDISK DV unit first and then stop tape playing later.
RED
LED
goes off automatically.


