YQE8-J0093E
12
Maintenance Parts Replacement Procedures
1
/
1
Parts
Name
DC Motor Assy (Thermal Head Up/Down)
Part No.
164-11-09628
Tools
Phillips Screwdriver (#2), Nipper
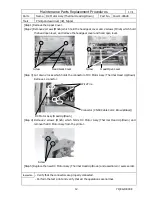
[Step 1] Remove the Upper Cover.
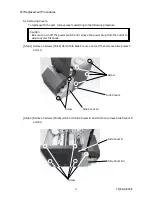
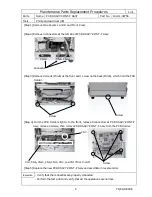
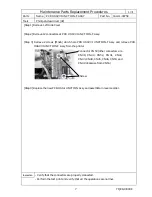
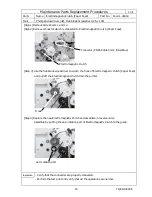
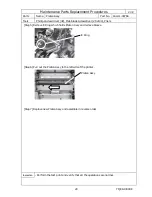
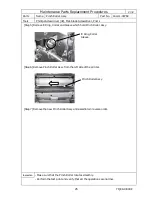
[Step 2] Remove 2 screws (M3x6) which hold the head gear cover and 2 screws (M3x6) which hold
the head open lever, and remove the head gear cover and head open lever.
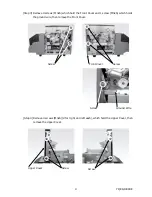
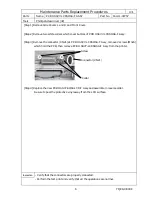
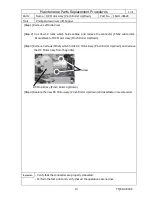
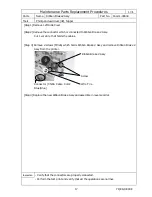
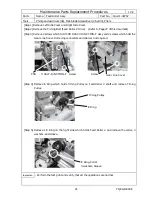
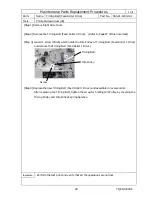
[Step 3] Cut down 2 locks which holds the connector of DC Motor Assy (Thermal Head Up/Down)
Remove 1 connector.
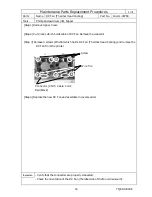
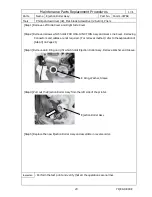
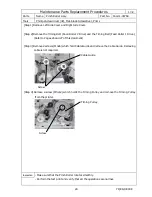
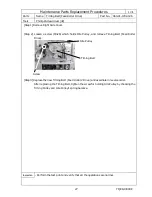
[Step 4] Remove 2 screws (M3x6) which holds DC Motor Assy (Thermal Head Up/Down) and
remove the DC Motor Assy from the printer.
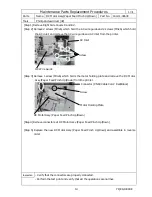
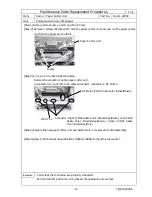
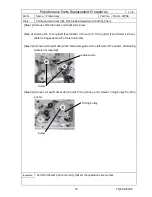
[Step 5] Replace the new DC Motor Assy (Thermal Head Up/Down) and assemble in reverse order.
Inspection
- Verify that the connectors are properly connected.
- Perform the test print and verify that all the operations are normal.
Head Open Lever
Screw
Screw
Head Gear Cover
Wire Tire
Connector (CN68 Cable Color: Brown/Black))
Screw
DC Motor Assy (Head Up/Down)


