background image

-12-

Model M1117 (For Machines Mfd. Since 9/21)

SE

TU

P

To prevent corrosion during shipment and storage of your 

machine, the factory has coated the bare metal surfaces 

of your machine with a heavy-duty rust prevention 

compound.

If you are unprepared or impatient, this compound can 

be difficult to remove. To ensure that the removal of this 

coating is as easy as possible, please gather the correct 

cleaner, lubricant, and tools listed below:

• Cleaner/degreaser designed to remove storage wax  


and grease

•  Safety glasses & disposable gloves

•  Solvent brush or paint brush

•  Disposable Rags

To.remove.rust.preventative.coating,.do.these.steps:

1.

  DISCONNECT MACHINE FROM POWER!

2.

   Put on safety glasses and disposable gloves.

3.

  Coat the rust preventative with a liberal amount of 

cleaner/degreaser, then let it soak for 5–10 minutes.

4.

  Wipe off surfaces. If your cleaner/degreaser is 

effective, the coating will wipe off easily.


Tip:

 An easier way to clean off thick coats of rust 

preventative from flat surfaces is to use a PLASTIC 

paint scraper to scrape off the majority of the 

coating before wiping it off with your rag. (Do 

not use a metal scraper or you may scratch your 

machine.)

5.

 Repeat 

cleaning steps as necessary until all of the 

compound is removed.

6.

  To prevent rust on freshly cleaned surfaces, 

immediately coat with a quality metal protectant.

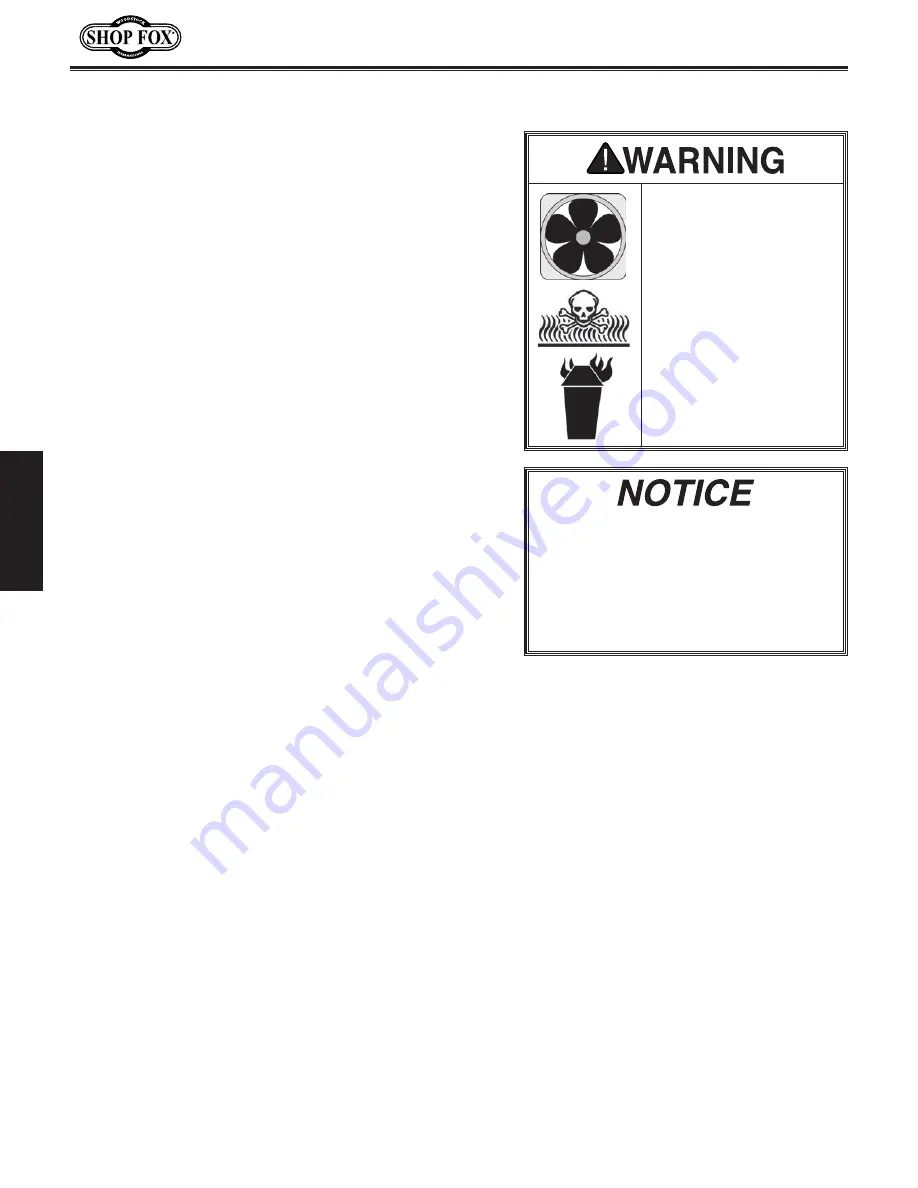
Gasoline.and.petroleum.

products.have.low.flash.

points.and.can.explode.

or.cause.fire.if.used.to.

clean.machinery..Avoid.

using. these. products.

to. clean. machinery..

Many. cleaning. solvents.

are. toxic. if. inhaled..

Minimize. your. risk.

by. only. using. these.

products. in. a. well.

ventilated.area.

In. a. pinch,. automotive. degreasers,.

mineral. spirits. or. WD•40. can. be. used.

to. remove. rust. preventative. coating..

Before. using. these. products,. though,.

test.them.on.an.inconspicuous.area.of.

your. paint. to. make. sure. they. will. not.

damage.it.

Cleaning.Machine

Summary of Contents for M1117

Page 1: ...360 734 3482 Online Technical Support techsupport woodstockint com COPYRIGHT SEPTEMBER 2021 BY WOODSTOCK INTERNATIONAL INC WARNING NO PORTION OF THIS MANUAL MAY BE REPRODUCED IN ANY SHAPE OR FORM WITH...

Page 2: ...g grinding tool integrity and the usage of personal protective equipment The manufacturer will not be held liable for injury or property damage from negligence improper training machine modifications...

Page 3: ...1 Cleaning Machine 12 Machine Placement 13 Lifting Placing 14 Anchoring to Floor 15 Assembly 16 OPERATIONS 19 Operation Overview 19 Cutting Tips 20 Adjusting Rear Work Stop 20 Adjusting Front Work Sto...

Page 4: ...afety setup operation maintenance and service of this product We stand behind our machines In the event that questions arise about your machine please contact Woodstock International Technical Support...

Page 5: ...Gauge Maximum Thickness at Half Width Mild Steel 14 Gauge Maximum Thickness at Full Width Mild Steel 16 Gauge Aluminum 12 Gauge Soft Brass 14 Gauge Annealed Phosphor Bronze 17 Gauge Soft Copper 14 Gau...

Page 6: ...1 of 2 Table Hold Down Blade Guard Foot Pedal Front Work Stop Micro Adjustable Rear Work Stop Assembly 1 of 2 Blade Bow Rear Work Stop Extension Spring 1 of 2 Rear Work Stop Support Rod 1 of 2 Rear S...

Page 7: ...top Adjusts on front extension arms and holds workpiece in place during shearing operation G Front Scale 1 of 2 Indicates distance from cutting line keeps workpiece square with blades H Rear Work Stop...

Page 8: ...or alcohol when tired or when distracted ELECTRICAL EQUIPMENT INJURY RISKS You can be shocked burned or killed by touching live electrical components or improperly grounded machinery To reduce this r...

Page 9: ...e accidental contact with moving parts or flying debris make sure they are properly installed undamaged and working correctly FORCING MACHINERY Do not force machine It will do the job safer and better...

Page 10: ...substances that may create a slip trip or fall hazard SHARP METAL EDGES The sharp metal edges of sheet metal can easily cut fingers hands and other body parts Always wear heavy leather gloves when han...

Page 11: ...or Mounting Hardware As Needed Precision Level 1 Wrench or Socket 10 12mm 1 Ea Tape Measure 1 Items Needed for Setup The following items are needed but not included to set up your machine Wear safety...

Page 12: ...ARE 1MM APART 5mm 10mm 20mm 15mm 25mm 40mm 30mm 35mm 45mm 50mm 60mm 55mm 70mm 65mm 75mm W A S H ER DIAM E T E R 5 8 W A S H ER DIAM E T E R 9 16 1 2 W A S H ER DIA M E T E R W A S H ER DIA M E T E R...

Page 13: ...5 x 45 3 H Hex Bolts M12 1 75 x 30 4 I Hex Bolts M10 1 5 x 20 2 J Flat Washers 12mm 7 K Flat Washers 10mm 2 L Wing Nuts M12 1 75 3 M Cotter Pins M3 x 50 4 N Clevis Pins 12 x 45mm 4 O Clevis Pins 12 x...

Page 14: ...aces If your cleaner degreaser is effective the coating will wipe off easily Tip An easier way to clean off thick coats of rust preventative from flat surfaces is to use a PLASTIC paint scraper to scr...

Page 15: ...handling or the installation of auxiliary equipment With permanent installations leave enough space around the machine to open or remove doors covers as required by the maintenance and service descri...

Page 16: ...o your desired location All lifting equipment should be rated for at least 1500 pounds To lift and move machine do these steps 1 Place shipping crate near installation location then remove crate top a...

Page 17: ...or if it is permanently connected hardwired to the power supply local codes may require that it be anchored to the floor If not required by any local codes fastening the machine to the floor is an opt...

Page 18: ...n floor and base to level machine before proceeding Leveling shear helps blades and other components remain straight and flat during life of machine so machine can continue to cut straight and square...

Page 19: ...y tightening pre installed hex bolts see Figure 13 Note Rear work stop support rods should extend same distance from back of machine If one rod extends farther than the other adjust hex bolts and rods...

Page 20: ...ar work stop lock knobs see Figure 15 Figure 15 Rear work stop assembly components 11 Attach rear work stop to rear work stop assemblies with 2 M10 1 5 x 20 hex bolts and 10mm flat washers as shown in...

Page 21: ...read books or trade articles or seek training from an experienced operator of this type of machinery before performing unfamiliar operations Above all safety must come first Bodily injury could resul...

Page 22: ...17 Use even pressure on the foot pedal throughout the entire cut to produce a straight even cut Shearing Action Upper Blade Lower Blade The rear work stop is used for making repetitive cuts of the sa...

Page 23: ...workpieces that have an angled front edge To use bevel gauge do these steps 1 Loosen 2 front work stop wing nuts see Figure 20 2 Slide front work stop out of front extension arms to remove see Figure...

Page 24: ...and security Cam action levers make placement and removal quick and easy The M1052 3 In 1 Sheet Metal Machine has a 12 wide capacity and three sheet metal functions in one unit There is no need to sp...

Page 25: ...metal plate stock and round stock to size Both of these shears can be mounted for stationary use and feature compound lever action for tremendous mechanical advantage Plate capacity 3 16 7 gauge The...

Page 26: ...is machine this maintenance schedule must be strictly followed Ongoing To minimize your risk of injury and maintain proper machine operation stop operations immediately if you ever observe any of the...

Page 27: ...he foot pedal a few times to distribute the lubricant Items Needed Qty Wire Brush 1 Shop Rags As Needed Light Machine Oil or ISO 32 Equivalent As Needed Figure 22 Location of pivot pins 2 of 4 shown S...

Page 28: ...g Clean the rear work stop support rods with mineral spirits when you have any trouble adjusting the rear work stop position Apply a few drops of oil to the locations shown in Figure 25 on each assemb...

Page 29: ...to lower or if all the other blade adjustment have been verified as correct and the quality of cut is still poor Adjusting Gibs Tools Needed Qty Hex Wrench 8mm 1 Open End Wrench 17mm 1 To adjust gibs...

Page 30: ...loves For Each Person 1 Pr Hex Wrench 8mm 1 Surface Grinder 1 Mineral Spirits As Needed Shop Rags As Needed Metal Protectant As Needed New Upper Blade XM1117024 As Needed New Lower Blade XM1117025 As...

Page 31: ...nly on full length of shear blades blade gap requires no adjustment If paper does not cut cleanly on only one end of shear lower blade needs to be adjusted on that end Proceed to Step 2 If paper does...

Page 32: ...justed by adjusting the bow jam nut on the centering rod see Figure 30 Adjusting Blade Bow Figure 30 Location of bow jam nut Bow Jam Nut Items Needed Qty Open End Wrench 24mm 1 Scrap Paper As Needed T...

Page 33: ...2 For the front scales to work properly these scales must be square to the blades Squaring Front Scales Tools Needed Qty Machinist s Square 1 Wrench or Socket 13mm 1 To square front scales do these st...

Page 34: ...re 4 Place edge of workpiece under blade guard then use foot pedal to confirm workpiece is secured by guard 5 Refer to following section to verify guard parallelism Figure 33 Location of blade guard h...

Page 35: ...2 Properly adjust blade gap Page 29 3 Properly adjust blade bow Page 30 4 Properly adjust hold down blade guard Page 32 Poor quality of cuts ripping or tearing 1 Blade gap not correct 2 Blades worn or...

Page 36: ...32 33 34 35 36 37 38 39 40 41 42 43 44 45 65 66 67 68 69 70 72 76 77 78 46 47 48 50 51 52 53 55 56 57 58 59 60 61 62 63 64 65 20 20 68 51 31 76 8 9 14 39 56 42 76 2 3 5 6 7 15 16 19 71 74 75 49 54 56...

Page 37: ...M1117018 HEX BOLT M10 1 5 X 60 58 XM1117058 HEX BOLT M10 1 5 X 25 19 XM1117019 HEX BOLT M10 1 5 X 50 59 XM1117059 REAR WORK STOP 20 XM1117020 FLAT WASHER 10MM 60 XM1117060 REAR WORK STOP MOUNT 21 XM11...

Page 38: ...t 1 3 4 Front Stop Scale Range 0 12 1 2 Rear Stop Scale Range 0 33 Weight 982 lbs MODEL M1117 52 SHEET METAL SHEAR Specifications Mfd for Woodstock in China WARNING S N Date To reduce risk of serious...

Page 39: ...e product This is Woodstock International Inc s sole written warranty and any and all warranties that may be implied by law including any merchantability or fitness for any particular purpose are here...

Page 40: ......

Reviews: