-20-
Model M1117 (For Machines Mfd. Since 9/21)
O
PE
R
ATIO
NS
Cutting.Tips
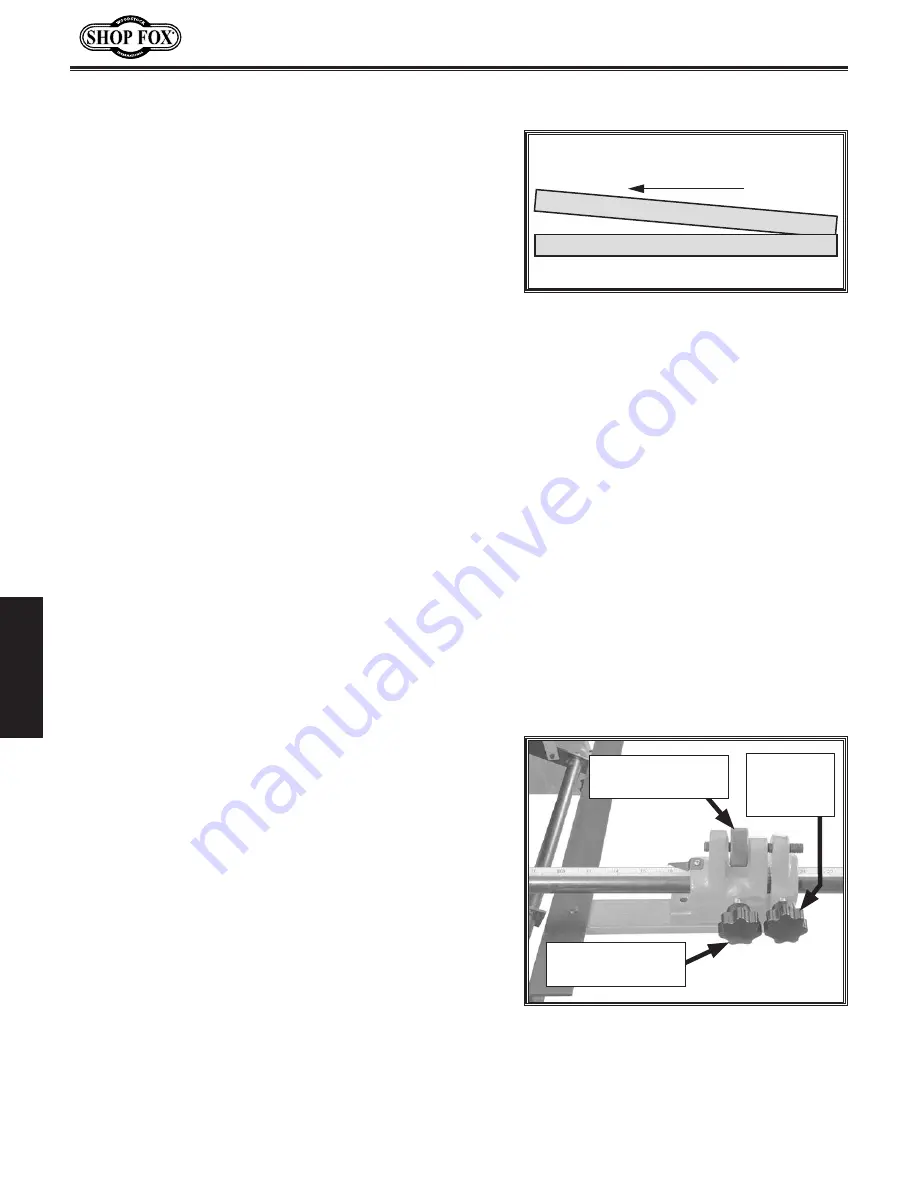
Figure.17.
Blade shearing action.
Adjusting.Rear.Work.Stop
• Never attempt to cut any workpiece narrower than
1
⁄
2
". The workpiece must be long enough to be
engaged by the hold-down/blade guard.
• Keep the upper blade properly adjusted to the lower
blade (refer to
Adjusting Blade Gap on Page 29 for
detailed instructions). This will help ensure good
cutting results and avoid blade damage.
• Before each operation, clean cut-offs or debris away
from the shear.
• Use the foot pedal to engage the hold-down/blade
guard with the workpiece, then pause to check
the workpiece position. If the workpiece position
is correct, continue lowering the foot pedal to
complete the cut.
• The shearing action of the blades works similarly
to a pair of scissors (see illustration in
Figure
17
).
Use even pressure on the foot pedal throughout the
entire cut to produce a straight, even cut.
Shearing Action
Upper Blade
Lower Blade
The rear work stop is used for making repetitive cuts of
the same length. The micro-adjustment assemblies allow
for precise positioning of the work stop.
To.adjust.rear.work.stop,.do.these.steps:
1..
Loosen (2) rear work stop lock knobs and (2) micro-
adjustment lock knobs (see
Figure
18
).
2..
Slide rear work stop evenly along support rods so
work stop leading edge is at approximate desired
distance from cutting edges of blades.
Note:
Use scales on top of support rods for
approximate positioning. Use fine ruler or tape
measure for more precise positioning.
3..
Use micro-adjustment knob on each assembly to
adjust work stop in small, precise amounts until they
are exactly where needed (see
Figure
18
).
Micro-Adjustment
Lock Knob
Micro-Adjustment
Knob
Rear Work
Stop
Lock Knob
Figure.18.
Rear work stop adjustment
components.
Note:
Move work stop evenly on both sides to keep
it parallel with the blades.
Summary of Contents for M1117
Page 40: ......


