Model W1781 21˚ Framing Nailer
-8-
OPERATIONS
Loading
When replacing nails in your Model
W1781, follow these guidelines:
Type: .............................. Round Head
Angle: ....................................... 21°
Diameter: ............................... 0.113"
Length: ................................. 2"–3
1
⁄
2
"
Capacity: .............................. 75 Nails
To load your nailer, do these steps:
1.
DISCONNECT NAILER FROM THE AIR
SUPPLY!
2.
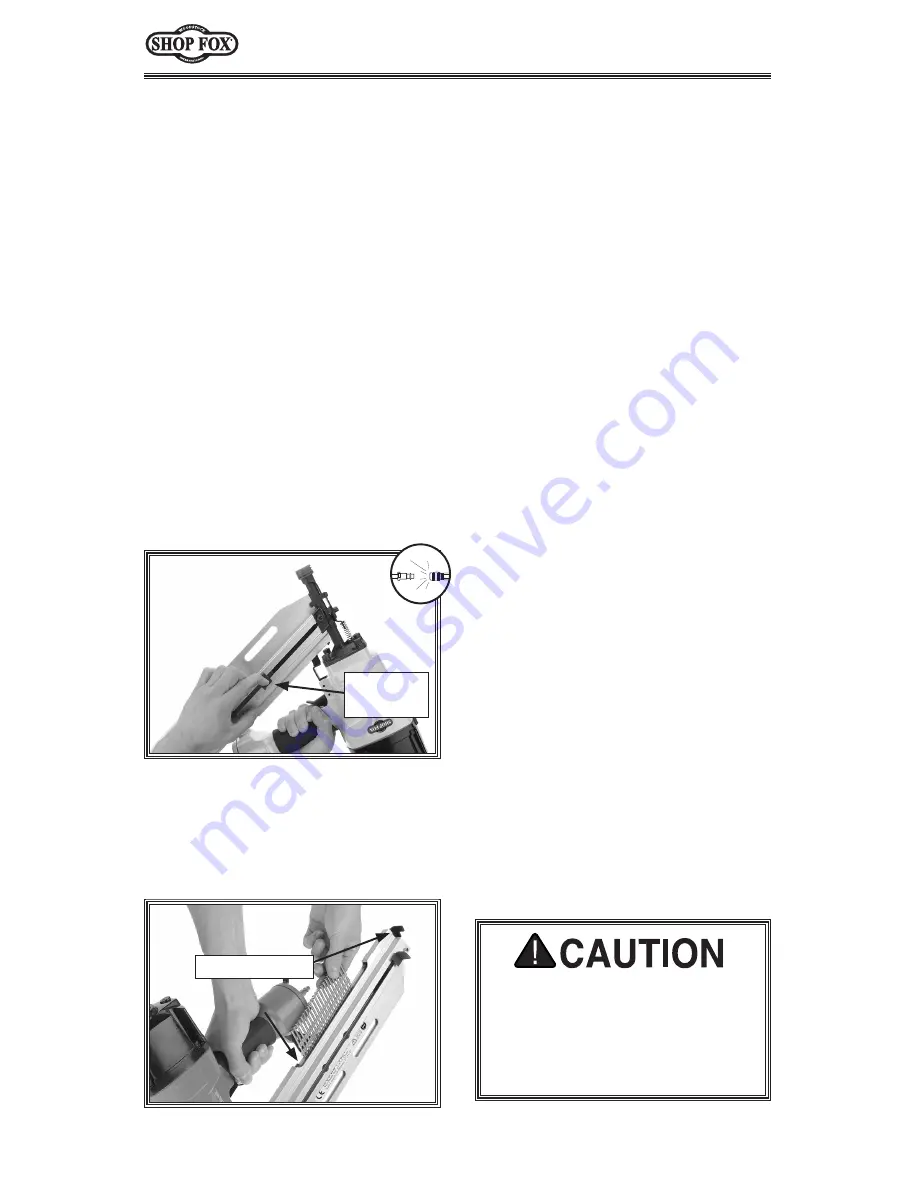
Slide the magazine back, as shown in
Figure 3
, until it locks in place.
If you have not read the safety
instructions in this manual, do not
operate the nailer.
Before you operate your nailer, place five
to six drops of the included oil into the
quick connect fitting where the nailer
connects to the air supply, unless using a
lubricator unit.
To operate your nailer, do these steps:
1.
Connect the air supply to the quick
connect fitting.
2.
To test for proper nail penetration,
hold the nailer perpendicular to the
surface of a piece of clean scrap
wood that is thick enough for the
length of nails you have loaded.
Operating
4.
Slide the nails all the way down to
the nose of the nailer.
5.
With one hand on the magazine
handle for control, release the
magazine catch and slowly allow the
magazine to press against the nails.
Note:
Releasing the magazine catch
and allowing it to "snap" in position
causes undue wear and can lead to
premature failure.
Figure 4.
Loading nails into magazine.
Magazine Catch
3.
Insert a strip of nails, pointed-end
down, into the magazine as shown in
Figure 4
.
Figure 3.
Sliding magazine pusher back
and engaging catch lever.
Magazine
Handle
DO NOT place your hands near the
nail point of entry. A nail can deflect
and tear through the surface of the
workpiece, puncturing your hand or
fingers.


