-10-
Model W1754H (For Machines Mfd. Since 9/19)
O
PE
R
ATIO
NS
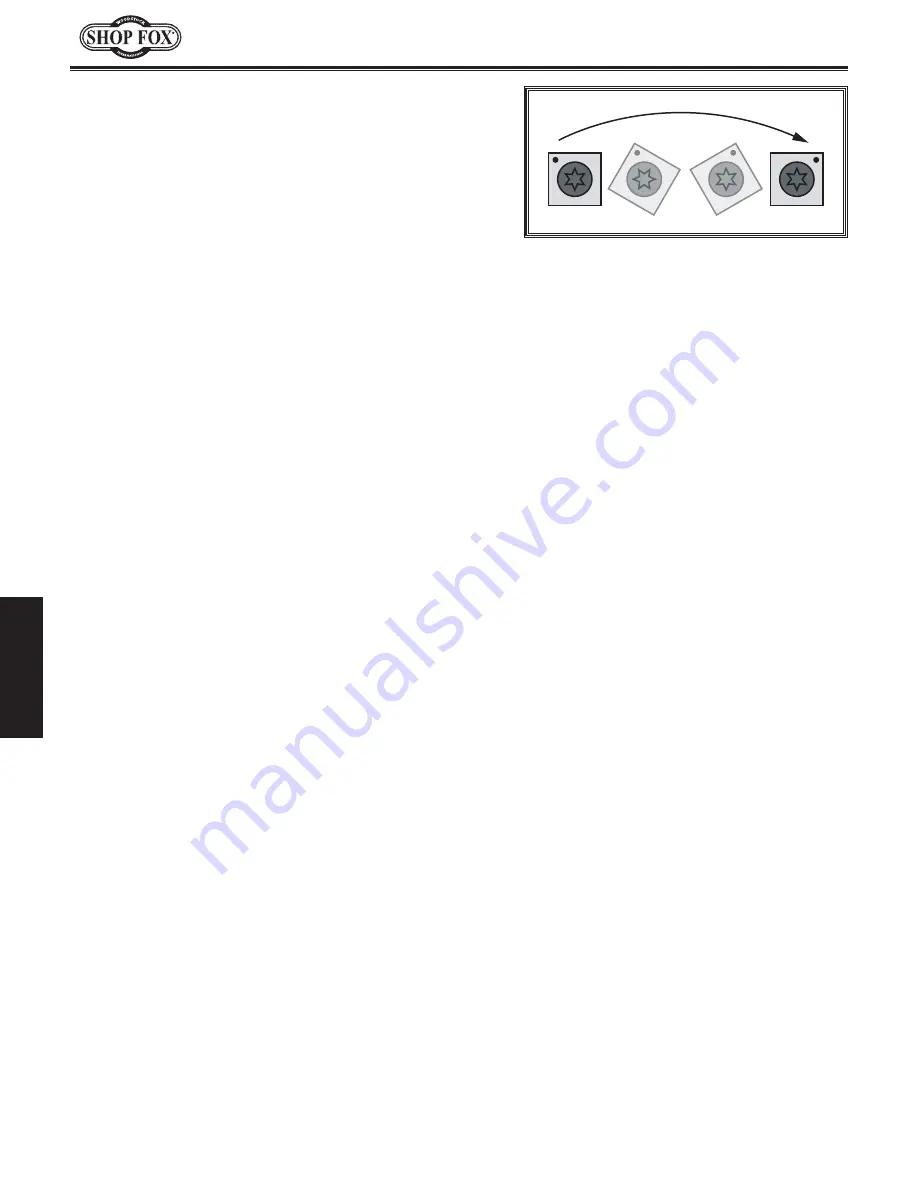
Figure 4.
Insert rotating sequence.
6.
Rotate insert 90° and install so that a fresh cutting
edge faces outward (see
Figure 4
).
— When all four insert cutting edges have been used,
replace insert with a new one. Always position
new insert reference dot in same position to aid in
rotational sequencing.
7.
Lubricate Torx screw threads with a very small
amount of light machine oil, wipe excess off, and
torque screw to 50–55 inch/pounds.
Note:
If too much oil is applied to the threads,
excess oil will attempt to squeeze out of the
threaded hole and raise insert during installation,
bringing it out of height alignment.
Summary of Contents for W1754H
Page 20: ......
Page 31: ... ...
Page 34: ... 3 W1754 20 Planer With Mobile Base INTRODUCTION ...
Page 70: ... 39 W1754 20 Planer With Mobile Base SERVICE W1754 Wiring Diagram ...
Page 73: ... 42 W1754 20 Planer With Mobile Base PARTS Headstock Assembly Parts Breakdown ...
Page 78: ... 47 W1754 20 Planer With Mobile Base PARTS Base Breakdown ...
Page 81: ... 50 W1754 20 Planer With Mobile Base PARTS Columns Breakdown ...
Page 85: ......
Page 88: ......
Page 89: ......


