-15-
Model W1854 (For Machines Mfd. Since 02/18)
SE
TU
P
Assembly
Before beginning the assembly process, refer to
Items.
Needed.for.Setup
and gather everything you need.
Ensure all parts have been properly cleaned of any
heavy-duty rust-preventative applied at the factory (if
applicable). Be sure to complete all steps in the assembly
procedure prior to performing the
Test.Run
.
To.assemble.machine,.do.these.steps:
1.
Move sander crate to an appropriate location, as
described in
Machine.Placement
on previous page.
2.
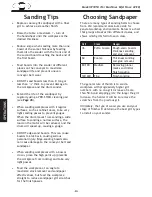
Mount a top and bottom long bracket to a stand
leg and secure by hand with (2) M8-1.25 x 15
carriage bolts and (2) M8-1.25 flange nuts, as shown
in
Figure.4
.
3.
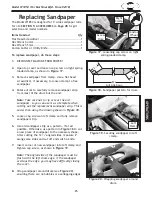
Secure a second leg to top and bottom long brackets
with (2) M8-1.25 x 15 carriage bolts and flange nuts,
as shown in
Figure.5
.
4.
Repeat
Steps.2-3
with remaining components to
build remaining stand leg assembly.
5.
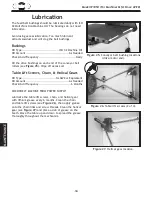
Mount top and bottom short brackets to stand leg
assembly with (2) M8-1.25 x 15 carriage bolts and
(2) M8-1.25 flange nuts, as shown in
Figure.6
.
Do. not. final-tighten. stand. bolts. until. all. stand.
components.have.been.assembled..It.will.help.with.
aligning.and.leveling.stand.later.in.assembly.steps.
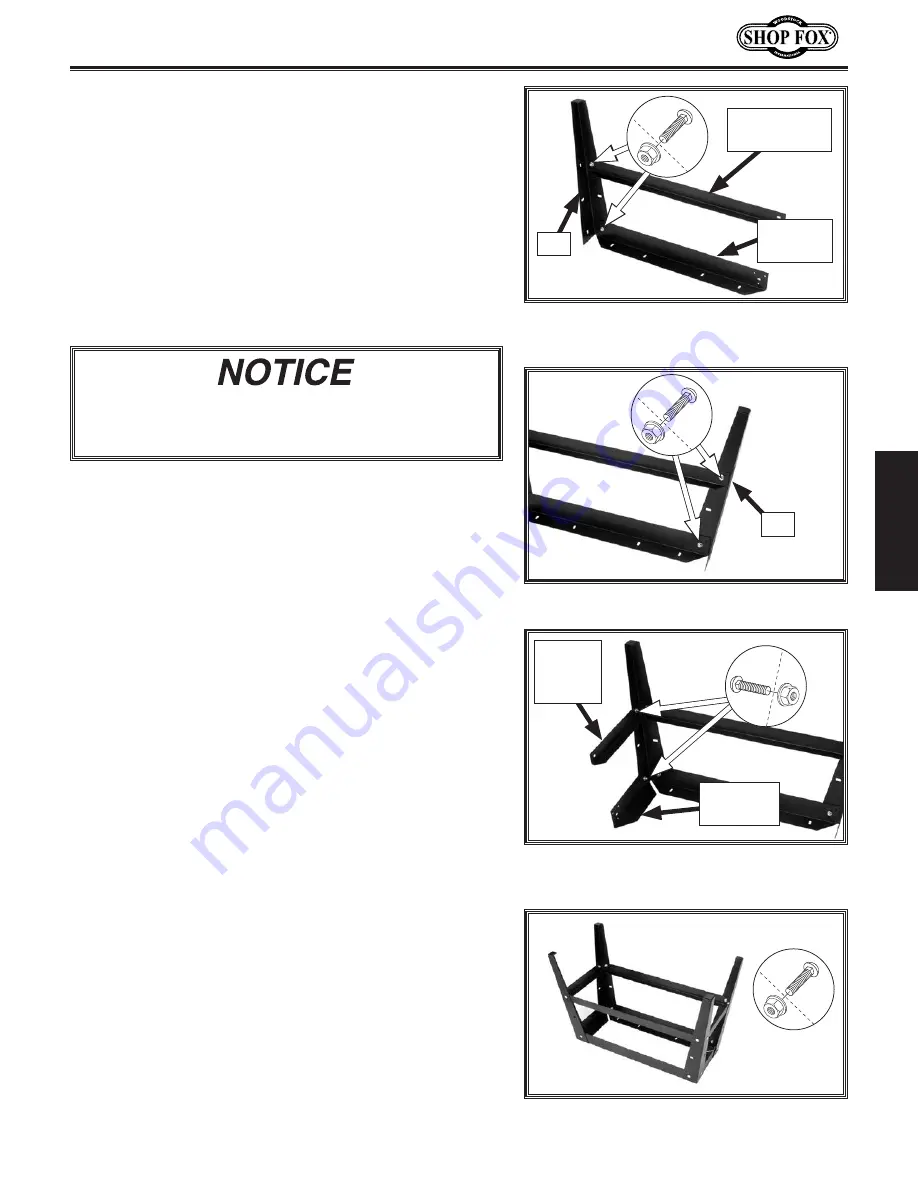
Figure.7..
Completed stand assembly.
x10
Note: We recommend assembling the stand upside down.
To make it easier, have an assistant hold the pieces while
you assemble the stand.
6.
Assemble remaining stand components, as shown in
Figure.7
, with remaining hardware.
Figure.4..
Top and bottom long brackets
secured to a stand leg.
x2
Leg
Bottom Long
Bracket
Top Long
Bracket
Figure.5..
A completed stand leg assembly.
x2
Leg
Figure.6..
Top and bottom short brackets
secured to stand leg assembly.
x2
Bottom
Short
Bracket
Top Short
Bracket
Summary of Contents for W1854
Page 53: ...Model W1854 For Machines Mfd Since 02 18 ...
Page 56: ......


