background image


11 

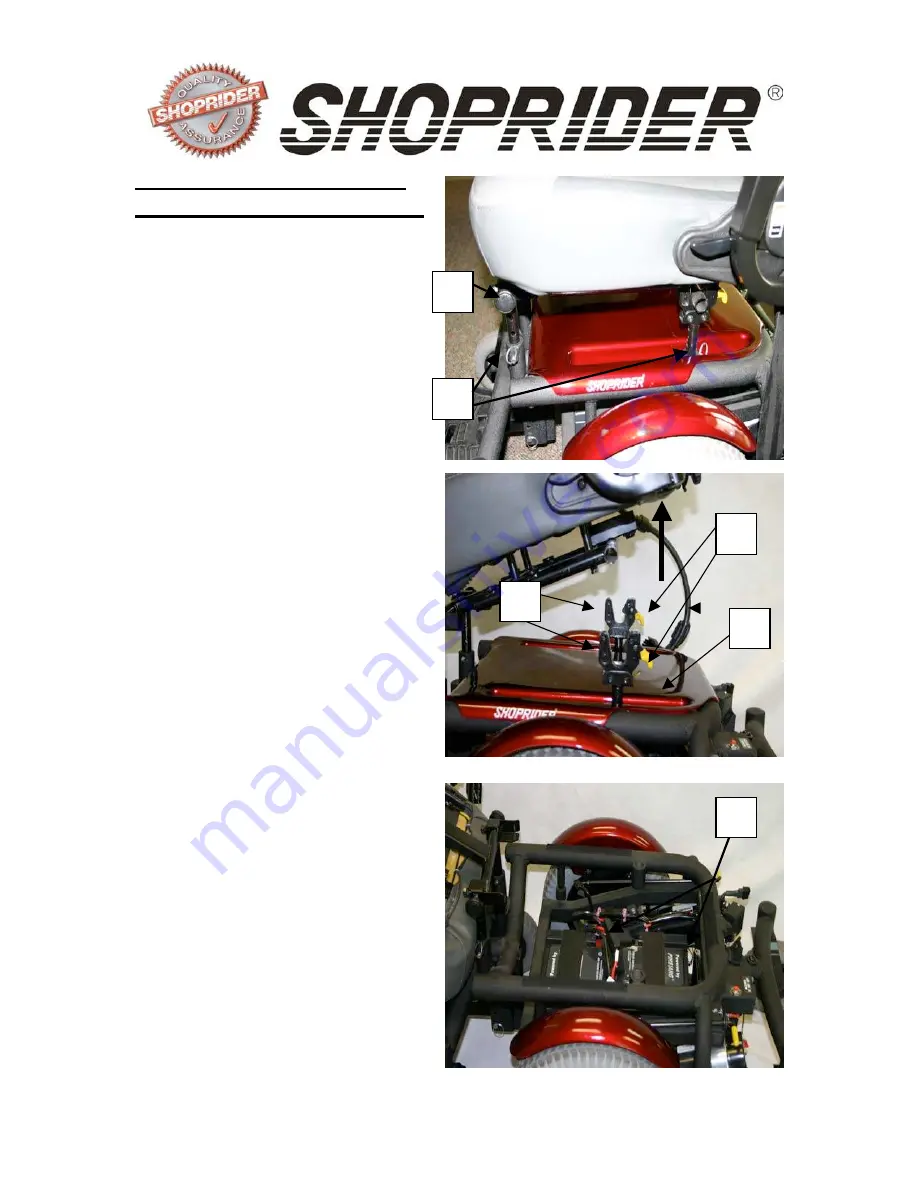
Seat Height Adjustment 
And Easy Battery Access 
 

1. Tightening knob that allows for  
the seat to be removed if needed, 
if not, there is a pivot point that  
allows for the seat to move up  
and away from the base. 
 
2. Adjustment pins that can be      
used to adjust the height of the 
seat to fit the user. 
 
3. Release levers; allow for the 
rear of the seat to be lifted and 
moved away from the base for 
easy battery access, without


removing entire seat.


4. U-Hooks hold the seat in place 
and must be removed before 


removing the shroud to get to


the batteries.


5. Bottom shroud is easily 
popped off, to allow for battery 
access. 
 
6. Batteries are sitting on the base 


Summary of Contents for Puma 10

Page 1: ...Mid wheel Powerchair USER MANUAL Models PUMA 10 14 14HD 10 PUMA PUMA PUMA 14HD PUMA R E L I A B L E M O B I L I T Y G U A R A N T E E D...

Page 2: ...6 7 FEATURE GUIDE 8 9 GETTING TO KNOW YOUR SHOPRIDER 10 11 THE JOYSTICK CONTROLLER VSI 12 LOCKING UNLOCKING THE JOY STICK CONTROLLER 13 DRIVE FREEWHEEL MECHANISM 14 DRIVING YOUR POWERCHAIR 15 BATTERIE...

Page 3: ...l times even when driving on uneven terrain Combine this with the programmable joystick controller fully adjustable footplate armrests flat free tyres deluxe reclining captain seat and easy access bat...

Page 4: ...ed directly on the transmitting unit Examples include citizens band CB radios walkie talkies security fire and police transceivers cellular telephones and other personal communication devices NOTE Som...

Page 5: ...rchair movement which could result in serious injury 1 Do not operate hand held transceivers transmitter receivers such as citizens band CB radios or turn ON personal communication devices such as cel...

Page 6: ...r 6 Do not drive over deep and soft terrain soft dirt loose gravel deep grass 7 Do not attempt to mount a curb height above 50mm 8 Do not mount or dismount the Powerchair unless the electromagnetic br...

Page 7: ...s keep your Powerchair properly maintained 27 Never try to use your Powerchair beyond it s limitations as described in this manual 28 Always put seat in most upright position whenever driving up an in...

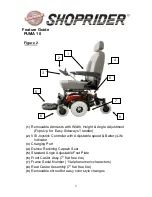
Page 8: ...rammable VSI Joystick Controller with Adjustable speed Battery Life Indicator 3 Charging Port 4 Deluxe Reclining Captain Seat 5 Adjustable Length Height Angle Foot Plate 6 Front Castor Assy 7 flat fre...

Page 9: ...th Adjustable speed Battery Life Indicator 3 Charging Port 4 Deluxe Reclining Captain Seat 5 Standard Angle Adjustable Foot Plate 6 Front Castor Assy 7 flat free tire 7 Frame Serial Number 13 alphanum...

Page 10: ...ilt in height adjustment knob that adjusts the arm pad to a comfortable level for the driver The seat is covered in a durable long lasting black grey vinyl for comfort and style Adjustable footplate T...

Page 11: ...hat can be used to adjust the height of the seat to fit the user 3 Release levers allow for the rear of the seat to be lifted and moved away from the base for easy battery access without removing enti...

Page 12: ...ases the maximum speed 6 Speed Increase Button This Button Increases the maximum speed 7 Joystick This controls the speed and direction of the Powerchair Push the joystick in the direction you want to...

Page 13: ...r controller Use the on off button to switch the controller on The maximum speed profile indicator will be rippling up and down Push the joystick forward until the controller bleeps Push the joystick...

Page 14: ...rive freewheel levers are found toward the rear of the Powerchair both have yellow colored handles These levers will allow you to disengage the drive mechanism When the levers are pulled out away from...

Page 15: ...lways approach an incline head on not at an angle 3 Always travel at a speed that you are comfortable with and that you feel in complete control 4 Avoid sudden or erratic action with the joystick 5 Al...

Page 16: ...ase or oil in the breather cap located on the top of each worm gear DO NOT USE TOO MUCH GREASE Drips may stain or damage carpets furnishings etc It is recommended that the driving axles inside the dri...

Page 17: ...at these guidelines be followed You cannot over charge the batteries Keeping the batteries charged extends the life of the batteries SLA batteries should be kept fully charged at all times They must n...

Page 18: ...is no light or a different color light on than should be refer to the charging trouble shooting section in this manual Depending on the amount of battery discharge the charge time can take up to 12 h...

Page 19: ...connections Call your Shoprider Provider 4 Bars flash Right hand motor disconnected Check connections Call your Shoprider Provider 3 Bars flash Left hand motor wiring fault Check connections Call you...

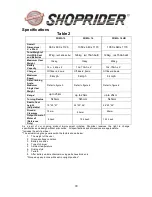
Page 20: ...the right to change specifications and design without prior notice All specifications and dimensions are approximate 1 Includes the anti tip wheel 2 The actual driving range varies with the factors sh...

Page 21: ...f improper or unsafe use of its products Warranty is only valid when genuine Shoprider parts are used All modifications on the Powerchair unless approved and authorised by Shoprider will automatically...

Page 22: ...assess if warranty applies Warranty Terms Conditions Structural Frame Components include Welded Chassis only Drive Train Assembly 18 months Shoprider Australia warrants that the drive train Assembly...

Page 23: ...orage Any commercial use what so ever 4 Where an authorised dealer has not lodged all required documentation at the appropriate time the warranty is Void 5 All warranties provided do not extend to pur...

Page 24: ...at the time of publication SHOPRIDER reserves the right to make changes as they become necessary Any changes to the SHOPRIDER range may cause slight variations between the illustrations and explanati...

Page 25: ...You can rely on a Shop rider Ask for the brand Shoprider R E L I A B L E M O B I L I T Y G U A R A N T E E D...

Reviews: