{7}
Shor-Line | 800.444.1579 |
www.shor-line.com
;
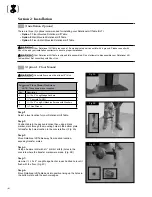
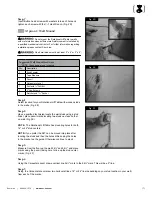
Step 7
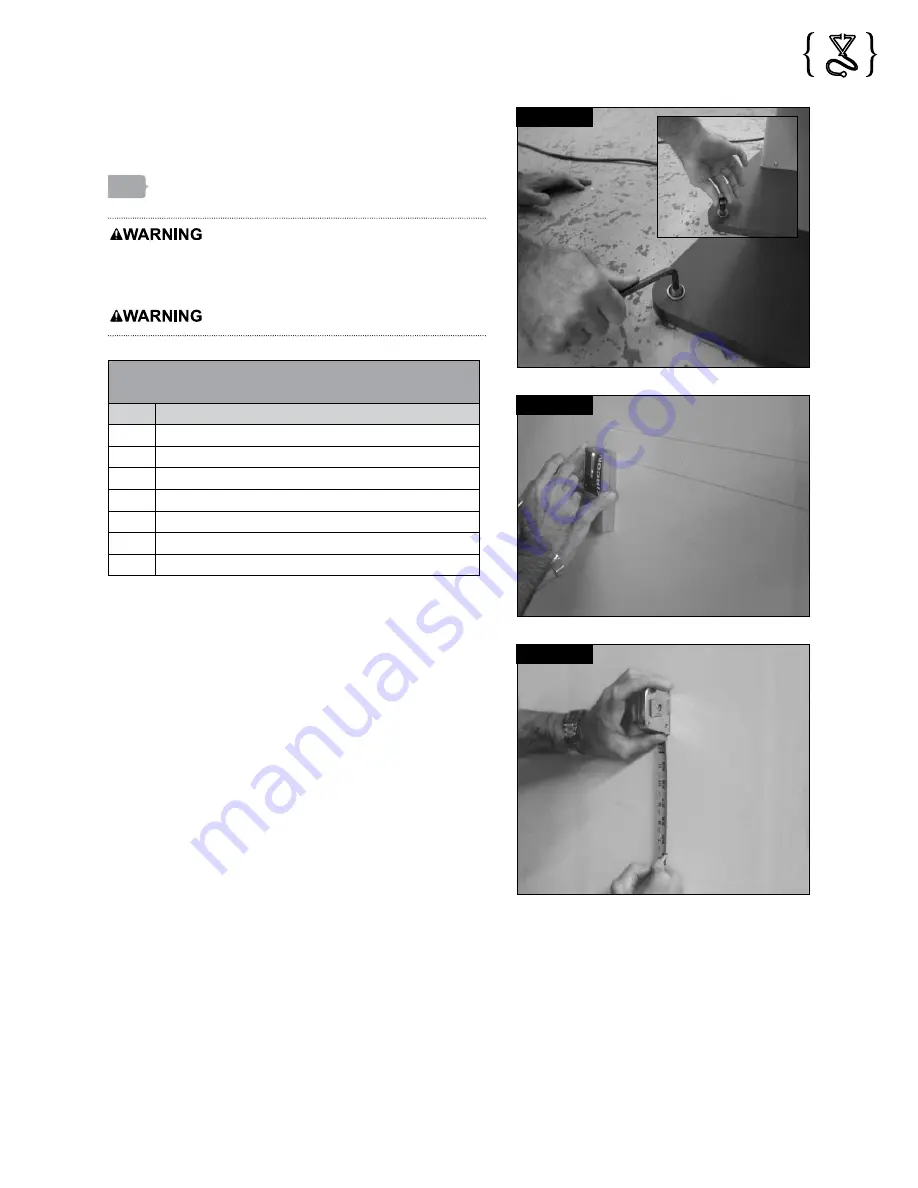
Insert Button head screws with washers into each hole and
tighten each screw with the
5/16
" Hex Wrench. (Fig. 2D)
{Option 2: Wall Mount}
Do not mount the Rotational Lift Table to walls
with metal studs unless sufficient wall reinforcement is installed by
a qualified mechanical contractor. For further information regarding
installation please contact Shor-Line.
Wood wall studs must be at least 2" x 4" or 2" x 6".
Suggested Wall Mount Hardware
*NOTE: These items are not supplied.
Qty.
Description
1
Stud Locator
1
Tape Measure
1
Pencil
1
Carpenters Level
1
Drill with
1/8
" Drill Bit
4
3" Lag Screws
1
Ratchet and
7/16
" Socket
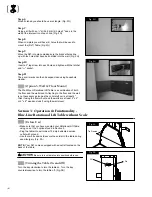
Step 1
Select location for your Rotational Lift Table with wooden studs
in the walls. (Fig. 2E)
Step 2
Have a qualified technician locate the wall studs using a stud
finder, place pencil marks locating two studs next each other
on wall. (Fig. 2E)
NOTE:
The Rotational Lift Table has mounting holes for both
16" or 24" stud centers.
NOTE:
If you prefer the RLT can be moved into place after
locating the studs and then the holes drilled using the holes
in the bracket as the guide. Otherwise continue to step 3.
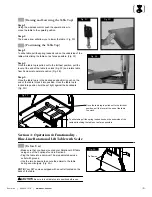
Step 3
Measure from the floor up the wall 54¼" and 56¼", and place
marks using the pencil, taking care to line up the stud center
marks. (Fig. 2F)
Step 4
Using the Carpenters Level draw a vertical line 54¼" mark to the 56¼" mark. This will be a 2" line.
Step 5
Using the Carpenters Level draw two horizontal lines, 16" or 24" line (depending on your stud location in your wall),
from each of the marks.
Fig. 2D
Fig. 2E
Fig. 2F


