english
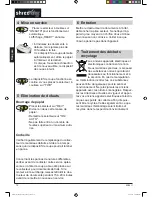
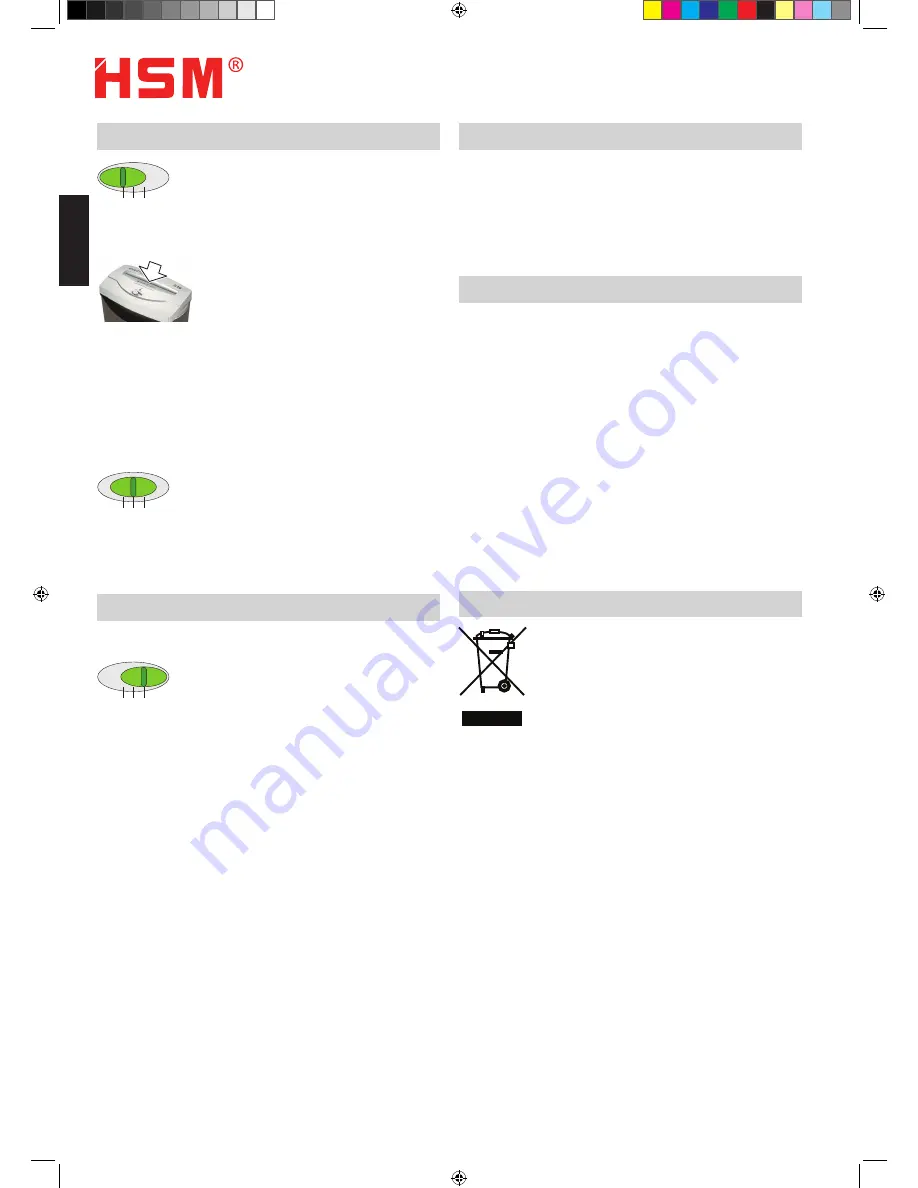
• Set the sliding switch for automatic
operation to "ON/AUTO" .
The "READY" display glows .
• Feed in the paper to be shred,
however, never feed in more
than 10 sheets at a time .
The cutting device starts auto-
matically, pulls in the paper and
shreds it .
When the feed opening is
clear of paper again, the cutting
device switches off .
• the cutting device runs constantly if
you set the sliding switch to "fWD" .
REV
FWD
ON/AUTO
REV
FWD
ON/AUTO
4 Operation
Paper jam
• Set the slider switch to "rev".
Pa per is pus hed out .
• Set the slider switch to "on/aUto"
again .
• do not feed in too many sheets at
once .
Shredded material container
Check the level of shredded material in the bin
frequently. empty before it becomes too full
or the cutting ability of the machine could be
compromised .
For all other malfunctions, check whether the
cutting head was correctly positioned on the
shredded material container before contacting
our customer service . If the motor was over-
loaded, let the shredder cool down for 15 to
20 minutes before using it again .
REV
FWD
ON/AUTO
5 Troubleshooting
Switch off the shredder and pull out the power
plug .
When cleaning only use a soft cloth and a mild
soap-water solution. However, no water must
enter the equipment.
6 Cleaning
8. Disposal / Recycling
Electrical and electronic old devices
contain a variety of valuable materi
als,
but also hazardous substances which
were required for function and safety.
Incorrect disposal or handling can be
dangerous to your health and the
environment . Never dispose of old devices in
the household waste . Observe the current
applicable regulations and use the collection
points for returning and recycling electric and
electronic devices . Dispose of all the packaging
materials also in an environmentally-responsi-
ble way .
7. Cleaning Photo Eye Sensors
shredstar
®
8
5/2012
• Unplug your machine – for your safety
• lift cd flap on machine(if no flap installed,
disregard this line and continue on)
Note: In the center of the paper slot you should
see 2 transparent squares – one on either side
of the slot
• Use compressed air or take a dry tissue or
paper towel and wipe back and forth a few
times just to dust that area off
• replace flap if necessary
• Plug machine back in
Shredstar_S10_manual_2012_37.indd 8
7/5/2012 1:20:30 PM
Summary of Contents for S10
Page 6: ...deutsch 6 5 2012 Shredstar_S10_manual_2012_37 indd 6 7 5 2012 1 20 29 PM ...
Page 10: ...10 02 2011 english Shredstar_S10_manual_2012_37 indd 10 7 5 2012 1 20 30 PM ...
Page 14: ...14 02 2011 français Shredstar_S10_manual_2012_37 indd 14 7 5 2012 1 20 33 PM ...
Page 18: ...18 02 2011 italiano Shredstar_S10_manual_2012_37 indd 18 7 5 2012 1 20 35 PM ...
Page 22: ...22 02 2011 español Shredstar_S10_manual_2012_37 indd 22 7 5 2012 1 20 38 PM ...
Page 26: ...26 02 2011 português Shredstar_S10_manual_2012_37 indd 26 7 5 2012 1 20 41 PM ...
Page 30: ...30 02 2011 nederlands Shredstar_S10_manual_2012_37 indd 30 7 5 2012 1 20 43 PM ...
Page 34: ...34 02 2011 dansk Shredstar_S10_manual_2012_37 indd 34 7 5 2012 1 20 45 PM ...
Page 38: ...38 02 2011 svenska Shredstar_S10_manual_2012_37 indd 38 7 5 2012 1 20 48 PM ...
Page 42: ...42 02 2011 suomi Shredstar_S10_manual_2012_37 indd 42 7 5 2012 1 20 51 PM ...
Page 46: ...46 02 2011 polski Shredstar_S10_manual_2012_37 indd 46 7 5 2012 1 20 53 PM ...
Page 50: ...50 02 2011 česky Shredstar_S10_manual_2012_37 indd 50 7 5 2012 1 20 56 PM ...
Page 54: ...54 02 2011 slovensky Shredstar_S10_manual_2012_37 indd 54 7 5 2012 1 20 58 PM ...
Page 58: ...58 02 2011 русский Shredstar_S10_manual_2012_37 indd 58 7 5 2012 1 21 01 PM ...
Page 62: ...62 02 2011 slovensko Shredstar_S10_manual_2012_37 indd 62 7 5 2012 1 21 03 PM ...
Page 66: ...66 02 2011 Shredstar_S10_manual_2012_37 indd 66 7 5 2012 1 21 06 PM ...
Page 67: ...02 2011 67 Shredstar_S10_manual_2012_37 indd 67 7 5 2012 1 21 06 PM ...


