Shur-Co Donovan Quick-Flip III, Owner'S Manual
The Shur-Co Donovan Quick-Flip III is a high-performance product designed to simplify your work. This versatile device features innovative technology and user-friendly controls. To harness its full potential, make sure to download the free Owner's Manual from our website 88.208.23.73:8080 for step-by-step instructions and valuable insights on optimizing its functionalities.
Share
Download

Reviews:
No comments
Related manuals for Donovan Quick-Flip III
3600 Series
Brand: SAC Pages: 134

XF105
Brand: DAF Pages: 20
810
Brand: Jacobsen Pages: 20
C5
Brand: Magliner Pages: 4
LF Series
Brand: DAF Pages: 44
5200
Brand: Ravas Pages: 36
LF45 Series
Brand: DAF Pages: 12
LF45 Series
Brand: DAF Pages: 128
MINIMAX
Brand: Labrie Pages: 113
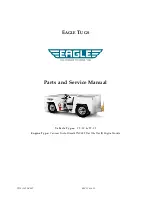
TT Series
Brand: Eagle Pages: 166
LEU
Brand: Mack Pages: 59
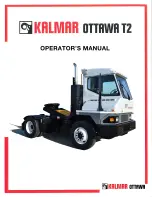
Ottawa t2
Brand: Kalmar Pages: 79
5490
Brand: KAMAZ Pages: 327

2018 PROMASTER
Brand: RAM Commercial Pages: 172
T-3000
Brand: TARCO Pages: 39
B0-T48-48 Taylor Truck T48
Brand: Taylor-Dunn Pages: 240
B0-T48-48 Taylor Truck T48
Brand: Taylor-Dunn Pages: 242
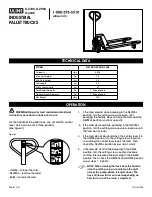
H-2708
Brand: U-Line Pages: 3


