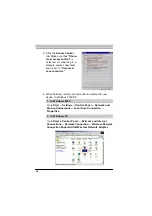

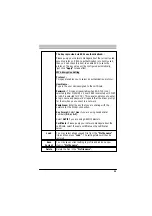
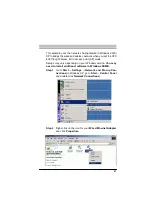

30
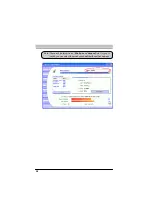
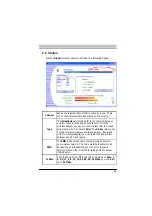
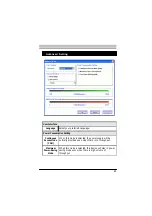
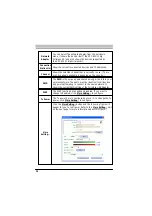
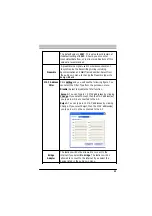
Network
Adapter
You can select the network adapter from the pull-down
menu, it shows the device itself ( the XPC 802.11b/g
Wireless Kit ) and also shows the devices supported by
the XPC 802.11b/g Wireless Kit.
Connection
Station List
Show the currently connected devices and IP addresses.
Channel
Shows the selected channel that is currently in use. ( There
are 14 channels available, depending on the country.)
SSID
The
SSID
is the unique name shared among all points in your
wireless network. The name must be identical for all devices
and points attempting to connect to the same network. It
shows the current SSID setting of the Wireless USB Adapter.
WEP
The WEP function here has been disabled. If you want to
change to Enabled, click
More Setting...
to configure
Tx Power
The Tx power here is configured as Level 0, to change the Tx
power, click
More Setting...
to configure.
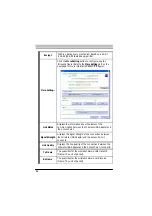
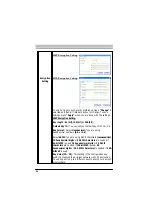
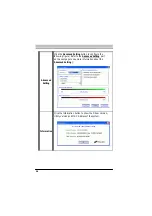
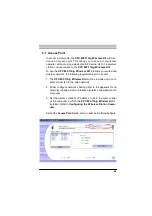
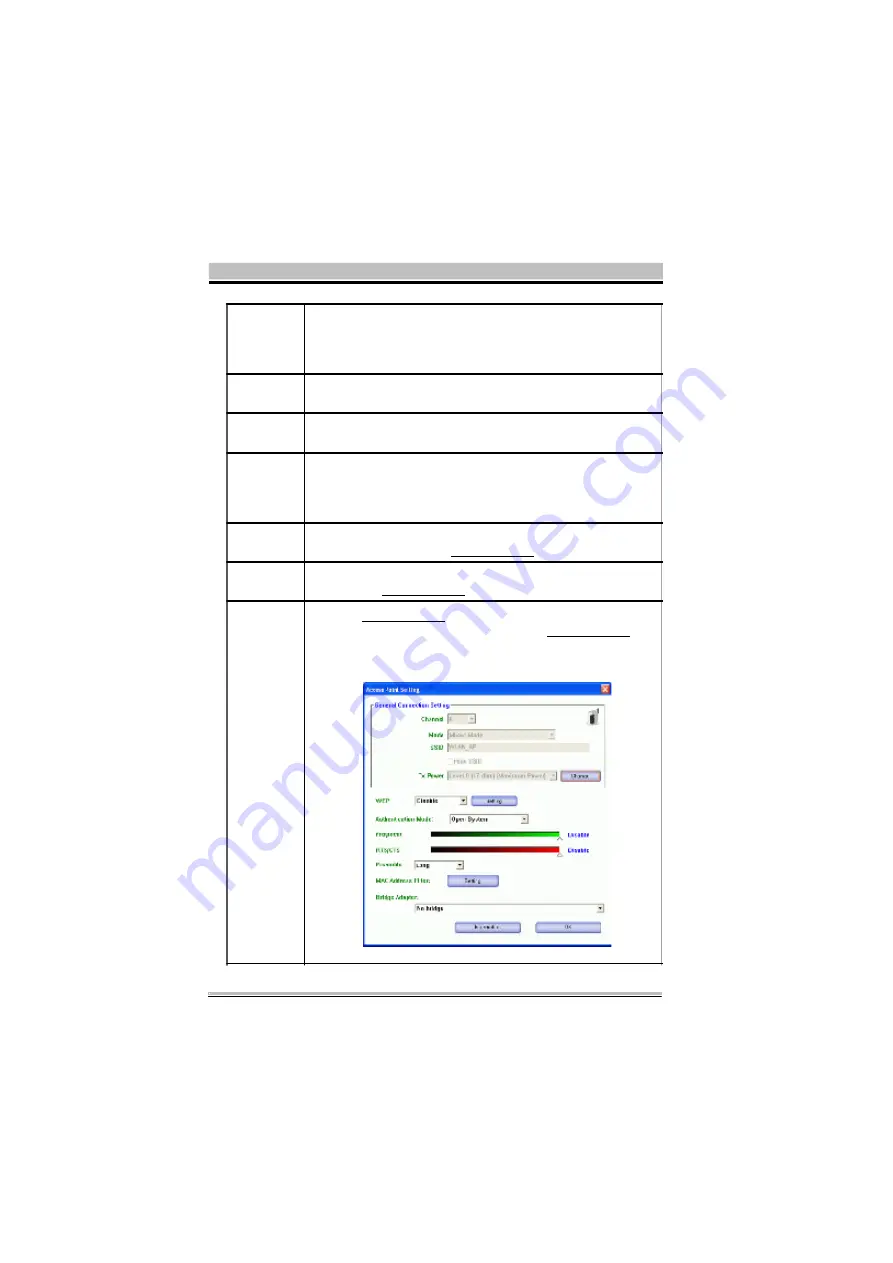
More
Setting...
Click the
More Setting...
button and the following figure will
appear for you to configure ( Refer to the
More Setting...
part
on the next page for more information about this figure. )


