Chapter 2 How to use the menu
T
-900 series
0093142132-00
2-11
The other ship symbols of up to 100 ships can be
displayed.
As the AIS is optional, the menu
becomes valid when the AIS interface
is installed.
Caution
Setting of Symbol Display of AIS
1
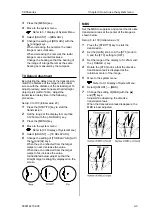
Press the [MENU] key.
2
Select [AIS]
→
[AIS].
3
Change the setting of [AIS] with the [ ] and
[ ] keys.
4
Press the [MENU] key to close the menu.
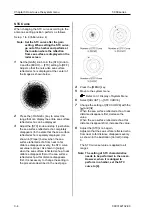
To change the region to display the other ship’s
symbol, set it in [AIS]
→
[LIMIT].
Only other ship’s symbols within the radius of the
set distance from own ship placed in center can
be displayed.
Setting of Detailed Information of
Designated Symbol Display
The information display is set in [AIS]
→
[INFO].
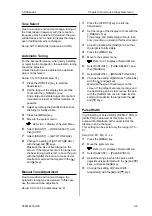
The other ship’s information of the designated
number is displayed at the bottom of the display.
1
Press the [MENU] key.
2
Select [AIS]
→
[INFO].
3
Change the setting with the [ ] and [ ]
keys.
4
Select [AIS]
→
[INFO NUMBER].
5
Select the number with the [ ] and [ ] keys.
6
Press the [MENU] key to close the menu.
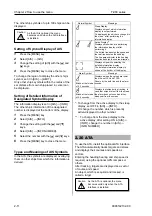
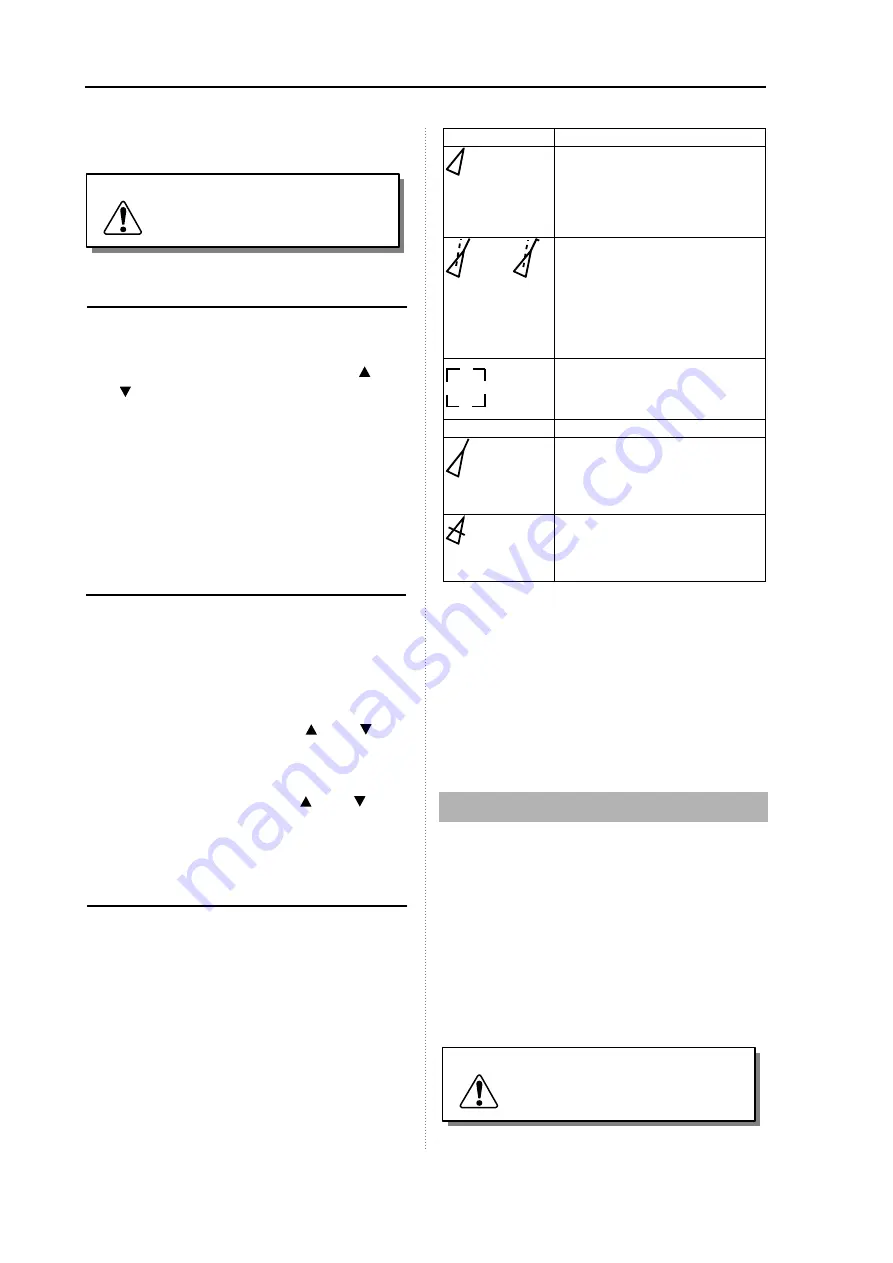
Types and Meanings of AIS Symbols
In the AIS, the symbols are displayed, overlaying
them on other ships from which the information is
derived.
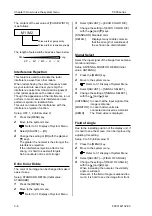
Normal Symbol
Meanings
Sleep Display
Displays ships of which information
display is not performed.
Or displays ships which are changed to
the sleep * after performing the
information display.
Active Display**
Displays ships which are performing
the information display or after
performing it.
The dotted line denotes the speed and
the real line denotes the heading.
The line perpendicular to the heading
direction denotes the course direction.
Displays ships while selecting the
detailed information display.
The detailed information display is
shown at the bottom of the display.
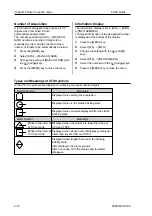
Alarm Symbol
Meanings
Blinks at the interval
of 0.5 seconds.
Displayed when the values are lower
than the set CPA and TCPA.
Shown by the bold line and the alarm
sounds.
Blinks at the interval
of 0.5 seconds.
Displays lost ships during tracking. In
case that ships are lost from the sleep,
the alarm does not sound and they
disappear from the screen.
*: To change from the active display to the sleep
display, set OFF in [AIS]
→
[INFO].
Or change the number, which is presently
active-displayed, to other number.
**
:
To change from the sleep display to the
active display, after setting ON in [AIS]
→
[INFO], change the number in [AIS]
→
[INFO NUMBER].
2.20
ATA
To use the ATA, install the optional ATA interface.
The ATA automatically tracks targets and stores
and displays their courses and speeds as
vectors.
Entering the heading bearing and ship speed is
required, using the optional GPS compass or
others.
After tracking, targets are displayed as a vector
of course and speed.
An object, which is acquired and tracked, is
called a target.
As the ATA is optional, the menu
becomes valid only when the ATA
interface is installed.
Caution

