Chapter 5 Equipment
T
-900 series
5-3
0093142132-00
Installation of Antenna
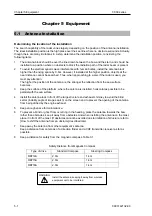
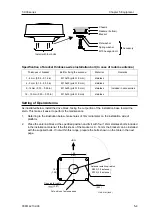
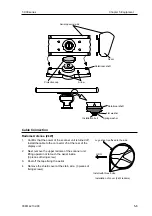
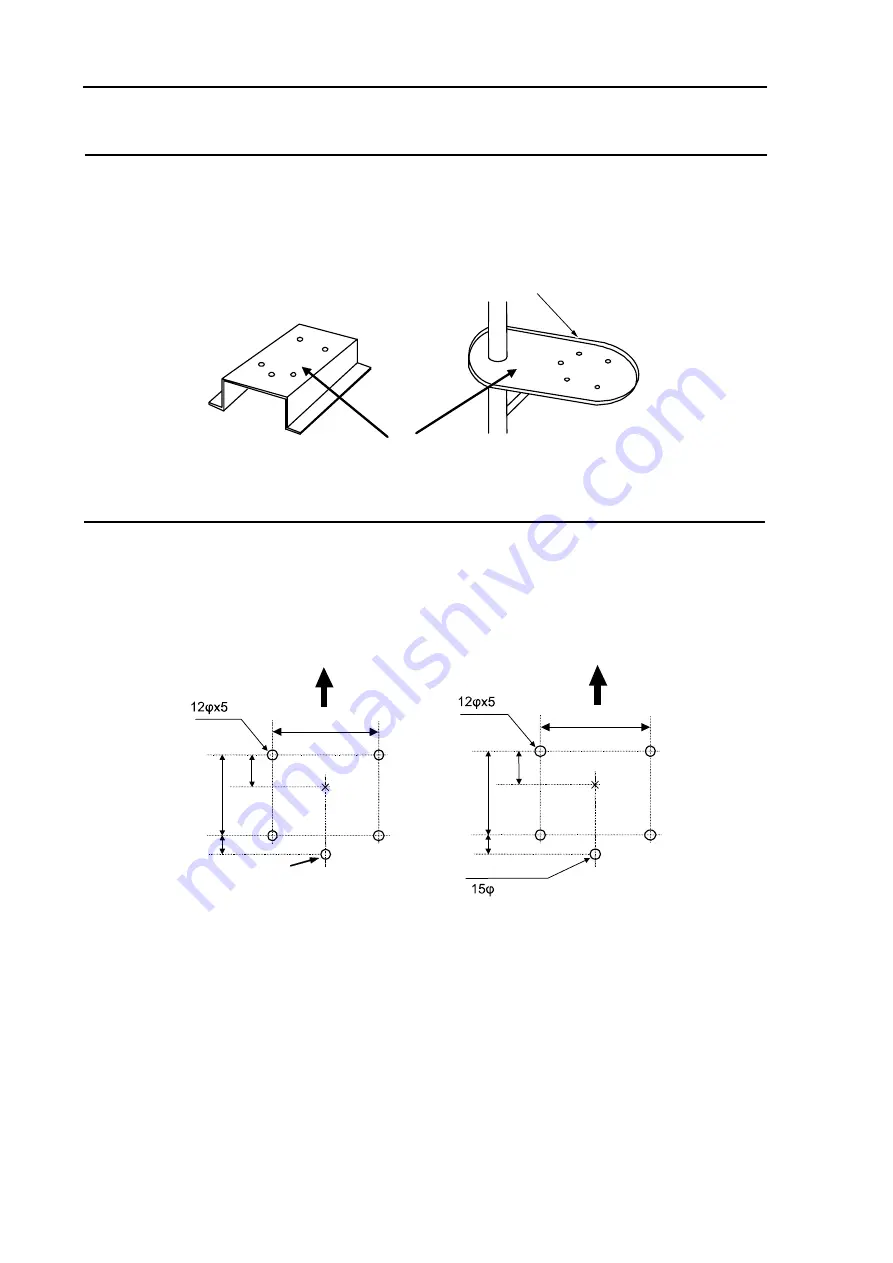
After determining the location of the installation, install the antenna. When installing, if the bracket
shown below is available, the installation is easier. If not available, install the antenna directly on the
roof, paying attention to the air tube for drain at the bottom of the antenna.
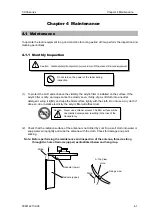
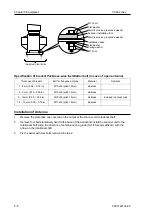
Note: If the radar mast or installation bracket is warped more than 2mm, make it flat or adjust
by inserting spacers.
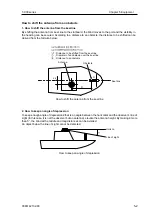
Do not use the edge as it causes a sump.
Bracket
Installation of Radome Antenna
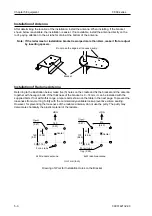
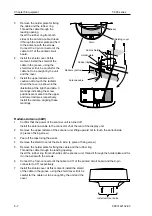
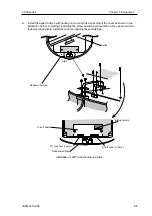
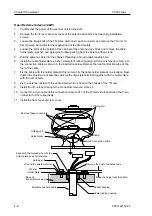
Referring to the illustration below, make five (5) holes on the cradle and fix the bracket and the antenna
together with hexagon bolts. If the thickness of the bracket is 9 – 14mm, it can be installed with the
supplied bolts. If not within this range, prepare bolts shown on the table in the next page. To prevent the
looseness from occurring, fortify with the commercially available loose-preventive silicon sealing.
However, for preventing the looseness of the radome antenna, do not use the putty. The putty may
deteriorate chemically the plastic material of the radome.
Center
Unit: mm (inch)
For air tube
2kW radome antenna
HDG
Center
For air tube
4kW radome antenna
HDG
140
(0.47)
(0.47)
(0.59)
(5.51)
(8.43)
(2.36)
(2.56)
(1.18)
(1.38)
(5.51)
(6.69)
140
30
60
170
35
65
214
Drawing of Work for Installation Holes on the Bracket

