

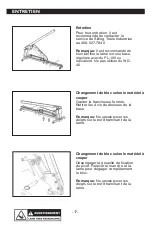


ENTRETIEN
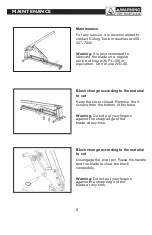
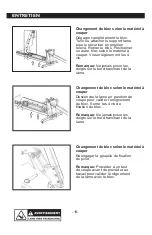
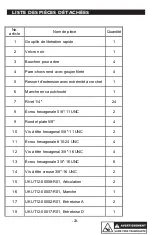
Changement de bloc selon le matériel à
couper
Dégager complètement le bloc.
Tenir ou attacher le support lame
pour le sécuriser en position
relevé. Retirer le bloc. Positionner
un autre bloc selon le matériel à
couper. Visser légèrement les 4
vis.
Remarque:
Ne jamais poser les
doigts sur le bord tranchant de la
lame.
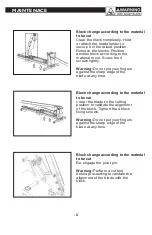
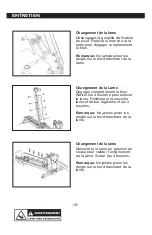
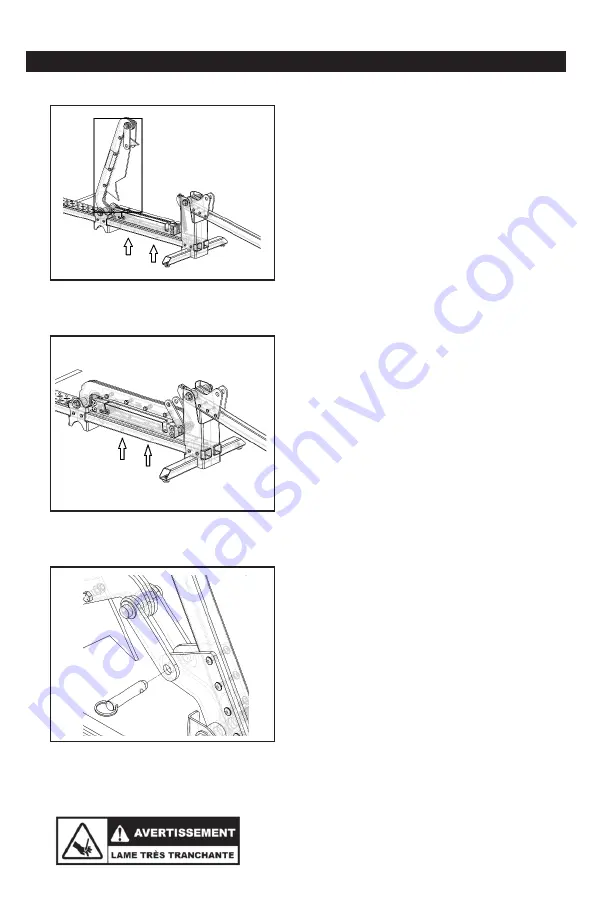
Changement de bloc selon le matériel à
couper
Descendre la lame en position de
coupe pour valider l’enlignement
du bloc. Serrer les 4 vis de
fixation du bloc.
Remarque:
Ne jamais poser les
doigts sur le bord tranchant de la
lame.
.
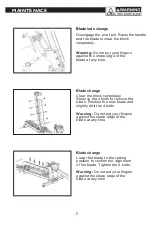
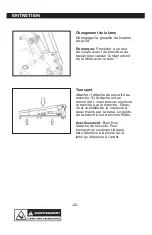
Changement de bloc selon le matériel à
couper
Réengager la goupille de fixation
du pivot.
Remarque:
Procéder à un test
de coupe avant de procéder au
travail pour valider l’enlignement
de la lame avec le bloc.
-1
8
-
Summary of Contents for UK-12
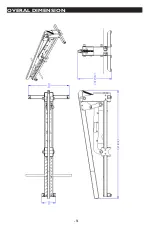
Page 10: ...9 OVERAL DIMENSION...
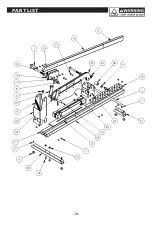
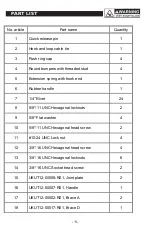
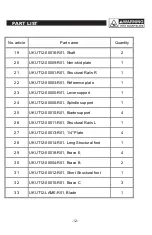
Page 11: ...PART LIST 10...
Page 22: ...DIMENSION HORS TOUT 21...
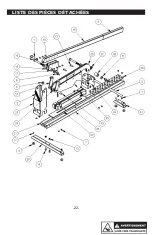
Page 23: ...LISTE DES PI CES D TACH ES 22...
Page 26: ...NOTES NOTES 25...
Page 27: ...NOTES NOTES 26...