PROFIBUS Communication
3/7
WL Circuit Breaker
Changing the address via the BDA
or BDA Plus (see also Chapter 4)
Once a connection with the circuit
breaker has been established (e.g.
via a local point-to-point (PPP)
communication system or the
Ethernet), choose “Device parameters -
Breaker - Communication” and change
the address here. Unlike access via
the PROFIBUS-DP, it does not matter
whether the PROFIBUS-DP write
protection is on or off. As described
in Chapter 4, write actions from
the BDA to the circuit breaker are
password protected. The changes
become effective when the correct
password is entered.
Changing the address via STEP7
(Set_Slave_Address)
The COM15 PROFIBUS module
supports the PROFIBUS-DP function
Set_Slave_Add. This class 2 master
function can be used to change the
address of a PROFIBUS-DP slave.
The address can be changed either
in the SIMATIC Manager or in
HWConfig in the STEP7 software
package. To change the address,
choose the “Assign PROFIBUS address”
option in the “Target system” menu
in either of the programs. A window
is then displayed that enables you
to change the DP salve addresses
once the system has recognized the
stations that are connected.
The address can only be changed in
the Wait_Prm status; in other words,
the slave must not be cyclically
connected to a class 1 master. The
address is then changed immediately.
Changing the address via DS160
The PROFIBUS-DP address of the
appropriate slave is located in data
set 160 at byte position 5. This can
not only be read but also changed by
writing the DS160; in other words,
the address can be changed by
triggering a single command to write
the DS160 acyclically in the PLC user
program. See also the example at the
end of this chapter.
Changing the COM15 module
address with the ETU776
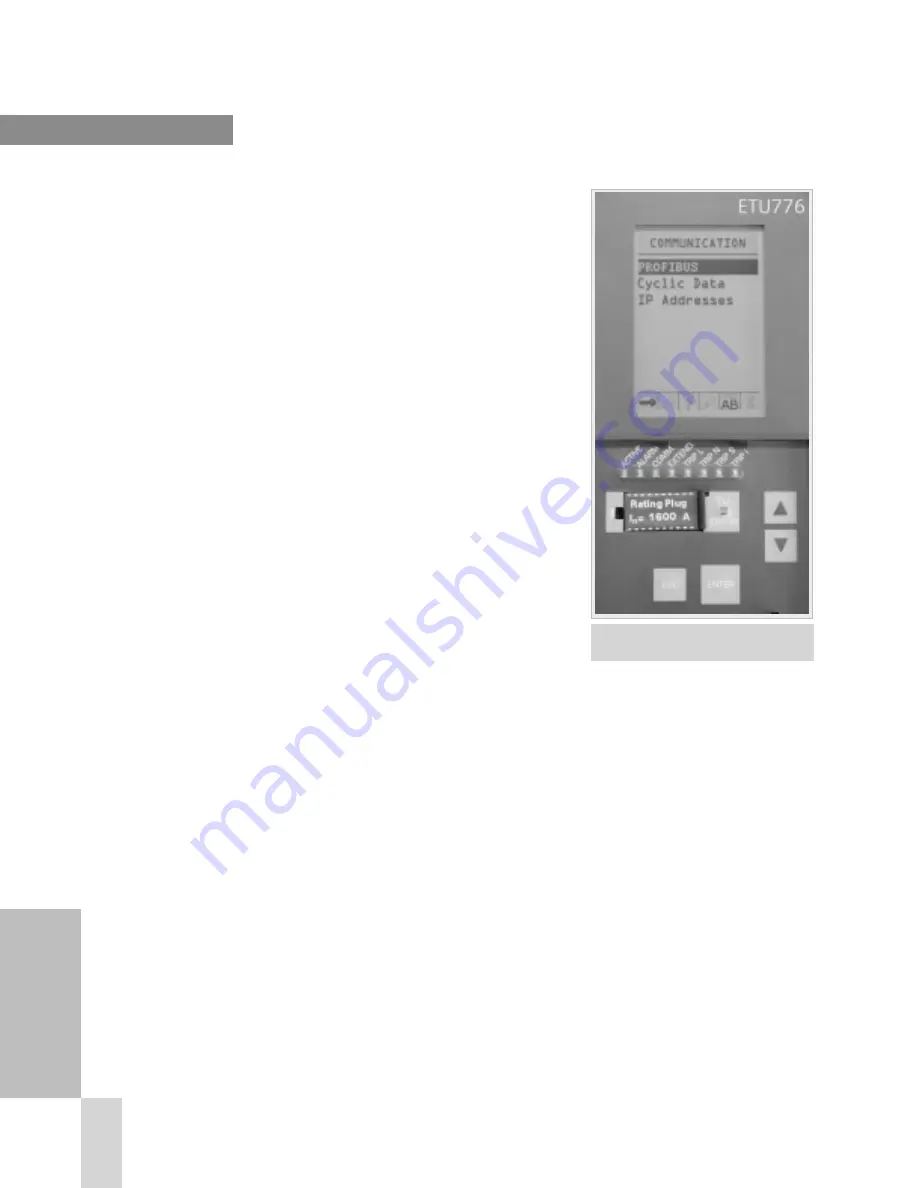
With its structured menu, the ETU776
can also be used to change the
PROFIBUS-DP address. To do so, first
exit the “screensaver” displaying the
current values by pressing ESC twice.
Pressing ESC once (or any one of
the other three keys) activates the
backlight, and pressing it twice calls
up the main menu. You then use the
Up/Down keys to choose the “Change
parameters” option. Confirm your
selection by pressing ENTER. Choose
“Profibus” in the “Communication”
sub-menu.
Figure 3-6
The ETU776 display also enables
you to change the communication parameters
WL PROFIBUS Communication and Electronic Accessories • July 2004


