40
Using the directory and lists
Gigaset S800-S800A / en Großbritannien / A31008-M2125-L101-1-7619 / direct_charges.fm / 20.05.2010
V
e
rsion 4.1, 21
.11.2007
List entry
New messages are displayed at the top.
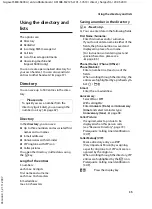
Example of list entries:
u
List type (in header)
u
Status of entry
Bold:
New entry
u
Number or name of caller
u
Date and time of call (if set, page 17)
u
Type of entry:
– Accepted calls (
›
)
– Missed calls (
™
)
– Outgoing calls (
š
)
– Calls recorded by the answering
machine (
Ã
, Gigaset S800A only)
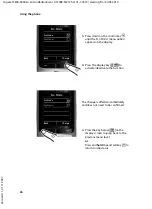
Press the talk key
c
to call the selected
caller back.
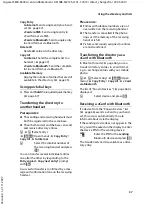
Press the
§View§
display key to access addi-
tional information, including for example
the number linked to the name.
Select the
§Options§
display key to select the
following options:
Copy to Directory
Copy the number to the directory.
Delete Entry
Delete selected entry.
Delete All
Delete all entries.
When you quit the call lists, all entries are set
to the status "old", i.e., the next time you call
up the list, they will no longer be shown in
bold.
Opening lists with the
message key
Use the message key
f
to open the follow-
ing list selection:
u
Answering machine list (Gigaset S800A
only) or network mailbox, if your network
provider supports this function and fast
access is set for the network mailbox
(
u
Incoming SMS message list (
mailboxes are set up
page 46), several lists are displayed.
u
List of missed calls
u
List of missed alarms (
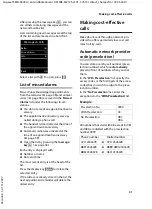
An advisory tone sounds as soon as a
new
message
arrives in a list. The
f
key flashes
(it goes off when the key is pressed). In
idle
status
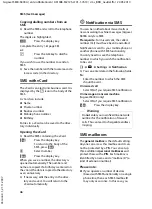
, the display shows an icon for the new
message:
The number of
new
entries is displayed
under the corresponding icon.
All Calls
™
Frank
14.10.09, 15:40
š
089563795
14.10.09, 15:32
™
...0123727859362922
14.10.09, 15:07
View
Options
Icon
New message...
Ã
... in the answering machine list
(Gigaset S800A only) or on the net-
work mailbox
™
... in the
missed calls list
Ë
... in the SMS list
... in the
Missed Alarms
list:
Please note
If calls are saved in the network mailbox,
you will receive a message if the appro-
priate settings have been made (see your
network provider user guide).
Ã
œ ¾
02
10
09
08

