Installing/mounting
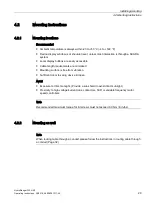
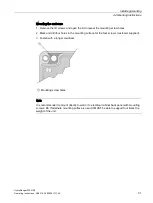
4.2 Mounting Instructions
HydroRanger 200 HMI
32
Operating Instructions, 06/2018, A5E36281317-AC
4.2.3
Cable routed through a conduit
CAUTION
Electrostatic discharge precautions
Observe electrostatic discharge precautions prior to handling electronic components within
the wiring compartment.
1.
Disconnect the Display cable by pressing the locking tab and pulling it straight out.
2.
Remove the four mounting screws holding the plastic cover and motherboard to the
enclosure.
3.
Remove the plastic cover by pulling it straight out. Be careful not to damage the
motherboard and other electronic components with static electricity.
4.
Remove the motherboard from the enclosure by pulling the board straight out. Be careful
not to damage the electronics with static electricity.
5.
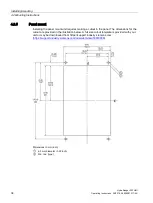
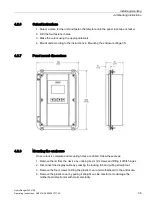
Drill the required cable entry holes. Make sure conduit holes do not interfere with the
lower areas on the terminal block, circuit board, or SmartLinx card. Please see the
illustration below.
6.
Attach the conduit to the hub before connecting the hub to the enclosure, using only
approved suitable-sized hubs for watertight applications.
7.
Reinstall the motherboard and plastic cover; secure them with the mounting screws.
8.
Reconnect the Display cable.
Note
For conduit locations and assembly for hazardous mounting in Class I, Div 2 applications,
see Conduit entry for Class I, Div 2 applications (Page 357).
Summary of Contents for HydroRanger 200 HMI
Page 2: ......
Page 24: ...Safety notes HydroRanger 200 HMI 22 Operating Instructions 06 2018 A5E36281317 AC ...
Page 354: ...Updating software HydroRanger 200 HMI 352 Operating Instructions 06 2018 A5E36281317 AC ...
Page 362: ......
Page 403: ......

