Device Configuration
Date and Time Synchronization
The integrated date and time synchronization of a 7SR5 device allows the user to assign the precise time of
events to an internally maintained device time. Events in the logs are stamped with the device time. These
time stamps are also transmitted during transmission to substation automation technology or via a protection
interface. The user can synchronize the device time using external time sources. The user can also take local
time zones and daylight-saving time arrangements into consideration.
Setting Time and Date
Date and time are internal device quantities that can be set from a 7SR5 device on the device fascia using the
menu keys as well as Reydisp Manager 2.
Setting via Reydisp Manager 2
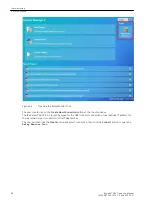
The device task operations for each device include the option to
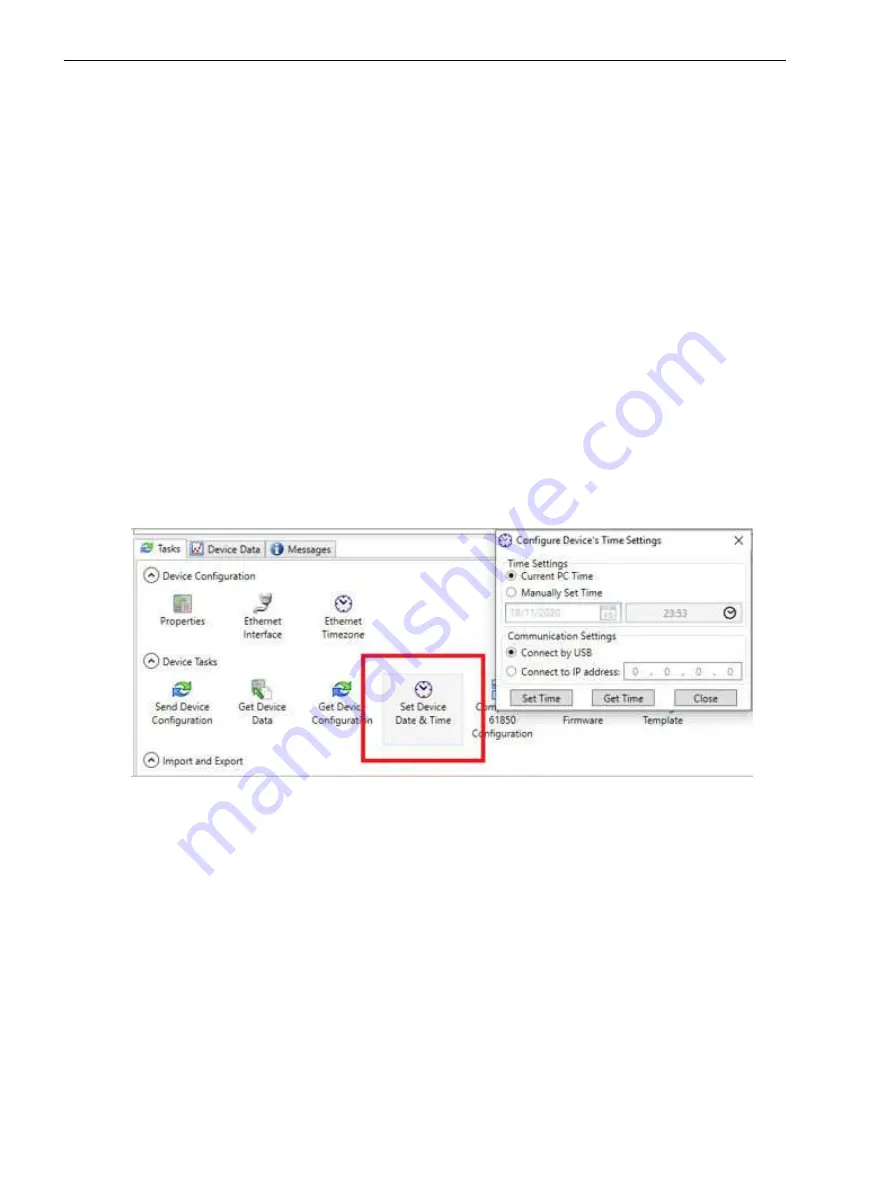
Set Device Date & Time
.
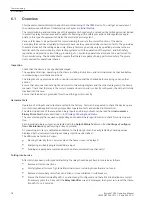
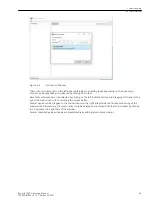
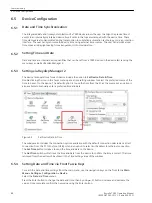
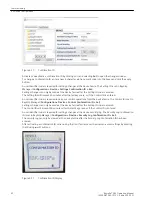
Double clicking the icon in the Tasks menu opens a time setting window to select the preferred source of the
time to be sent to the device. The default option is to use the time from the PC as the source but an option is
also available to manually enter a preferred time and date.
[sc_7SR5_SetDateTime, 1, --_--]
Figure 6-5
Set Device Date & Time
The window also includes the connection options available, with the default connection selected as a direct
connection from the PC to the front USB port and an option to select an IP address for ethernet connection.
The
Set Time
button is clicked to send the time and date to the device.
The
Get Time
button will retrieve the time and date from the device to confirm the time is correct. The time
retrieved from the device will be shown in the Time Settings area of the window.
Setting Date and Time via Front Fascia Keys
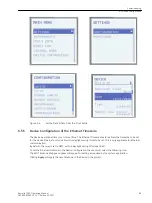
To reach the date and time settings from the main menu, use the navigation keys on the front fascia
Main
Menu > Settings > Configuration > Device
.
Select the
Date
and
Time
menus.
Press the Enter button to change the date and time, then by using ▲,▼, buttons increase and decrease the
values. Once complete confirm the new value using the Enter button.
6.5
6.5.1
6.5.2
6.5.3
6.5.4
Commissioning
6.5 Device Configuration
88
Reyrolle 7SR5, Operating, Manual
C53000-B7040-C013-1, Edition 05.2021
Summary of Contents for Reyrolle 7SR5
Page 6: ...6 Reyrolle 7SR5 Operating Manual C53000 B7040 C013 1 Edition 05 2021 ...
Page 10: ...10 Reyrolle 7SR5 Operating Manual C53000 B7040 C013 1 Edition 05 2021 ...
Page 40: ...40 Reyrolle 7SR5 Operating Manual C53000 B7040 C013 1 Edition 05 2021 ...
Page 76: ...76 Reyrolle 7SR5 Operating Manual C53000 B7040 C013 1 Edition 05 2021 ...
Page 114: ...114 Reyrolle 7SR5 Operating Manual C53000 B7040 C013 1 Edition 05 2021 ...

