Siemens Building Technologies
CE1G3334xx
2017-11-01
3/21
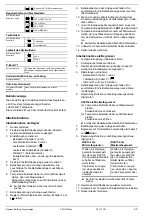
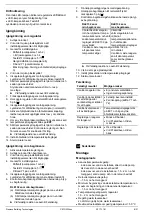
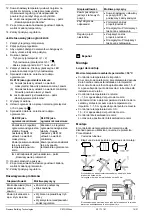
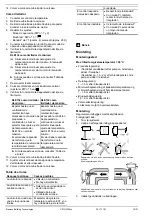
Fehlersuche
Falsches Ergebnis
Mögliche Ursachen
Ventil reagiert nicht
·
Nicht angeschlossen
·
Keine Betriebsspannung
Ventil läuft auf statt zu
oder
Ventil läuft zu statt auf
·
Wirksinn falsch eingestellt
·
Falsche Reglerklemme
verdrahtet
Ventil bleibt in einer
Endlage stehen
Temperatur-Einstellschieber
steht auf EXT und es ist kein
Fernsollwertgeber ange-
schlossen
Regelung reagiert zu
langsam
·
P-Band tiefer einstellen
·
Bei PI zusätzlich kürzere
Nachstellzeit wählen
Regelung ist instabil
·
P-Band höher einstellen
·
Bei PI zusätzlich längere
Nachstellzeit wählen
en
English
Installation
Place of installation
Maximum permissible ambient temperature = 50 °C
·
Flow temperature control:
-
In the heating flow; immediately downstream from
the pump if pump is installed in the flow
-
In the heating flow approximately 1.5...2 m down-
stream from the mixing point if pump is installed in
the return
·
Return temperature control:
1...1.5 m downstream from the mixing point
·
Minimum limitation of the boiler return temperature and
maximum limitation of the flow temperature:
1...1.5 m downstream from the mixing point
·
D.h.w. temperature control:
1.5...2 m downstream from the mixing point
·
Heat exchanger control:
As close as possible to the heat exchanger
Mounting
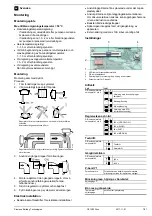
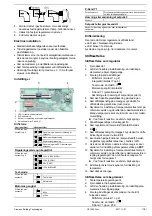
The immersion temperature controller is designed for use
with protection pocket:
Procedure:
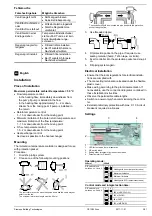
1. Drain the piping system.
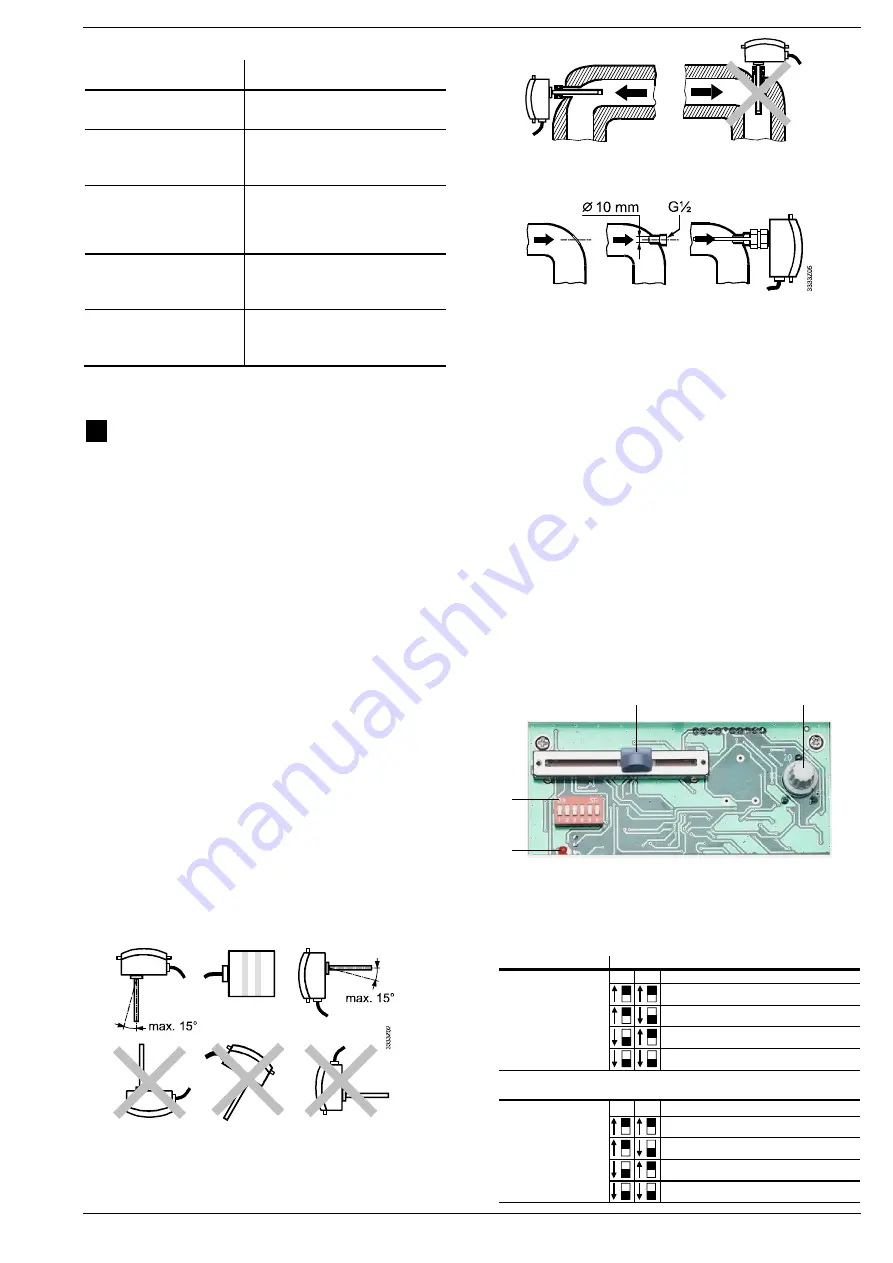
2. Choose one of the following mounting positions:
The controller may not be mounted upside down and the cable may not
enter from the top.
The minimum immersion length must be 60 mm.
33
3
3Z
04
The controller should be mounted in a pipe bend with the protection
pocket facing the flow.
3. Use threaded nipple:
4. Fit protection pocket in the pipe. If required, use
sealing material (hemp, Teflon tape, or similar).
5. Insert controller into the protection pocket and snap it
on.
6. Fill piping system again.
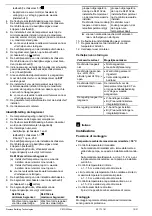
Electrical Installation
·
Ensure that the local regulations for electrical installa-
tions are complied with
·
The connecting terminals are located under the flexible
plastic cover
·
Make wiring according to the plant documentation. If
not available, use the connection diagrams contained in
these Installation Instructions
·
Observe the permissible cable lengths
·
Switch on power only when commissioning the control-
ler
·
External preliminary protection with max. C 10 A circuit
breaker is required in all cases
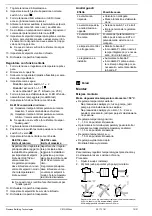
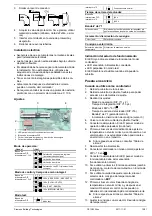
Settings
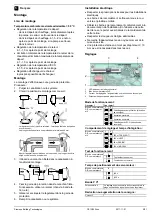
3
3
3
4
P
0
1
1
2
3
4
1 LED for test mode / normal operation
2 DIP switch block
3 Setting slider for setpoint increase or decrease
4 Potentiometer for P-band Y1
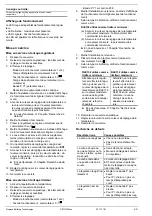
Operating mode:
Where?
What?
DIP switch block,
switches no. 1 and 2
1
2
Heating with boost (setpoint increase)
Maximum limitation
Minimum limitation
Heating with ECO (setpoint decrease)
Control mode and integral action time:
DIP switch block,
switches no. 3 and 4
3
4
300 s (VERY SLOW)
180 s (SLOW)
60 s (FAST)
120 s (MEDIUM)


