Chapter 5
Equipment Configuration and Monitoring
RUGGEDCOM WiN5100/WiN5200
User Guide
38
Connecting to and Logging In to the CPE
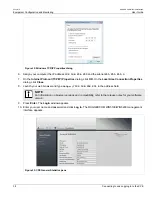
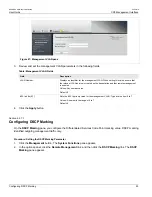
Figure 32: Windows TCP/IP Properties dialog
6. Assign your computer the IP address
192.168.254.250
and the subnet
255.255.255.0
.
7. On the
Internet Protocol (TCP/IP) Properties
dialog, click
OK
. On the
Local Area Connection Properties
dialog, click
Close
.
8. Launch your web browser and type
https://192.168.254.251
in the address field.
NOTE
For information on browser versions and compatibility, refer to the release notes for your software
version.
9. Press
Enter
. The
Login
window appears.
10. Enter your user name and password and click
Log In
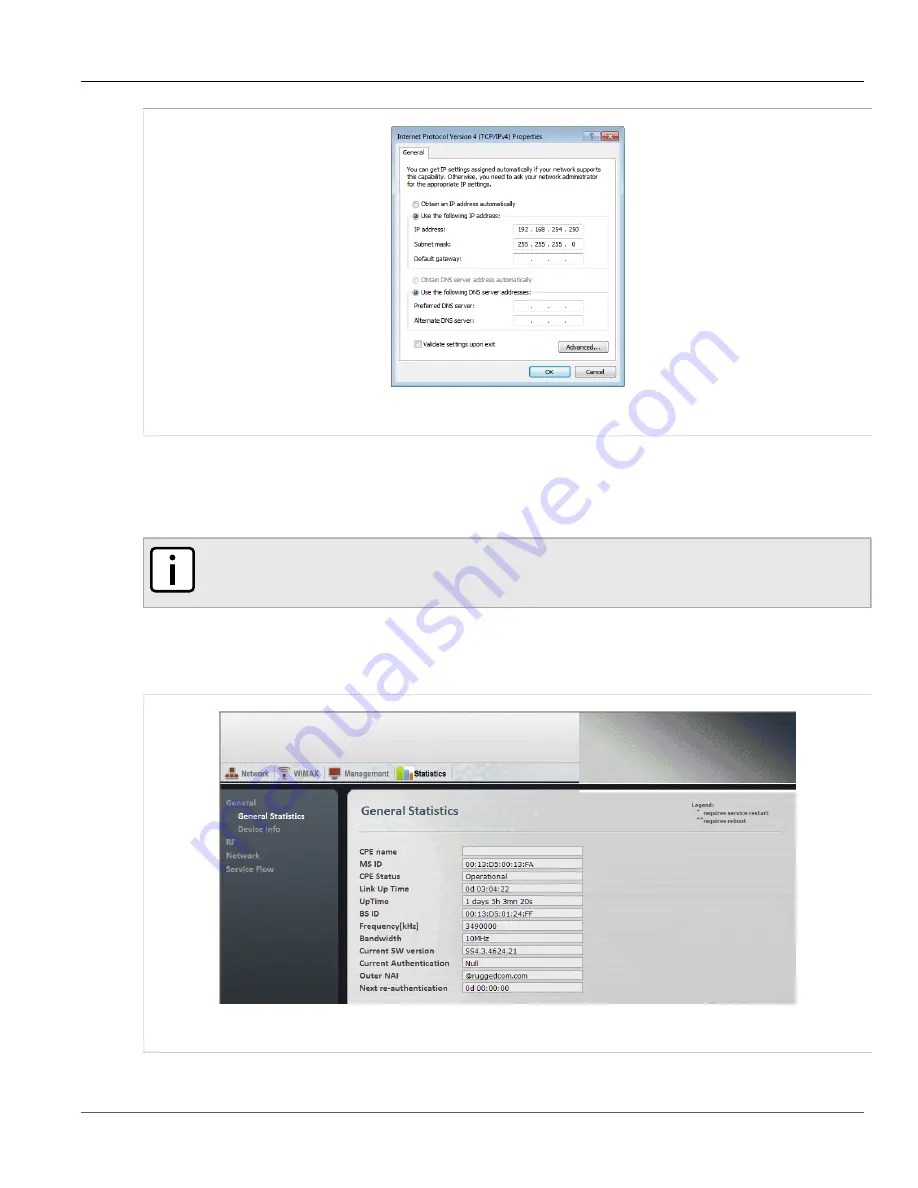
. The RUGGEDCOM WiN5100/WiN5200 management
interface appears.
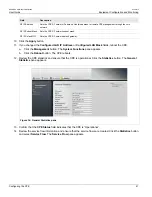
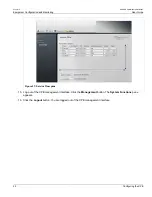
Figure 33: CPE General Statistics pane
Summary of Contents for RUGGEDCOM WiN5100
Page 2: ...RUGGEDCOM WiN5100 WiN5200 User Guide ii ...
Page 8: ...RUGGEDCOM WiN5100 WiN5200 User Guide FCC Statement And Cautions viii ...
Page 26: ...RUGGEDCOM WiN5100 WiN5200 User Guide Chapter 2 Product Description LED Indicators 18 ...
Page 28: ...RUGGEDCOM WiN5100 WiN5200 User Guide Chapter 3 Mounting Wall Mounting 20 ...
Page 106: ...RUGGEDCOM WiN5100 WiN5200 User Guide Appendix A WiN5100 WiN5200 Specifications 98 ...
Page 114: ...RUGGEDCOM WiN5100 WiN5200 User Guide Appendix D RUGGEDCOM CPE Warranty 106 ...

