Maintenance
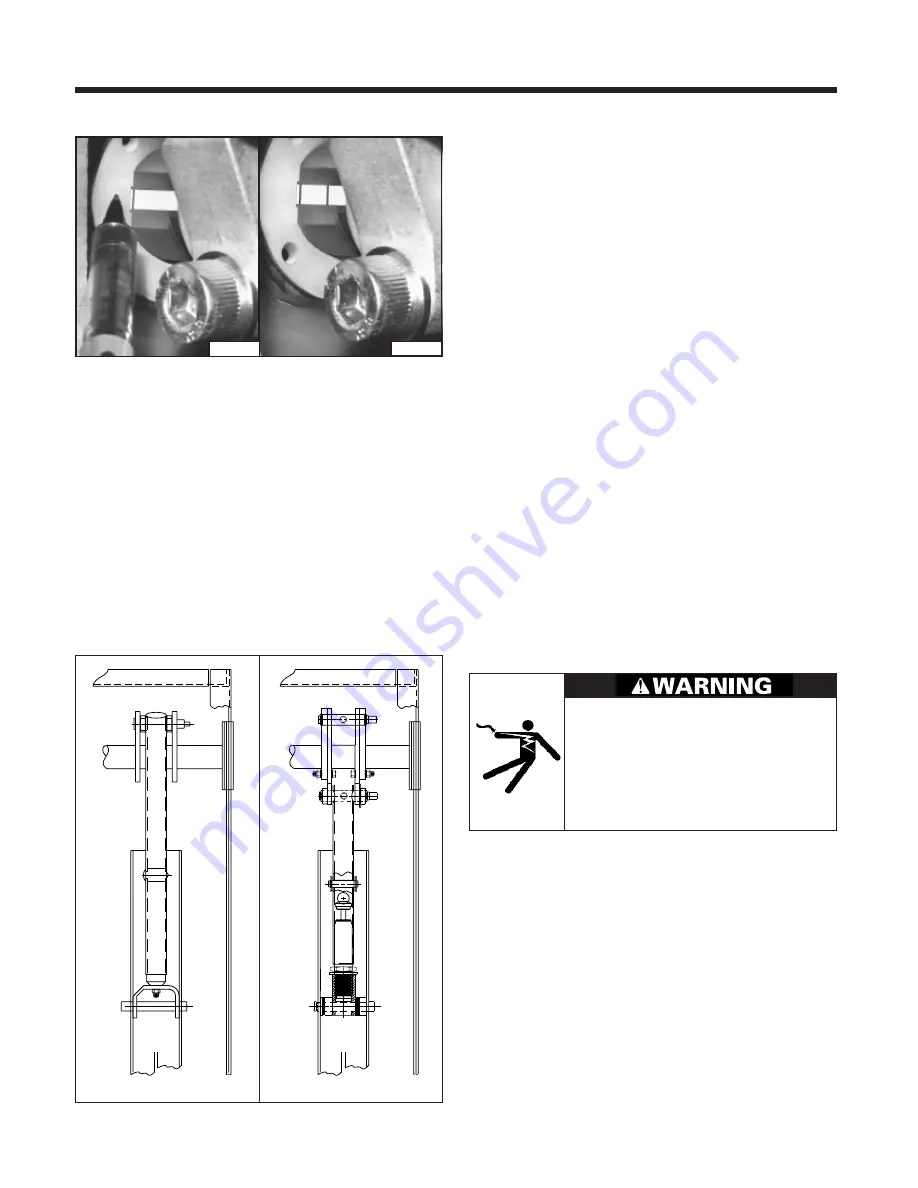
4. Open the breaker. The stroke is the distance between
the two lines. Remove the tape and measure the dis-
tance between the two lines and record.
5. Repeat for all phases if desired.
6. The stroke measured with the above procedure will be
approximate due to variations in accuracy of line mark-
ings. The greater the care taken in marking the lines the
more accurate the stroke values will be. In general the
measured stroke value should be within 15% of the value
given in Appendix Table A-6.
7. The stroke is pre-set for a new breaker at the factory, but
the stroke values should be measured and recorded for
any new breaker as well as any replacement vacuum
interrupter. These values can be used as a benchmark
for future evaluations of contact erosion.
Damper Assembly Check - SDV circuit breakers contain a
viscous damper assembly, shown in Figure 26, and de-
scribed in some detail on page 16, and in Figure 15.
While performing the manual spring charging check, a
simple check of the damper mounting yoke, pin, retaining
rings, and the nut for tightness should be completed.
The cylindrical surface of the damper and telescoping tube
should be well greased. The full inside periphery of the
tube and cylinder should be coated with Beacon 325 or
Anderol 732.
Electrical Control Checks
The electrical controls of the type SDV circuit breaker should
be checked during inspections to verify absence of any
mechanical damage, and proper operation of the automatic
spring charging and Close and Trip circuits.
Unless otherwise noted, all of these tests are performed
without any control power applied to the circuit breaker.
Check Of The Wiring And Terminals
1. Physically check all of the breaker wiring for evidence of
abrasion, cuts, burning or mechanical damage.
2. Check all terminals to be certain they are solidly attached
to their respective device. Be sure to check the locking-
type quick disconnects used at the close and trip sole-
noids and charging motor to be certain that they are fully
seated and locked on.
Automatic Spring Charging Check — Control Power Re-
quired - Repeat the automatic spring charging check de-
scribed in the section entitled Installation Checks and Ini-
tial Functional Tests.
Primary tasks of this check are:
1. The breaker is energized with control power for this
check.
2. When control power is connected to the circuit breaker,
the closing springs should automatically charge. Visu-
ally verify that the closing springs are charged.
Hazardous voltages and high-speed moving
parts.
Will cause death, serious injury, or property
damage.
Read instruction manuals, observe safety
instructions and limit use to qualified
personnel.
25
Figure 26.
Damper Assembly.
Enidine Type Ace Type
2137-99
2136-99
Figure 25b.
Vacuum Interrupter Stroke Check.


