


en
19
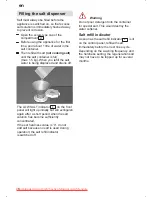
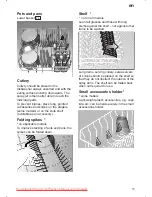
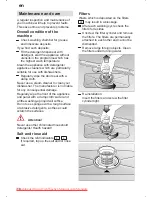
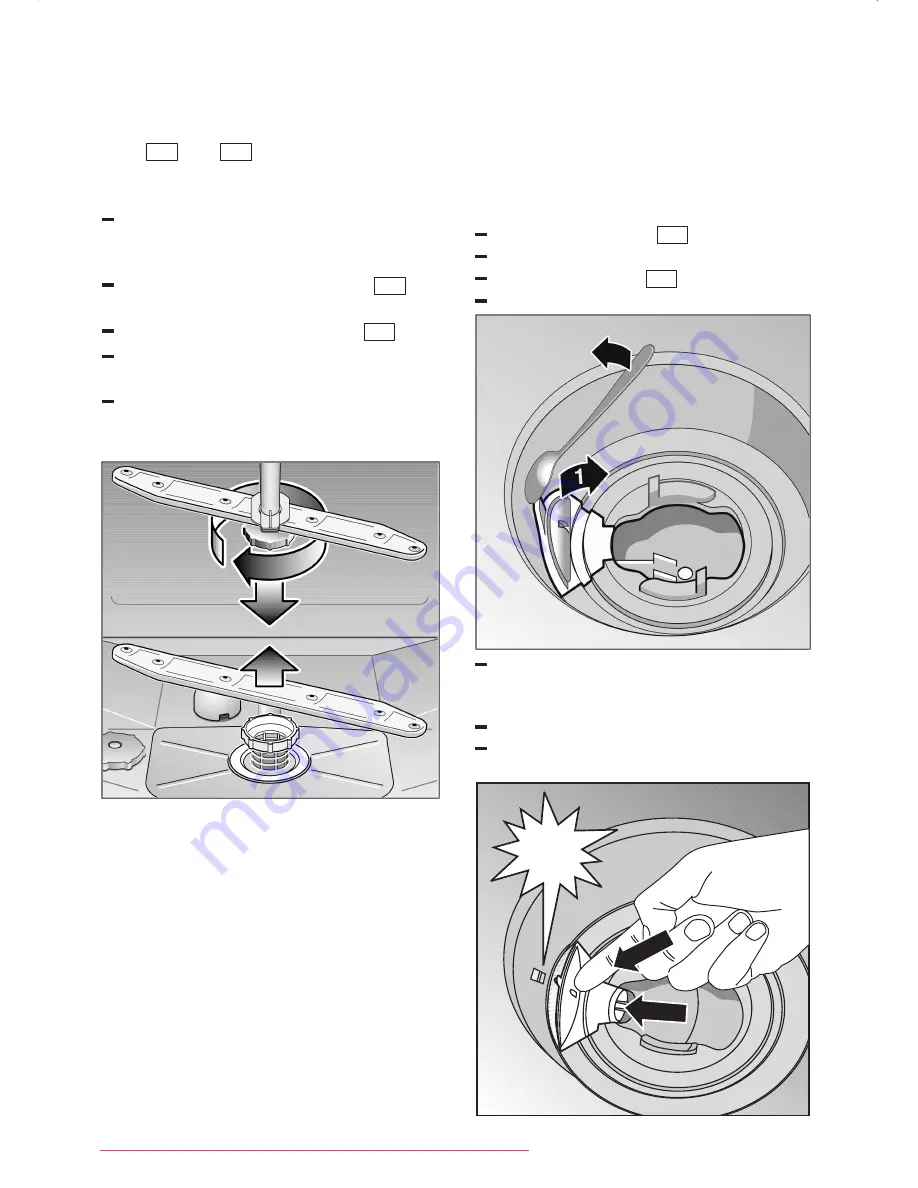
Spray arms
Lime and remnants of food in the washing
water can block the nozzles in the spray
arms
22
and
24
and the arm
mountings .
Inspect the nozzles in the spray arms
for blocked holes due to remnants of
food.
If necessary, pull the lower arm
24
upwards and lift it off.
Unscrew the upper spray arm
22
.
Clean both spray arms under running
water.
Refit the spray arms. Ensure that the
lower arm has locked into place and the
upper one is screwed tight.
Spray arms
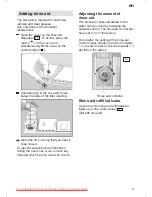
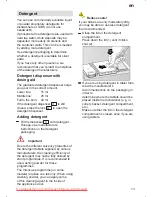
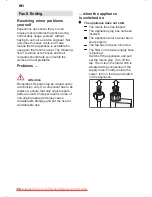
Waste water pump *
*
some models
Large food remnants in the rinsing water
not retained by the filters may block the
waste water pump. The rinsing water is
then not pumped out and covers the filter.
In this case:
Set the main switch
1
to OFF.
Scoop out any water.
Remove the filters
28
.
Remove the cover.
Check the inner compartment for
foreign objects and, if required,
remove foreign objects.
Re-insert the cover.
Re-insert the filters and screw
into position.
2
click
3
Downloaded from DishWasher-Manual.com Manuals


