Installation
4-9
Distributed I/O Device ET 200M
EWA-4NEB780600602-06
Are you Installing a 2-Meter Rail?
If not, you can skip this section and read on from the section entitled
Dimensioned Drawing for Fixing Holes.
If so, the 2-meter rail has to be prepared for installation.
Proceed as follows:
1. Shorten the rail to the required length.
2. Mark out:
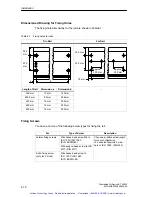
– Four holes for fixing screws (for dimensions, see Figure 4-5 and
Table 4-1)
– A hole to take the fixing screw for the protective conductor.
3. Is the rail longer than 830 mm?
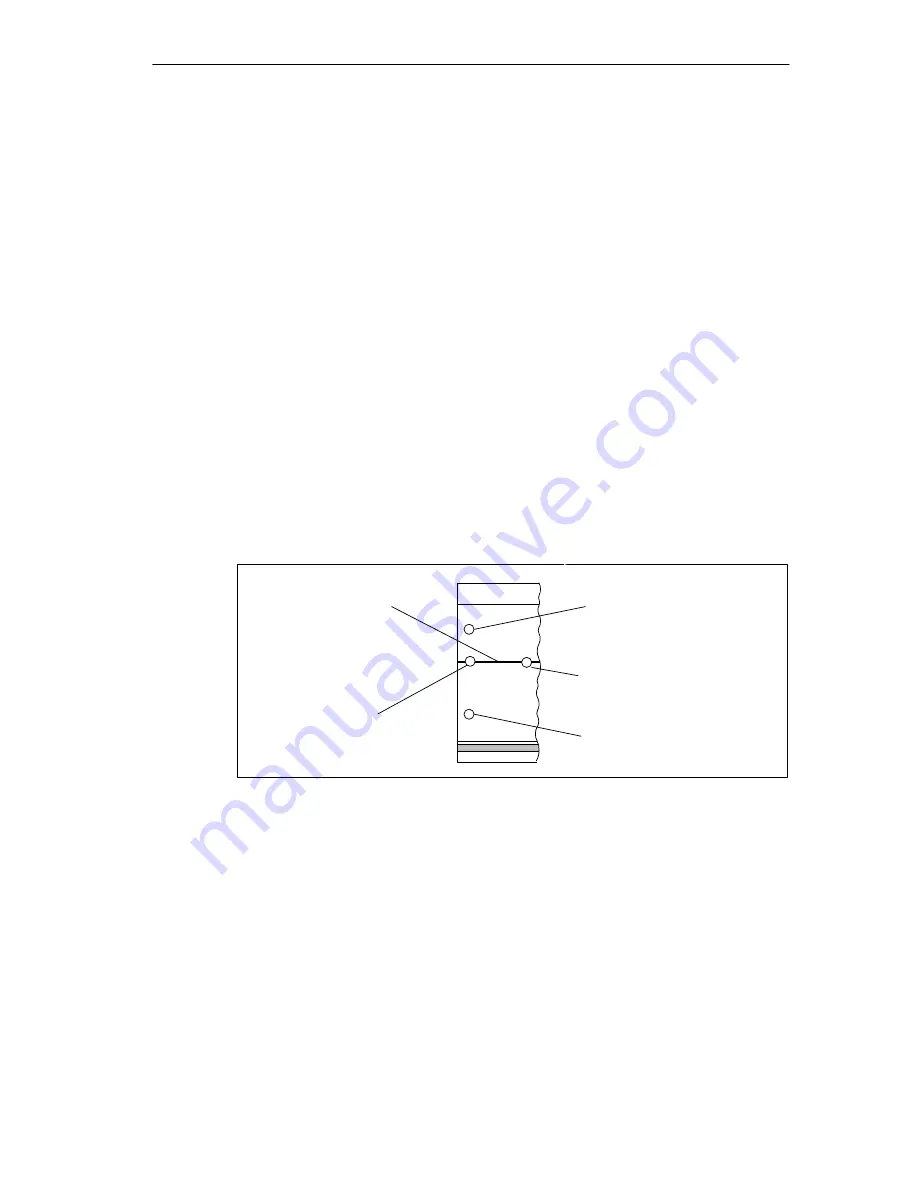
If so: You must make additional holes for more fixing screws to ensure the rail is
secure.Mark out these holes along the groove in the middle section of the rail
(see Figure 4-5). These additional holes should be at 500 mm intervals.
If not: No further steps must be taken.
4. Drill the marked holes to a diameter of 6.5
+0.2
mm for M6 screws.
5. Tighten the M6 screw to fix the protective conductor.
Groove for
drilling extra
fixing holes
Hole for
connection
of protective
conductor
Hole for fixing screw
Drilled hole for extra
fixing screw
Hole for fixing screw
Figure 4-5
Fixing holes of the 2 m rail
Artisan Technology Group - Quality Instrumentation ... Guaranteed | (888) 88-SOURCE | www.artisantg.com


