Installation
4-11
Distributed I/O Device ET 200M
EWA-4NEB780600602-06
Installing the Rail
To install the rail, proceed as follows:
1. Choose a position for the rail that leaves enough room to install it properly and
enough space to cope with the temperature rise of the modules (leave at least
40 mm free above and below the rail; see Figure 4-2 on page 4-3)
2. Screw the rail to its base (size: M6). Is this base a metallic plate or a grounded
supporting plate?
If so: Make sure there is a low-impedance connection between the rail and the
base. In the case of painted or anodized metals, for instance, use a suitable
contacting agent or contact washers.
If not: No particular steps are required.
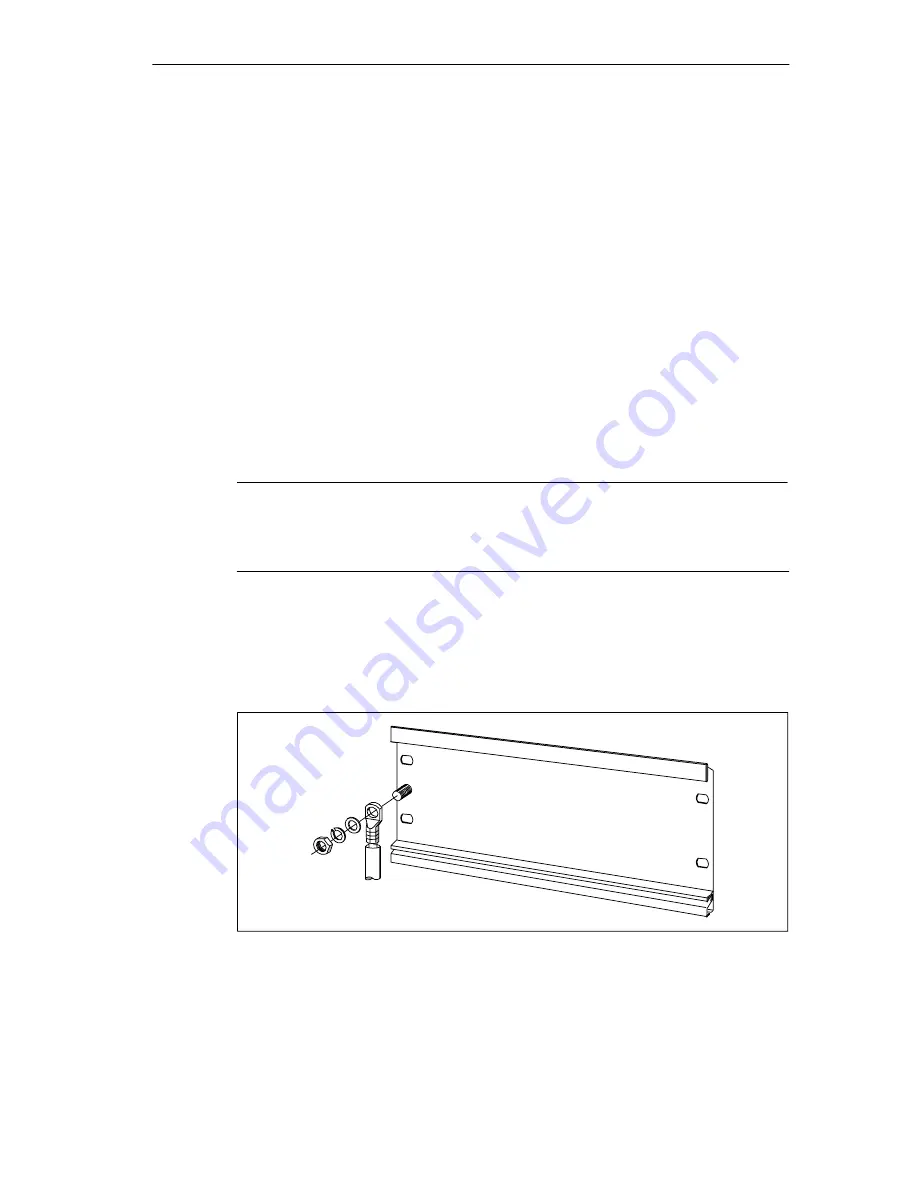
3. Connect the rail to the protective conductor. An M6 screw is provided for this
purpose on the rail.
Minimum cross-section from the conductor to the protective conductor: 10 mm
2
.
Note
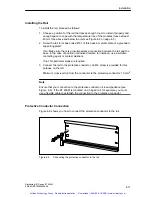
Ensure that your connection to the protective conductor is low-impedance (see
Figure 4-6). If the ET 200M is mounted on a hinged rail, for example, you must
use a flexible cable to establish the connection to the protective conductor.
Protective Conductor Connection
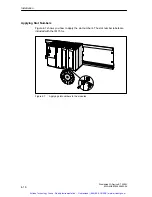
Figure 4-6 shows you how to connect the protective conductor to the rail.
Figure 4-6
Connecting the protective conductor to the rail
Artisan Technology Group - Quality Instrumentation ... Guaranteed | (888) 88-SOURCE | www.artisantg.com


