NC Commissioning with HMI Advanced
11.5 Axes and spindles
Manual
Commissioning Manual, 05/2008, 6FC5397–4CP10–4BA0
439
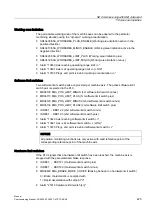
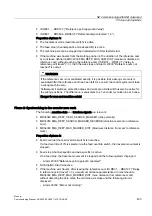
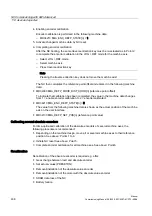
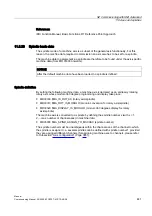
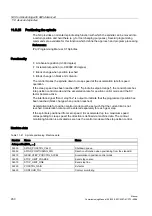
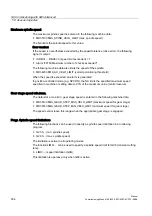
NOTICE
The NC can detect a required readjustment of the absolute value encoder only during
the following events:
•
Gear change with change of gear ratio
•
Response to zero mark monitoring (alarm 25020)
•
New encoder serial number after replacing the absolute encoder
Subsequently, the status of the absolute value encoder will be set back to 0
automatically by the NC (encoder not adjusted):
•
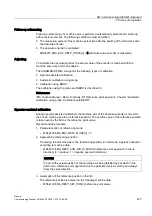
MD34210 $MA_ENC_REFP_STATE[n] = 0
In all other cases, it is the sole responsibility of the user to indicate the uncalibrated
state of the absolute encoder by manually resetting the status to 0 (Encorder not
calibrated) and to repeat the calibration.
References:
/FB1/ Function Manual, Basic Functions, R1 Reference point travel, Chapter "Referencing
with absolute value encoders"
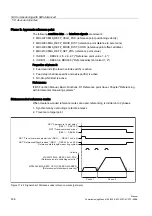
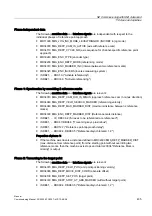
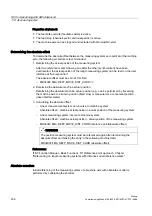
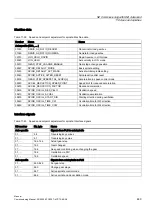
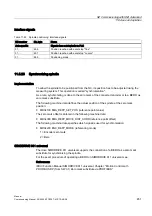
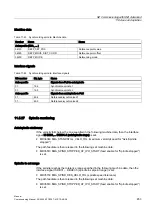
Interface signals
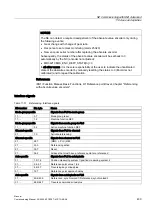
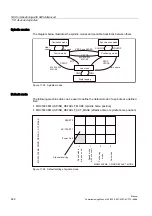
Table 11-37 Referencing: Interface signals
DB number
Bit, byte
Name
Mode-groupspecific
Signals from PLC to mode group
11, ...
0.7
Mode group reset
11, ...
1.2
Machine function REF
Mode-groupspecific
Signals from mode group to PLC
11, ...
5.2
Active machine function REF
Channel-specific
Signals from PLC to channel
21, ...
1.0
Activate referencing
Channel-specific
Signals from channel to PLC
21, ...
28.7
(MMC -> PLC) REF
21, ...
33.0
Referencing active
21, ...
35.7
Reset
21, ...
36.2
All axes that must have a reference point are referenced
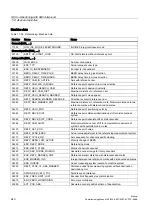
Axis-specific
Signals from PLC to axis/spindle
31, ...
1.5/1.6
Position measuring system 1/position measuring system 2
31, ...
2.4-2.7
Reference point value 1 to 4
31, ...
4.6/4.7
Traversing keys minus/plus
31, ...
12.7
Reference point approach delay
Axis-specific
Signals from axis/spindle to PLC
31, ...
60.4/60.5
Referenced, synchronized 1/Referenced, synchronized 2
31, ...
64.6/64.7
Traverse command minus/plus

