Configure persons (cardholders)
32
Building Technologies
052_SiPass_Entro_6_5_A24205-A335-B318_e_en
Fire Safety & Security Products
10.03.2010
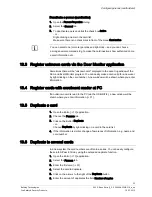
Choose Access group
1.
Open the Person Properties dialog.
2.
Select the General tab.
3.
Choose which access groups [
28] the person should belong to, by ticking the
check box to the left of the desired access group. You can choose up to six
access groups per person.
4.
To create, edit or copy an access group, click on the group icon.
The group’s name is displayed in the Selected Access square.
5.
To remove a group, double click the name in the Selected Access square.
- or -
Untick the check box in the Access Groups square.
The name disappears.
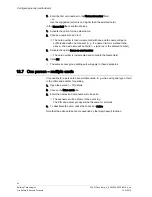
Choose Personal doors
1.
Open the Person Properties dialog.
2.
Select the General tab.
3.
If access is to be given to some certain doors, click on the button Personal
doors.
4.
Select the doors.
The total numbers
and access groups cannot exceed 6. The personal doors
admits access 24-7 (= all time).
Note that a door will only accept that 150 persons select it as a personal door.
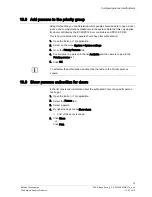
Set duration of a person
1.
Open the Person Properties dialog.
2.
Select the Duration tab.
3.
Enter from which date the person should be authorized in the system in the
Start at field.
- or –
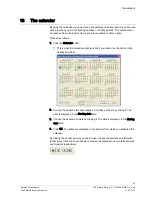
Choose a date by clicking on the button calendar [
43] .
4.
Activate the option Until further notice.
- or -
Activate the option End at and enter the desired date.
5.
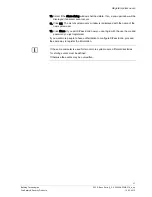
If the person’s access rights to certain doors should be limited, select Restrict.
6.
Use this alternative if the person belongs to an access group with entrance
limitations.
7.
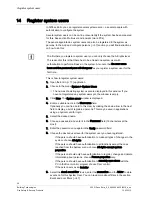
Click OK.
The Persons tab is re-displayed with the name of the person you registered.
8.
Register the next person in the same way.


