Functions
6-15
7SA6 Manual
C53000-G1176-C156-2
The next step is to highlight the name of setting group in the list into which the setting
values should be copied. Go to the menu bar, click on
Edit
and select
Paste
. A con-
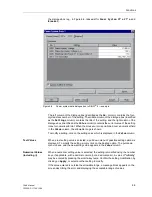
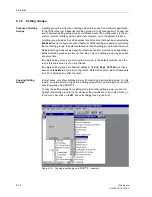
firmation box will appear (see Figure 6-11). Select
Yes
to copy the setting values.
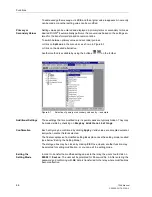
Figure 6-11
DIGSI
®
4: Confirmation before copying a setting group
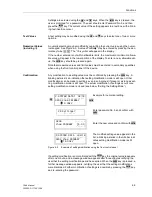
Setting groups may be copied more easily using the “Drag & Drop” feature. To use the
“Drag & Drop” feature, the name of the setting group in the list whose setting values
are to be copied should be highlighted. Holding down the left mouse button, the cursor
can then be dragged to the name of the setting group into which the setting values are
to be copied.
After copying setting groups, it is only necessary to modify those setting values that
are to be set differently.
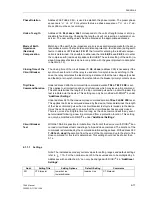
Restoring Factory
Settings
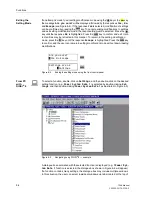
The factory settings may be restored for a modified setting group. To restore factory
settings to a setting group, the name of the setting group whose settings are to be re-
stored is highlighted. Next, select the menu option
Edit
and then click on
Reset
. A
confirmation box appears, click on
Yes
to confirm restoration of factory settings.
Switching between
Setting Groups
The procedure to switch from one setting group to another during operations is de-
scribed in Sub-section 7.2.2. The option of switching between several setting groups
externally via binary inputs is described in Subsection 8.1.2.
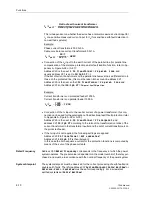
Note:
All existing setting values in the setting group that has been copied to will be overwrit-
ten. An inadvertent copy operation can be reversed by closing and reopening the
DIGSI
®
4 session without saving changes.
Note:
All setting values in the setting group being restored to factory settings will be over-
written. An inadvertent reset operation can be reversed by closing and reopening the
DIGSI
®
4 session without saving changes.
Summary of Contents for siprotec 7SA6
Page 2: ...Siemens Aktiengesellschaft Book No C53000 G1176 C156 2 ...
Page 18: ...xviii 7SA6 Manual C53000 G1176 C156 2 ...
Page 32: ...Introduction 1 14 7SA6 Manual C53000 G1176 C156 2 ...
Page 82: ...Hardware and Connections 2 50 7SA6 Manual C53000 G1176 C156 2 ...
Page 119: ...SIPROTEC 4 Devices 4 25 7SA6 Manual C53000 G1176 C156 2 Figure 4 20 CFC Logic example ...
Page 190: ...Configuration 5 62 7SA6 Manual C53000 G1176 C156 2 ...
Page 652: ...Installation and Commissioning 8 78 7SA6 Manual C53000 G1176 C156 2 ...
Page 724: ...Technical Data 10 56 7SA6 Manual C53000 G1176 C156 ...
Page 800: ...Appendix A 76 7SA6 Manual C53000 G1176 C156 2 ...
Page 866: ...Appendix B 66 7SA6 Manual C53000 G1176 C156 2 ...

