Installation and Commissioning
8-23
7SA6 Manual
C53000-G1176-C156-2
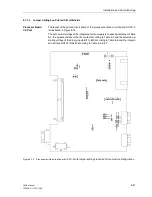
With jumper X111, CTS is activated which is necessary for the communication with
the modem.
*) default setting in releases from 7SA6...../DD to date
Jumper setting 2–3:
the connection to the modem is usually done with star coupler
or optical fibre converter. Therefore the modem control signal according to RS232
standard DIN 66020 is not available. Modem signals are not required since communi-
cation to SIPROTEC
®
devices is always carried out in the half duplex mode. Use
connetion cable with ordering number 7XV5100–4.
Jumper setting 1–2:
this setting makes the modem signal available, i. e. for a direct
RS232-connection between the SIPROTEC
®
device and the modem this setting can
be selected optionally. We recommend to use a standard RS232 modem connection
cable (converter 9-pole on 25-pole).
Note:
For a direct connection to DIGSI
®
4 with interface RS232 jumper X111 must be
plugged in position 2–3.
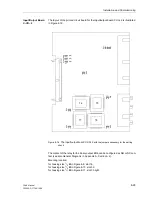
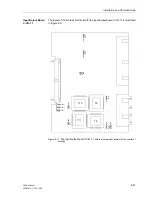
If there are no external matching resistors in the system, the last devices on a
RS485-bus must be configured via jumpers X103 and X104.
Note:
Both jumpers must always be plugged in the same way!
Currently no function is assigned to the jumper X90. The presetting is 1-2.
The terminating resistors can also be connected externally (e.g. to the connection
module). In this case, the terminating resistors located on the RS485 or the Profibus
interface module or the resistors located directly on the processor circuit board C–
CPU–2 must be disconnected.
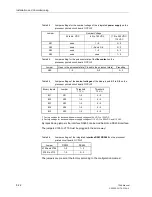
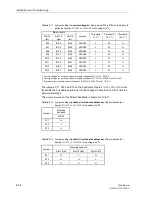
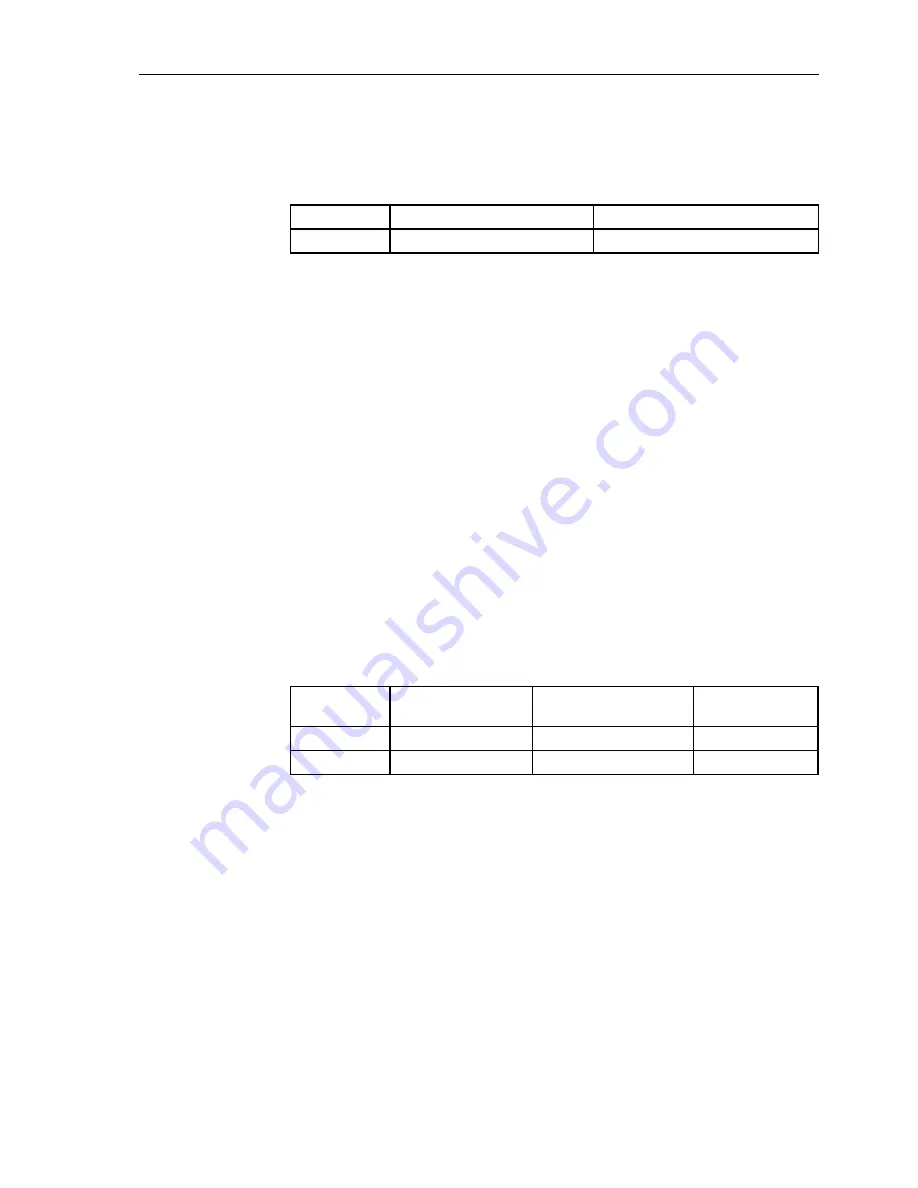
Table 8-6
Jumper setting of CTS (Clear-To-Send) on the processor printed circuit
board C-CPU-2
Jumper
/CTS of interface RS232
/CTS controlled by /RTS
X111
1–2
2–3 *)
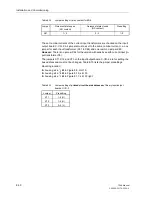
Table 8-7
Jumper setting of matching resistors of the interface RS485 on the processor
printed circuit board C–CPU–2
Jumper
Matching resistor
closed
Matching resistor
open
Presetting
X103
2–3
1–2
1–2
X104
2–3
1–2
1–2
Summary of Contents for siprotec 7SA6
Page 2: ...Siemens Aktiengesellschaft Book No C53000 G1176 C156 2 ...
Page 18: ...xviii 7SA6 Manual C53000 G1176 C156 2 ...
Page 32: ...Introduction 1 14 7SA6 Manual C53000 G1176 C156 2 ...
Page 82: ...Hardware and Connections 2 50 7SA6 Manual C53000 G1176 C156 2 ...
Page 119: ...SIPROTEC 4 Devices 4 25 7SA6 Manual C53000 G1176 C156 2 Figure 4 20 CFC Logic example ...
Page 190: ...Configuration 5 62 7SA6 Manual C53000 G1176 C156 2 ...
Page 652: ...Installation and Commissioning 8 78 7SA6 Manual C53000 G1176 C156 2 ...
Page 724: ...Technical Data 10 56 7SA6 Manual C53000 G1176 C156 ...
Page 800: ...Appendix A 76 7SA6 Manual C53000 G1176 C156 2 ...
Page 866: ...Appendix B 66 7SA6 Manual C53000 G1176 C156 2 ...

