Commissioning
7.3 Description of OSD menu
SMD 18101 CS / SMD 18101 CP / SMD 18101 D
Instruction Manual, 11/2005, A5E00472377A-002
7-15
7.3.6
Force Mode
Various factory-set timings are saved in the display. As soon as a video signal is connected,
an appropriate timing is searched for. During this phase, "Auto In Process" is displayed.
These timings are compatible with the standard video signals provided by current graphics
cards.
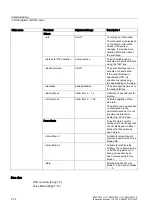
If no image or only an unclear image is displayed on the screen, the signal is outside the
standard ranges. Such signals frequently occur with older medical equipment. Such a timing
can be entered using the Force Mode functions (Force Mode 1) or determined step-by-step
(Force Mode 2).
Note
Only one timing can be saved
Force Mode cannot be used to save multiple timings.
7.3.6.1
Force Mode 1
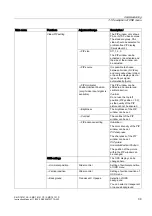
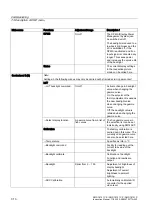
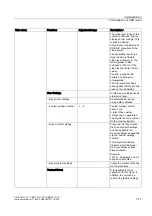
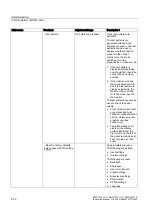
Force Mode 1 is used to enter timing data that has already been determined.
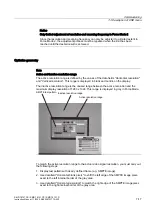
Notice
Saving of data only with Force
The timing data are only entered into memory by the "Force" command, and the image is
displayed with the new parameters.
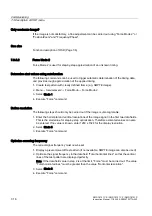
Enter timing data and fine adjustment
1.
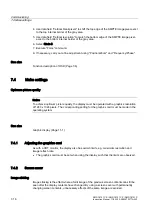
Create test pattern with clearly defined frame (e.g. SMPTE image).
2.
Menu → Servicelevel 2 → Force Mode → Force Mode 1.
3.
Enter the timing data into the separate data fields using the Menu, Up and Down buttons.
4.
Select Mode 1.
5.
Execute "Force" command.

