


en
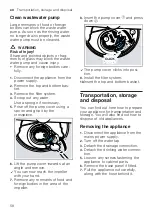
Troubleshooting
50
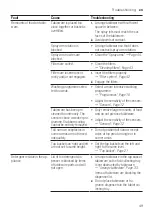
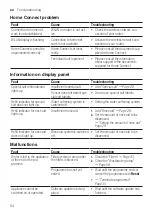
Fault
Cause
Troubleshooting
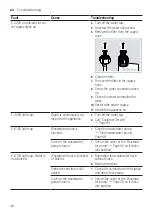
Detergent residue in the ap-
pliance
The lid of the detergent dis-
penser is blocked by the tab
and will not open.
▶
Position the tab in the detergent dis-
penser crosswise, not vertically.
Tabs are used in the quick
or short programme. Dissolv-
ing time of the tab is not at-
tained.
▶
Select a more intensive "Pro-
gramme"
or use
.
Washing effect and dissolv-
ing performance are re-
duced after a prolonged
storage time or detergent is
very lumpy.
▶
Change your "detergent"
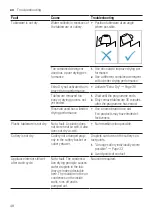
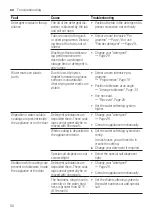
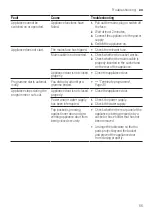
Water marks on plastic
parts.
Due to laws of physics
droplet formation on plastic
surfaces is unavoidable.
After drying water marks are
visible.
▶
Select a more intensive pro-
gramme.
▶
Position tableware at an angle.
▶
Use rinse aid.
▶
Set the water softening system
higher.
Wipeable or water-soluble
coatings are present inside
the appliance or on the door.
Detergent substances are
deposited there. These coat-
ings cannot generally be re-
moved with chemicals.
▶
Change your "detergent"
▶
Clean the appliance mechanically.
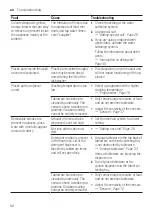
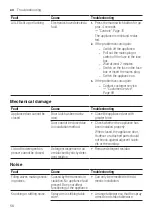
White coating is deposited in
the appliance interior.
1.
Set the water softening system cor-
rectly.
In most cases you will need to in-
crease the setting.
2.
Change your detergent if required.
Special salt dispenser is not
screwed tight.
▶
Screw the special salt dispenser
tight.
Stubborn white coatings are
present on tableware, inside
the appliance or the door.
Detergent substances are
deposited there. These coat-
ings cannot generally be re-
moved with chemicals.
▶
Change your "detergent"
▶
Clean the appliance mechanically.
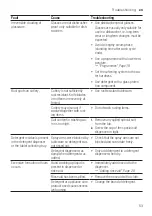
The hardness range is set in-
correctly or the water hard-
ness is greater than 62 °E
(8,9 mmol/l).
▶
Set the Water softening system to
the water hardness or add special
salt.
Summary of Contents for SX67Z800BE
Page 63: ......


