Configuration
4.22 Data points
TIM 1531 IRC
106
Operating Instructions, 02/2018, C79000-G8976-C468-02
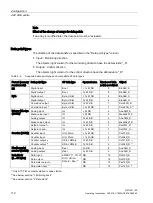
After opening the editor window using the two entries to the right above the table, you can
switch over between the data point and message editor.
Figure 4-9
Switching over between the two editors
Creating obects
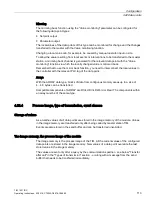
With the data point or message editor open, create a new object (data point / message) by
double clicking "<Add object>" in the first table row with the grayed out entry.
A preset name is written in the cell. You can change the name to suit your purposes but it
must be unique within the module.
Figure 4-10 Data point table
You configure the remaining properties of every object using the drop-down lists of the other
table columns and using the parameter boxes shown at the bottom of the screen.
Assigning data points to their data source
After creating it, you assign a new data point to its data source. Depending on the data type
of the data point a PLC tag can serve as the data source.
For the assignment you have the following options:
●
Click on the table symbol in the cell of the "PLC tag" column.
All configured PLC tags and the tags of the created data blocks are displayed. Select the
required data source with the mouse or keyboard.
●
Click the symbol .
A selection list of the configured PLC Tags and the blocks is displayed. From the relevant
table, select the required data source.
●
In the name box of the PLC tag, enter part of the name of the required data source.
All configured PLC tags and tags of the data blocks whose names contain the letters you
have entered are displayed.
Select the required data source.

