
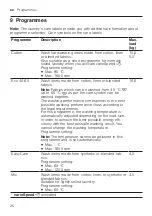
Programmes
en
29
Programme
Description
Max.
load
(kg)
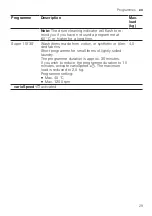
Note:
The drum cleaning indicator will flash to re-
mind you if you have not used a programme at
60 °C or higher for a long time.
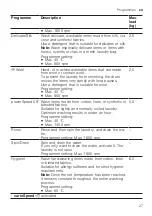
Super 15'/30'
Wash items made from cotton, or synthetic or blen-
ded fabrics.
Short programme for small items of lightly soiled
laundry.
The programme duration is approx. 30 minutes.
If you wish to reduce the programme duration to 15
minutes, activate varioSpeed
. The maximum
load is reduced to 2,0 kg.
Programme setting:
¡
Max. 40 °C
¡
Max. 1200 rpm
4,0
1
varioSpeed
activated


