background image

43

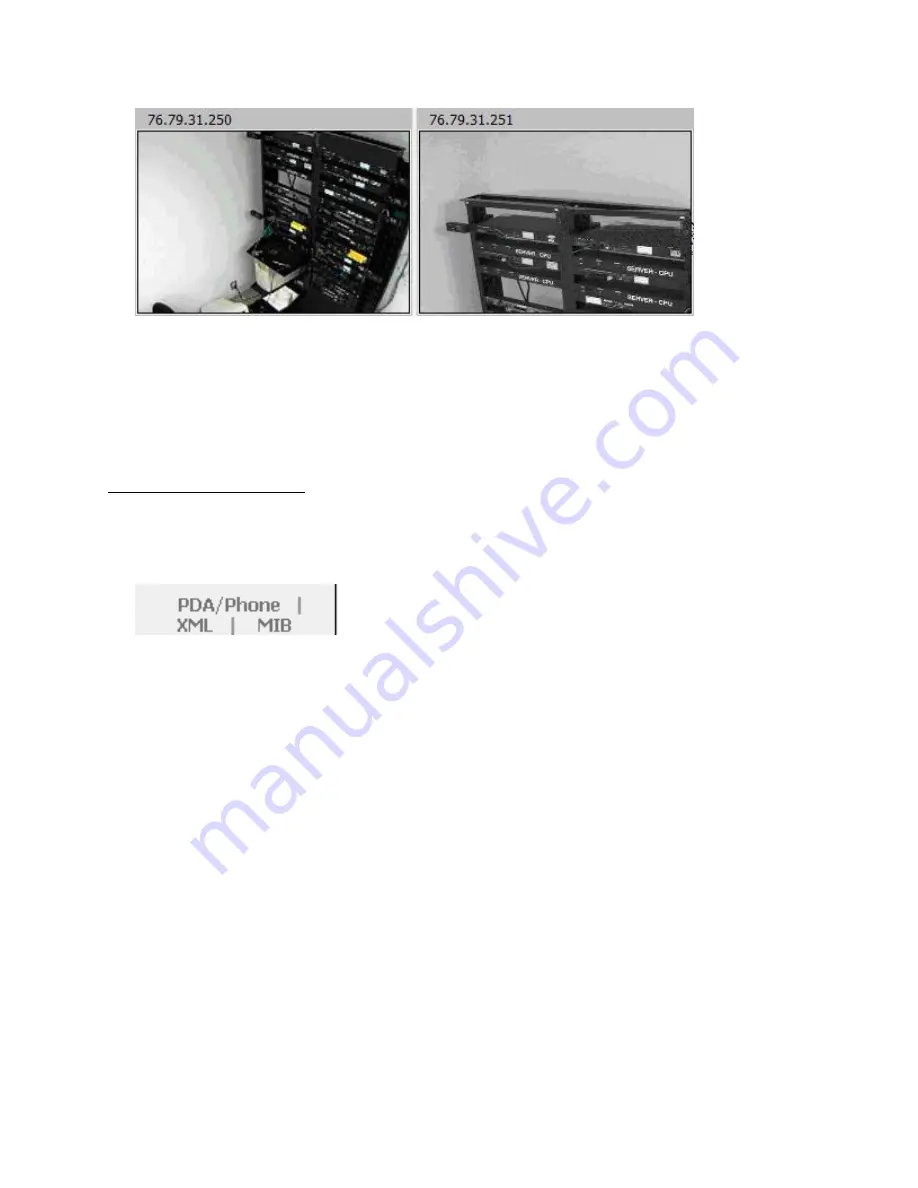
Figure 39: Camera Images

Camera model and IP address are entered on the

Monitoring

tab of the

Configuration

page.

Note:

Some cameras require additional software downloads to display live video in a web browser.

Alternate Data Formats

In addition to the full access, control and configuration available via a desktop web browser,
7M, 7N, 7S and 7W Series products present data in multiple formats for easy integration with

other monitoring systems. Data formats available via links on the unit’s web page are:

Figure 40: Alternate Format Links

PDA/Phone: Presents data in a format best-suited for PDA or cellular phone web browsers.

XML: Extensible Markup Language.

Presents data in a structured tree for use with

automated scripts and monitoring systems.

MIB: Management Information Base. Downloads the MIB for use with SNMP monitoring
tools.

Summary of Contents for 7M Series

Page 1: ...1 Revision Date 06 01 2015 Instruction Manual Rack Power Distribution Unit 7M 7N 7S 7T and 7W Series Firmware Version 3 12 7 ...

Page 2: ... Configuration 27 Network Configuration 27 Time and Date 28 E Mail Business Hours 29 SNMP 30 Accounts and Passwords 30 Telnet 31 Camera Configuration 32 Admin Information 32 Kilowatt Hours Reset 33 XML File Backup 33 SSL Certificate Upload 34 Alarms 35 Alarm Notifications 35 Alarm Types 35 Thresholds 35 Sensors 37 Overview 37 Internal Sensors 37 Data Logging and Display 38 Remote Outlet Switching ...

Page 3: ...3 Technical Support 44 Firmware Version 44 Firmware Updates 44 Resetting PDU 44 Service and Maintenance 44 More Technical Support 44 Table of Figures 45 Revision History 45 ...

Page 4: ...s are also available These units can be built for installation in either Delta or Wye building wiring configurations Environmental Temperature Operating Vertical 10 C 50 F min 40 C 104 F max Operating Horizontal 10 C 50 F min 45 C 113 F max Storage 25 C 13 F min 65 C 149 F max Humidity Operating 5 min 95 max non condensing Storage 5 min 95 max non condensing Elevation Operating 0 m 0 ft min 2000 m...

Page 5: ...armful interference and 2 this device must accept any interference received including interference that may cause undesired operation This Class A digital apparatus complies with Canadian ICES 003 Cet appareil numérique de la classe A est conforme à la norme NMB 003 du Canada Warning Changes or modifications to this unit not expressly approved by the party responsible for compliance could void the...

Page 6: ...ns A Listed circuit breaker is required within the building installation The circuit breaker should be sized according to the PDU s nameplate ratings and local national electrical codes Reliable earthing of rack mount equipment should be maintained Particular attention should be given to supply connections other than direct connections to the branch circuit The PDU must be connected to an earthed ...

Page 7: ...full length bracket mount PDU to rack as shown Figure 2 Toolless Mounting Hardware Secure toolless mounting buttons to PDU as shown Use toolless buttons with key holed slots built into cabinet or with optional Siemon PDU brackets V PDU VP PDU 002 shown ...

Page 8: ... or forgotten Once an IP address is assigned to a unit the default IP address is no longer active To restore the default IP address press and hold the reset button located below the network connector for 20 seconds while the unit is powered up The Idle and Activity lights next to the network connector will both light up when the IP address has been reset The reset button is accessed through the wh...

Page 9: ...efault address is shown on the front of the unit IP Address 192 168 123 123 Subnet Mask 255 255 255 0 Gateway 192 168 123 1 Initial Setup Connect the 7M 7N 7S or 7W series unit to your computer using a crossover cable or hub switch Windows 7 On your computer go to Start Settings Control Panel Network Sharing Center Right click on Local Area Connection and select Properties Change IP address and Su...

Page 10: ... Connection and select Properties Select Use the following IP address Use these settings IP Address 192 168 123 1 Subnet Mask 255 255 255 0 Gateway Leave blank Click OK twice The unit should now be accessible in a web browser via the unit s permanent IP address http 192 168 123 123 See Unit Configuration page 27 for details ...

Page 11: ...thernet from the list on the left side of the window and enter these settings on the right side of the window Configure Manually IP Address 192 168 123 1 Subnet Mask 255 255 255 0 Router Leave blank Hit Apply and confirm the changes The unit should now be accessible in a web browser via the unit s permanent IP address http 192 168 123 123 See Unit Configuration page 26 for details ...

Page 12: ...connecting to the local PDUs may be caused by the use of proxy servers Turn off Use a proxy server for your LAN or select Bypass proxy server for local addresses under your web browser s LAN settings Figure 6 Internet Explorer s LAN Settings for selecting proxy settings ...

Page 13: ...dings are based on the line currents A B C For units configured for Delta wiring current readings are based on input line current A B C All other readings Voltage Real Apparent Power Power Factor and kWatt Hours are based on the Phase to Phase Load AB BC CA Optional cameras may be added and their live snapshots are shown on this page Plug and play sensors appear below the internal sensors when att...

Page 14: ...14 Figure 8 Sensors Page Delta Configuration ...

Page 15: ...15 Figure 9 Sensors Page Group and Sensor Data ...

Page 16: ...g file High water Mark High value logged each minute into the data log file Low water Mark Low value logged each minute into the data log file Logging Off The data will be logged into the data file at a rate of one point per minute and will be available for graphing and display Please note that although data is logged once per minute all sensor data used in the real time display and alarm function...

Page 17: ...17 Figure 10 Logging Page ...

Page 18: ... what is scrolling on the LCD display Measurements or Alarms The display page also allows the user to select between the default and classic web page layouts The default interface displays a vertical menu bar to the left of the main window shown in Figure 11 while the classic interface displays a horizontal menu bar across the top of the screen Figure 11 Display Page ...

Page 19: ...reading Alarm conditions can be established with either high or low trip thresholds The alarms are displayed in different sections based on the device the alarm is associated with Alarm options include a local Buzzer Email and SNMP Trap See Alarms page 35 for more details Figure 12 Alarms Page ...

Page 20: ... Tab The Actions tab on the Control page gives the user control of the outlets Outlets can be rebooted or turned on off with or without pre programmed delays The status of each outlet is also shown for verification by the user For 7W series units outlet readings for current power and logged kilowatt hours are also shown Figure 13 Control Actions Tab ...

Page 21: ...for outlets in addition to setting time delays for each outlet action Boot up status and sequential boot up options are also available All delay settings are referenced from the trigger event This tab also allows the user to restore factory default settings for the outlets Figure 14 Control Settings Tab ...

Page 22: ...ing Diagnostics Event Log and Admin See Unit Configuration page 27 for details Configuration Network Tab The user can enter and update the network settings on the Network tab of the Configuration page See Unit Configuration section for details Figure 15 Configuration Network Tab ...

Page 23: ...n Monitoring Tab The user can enter and update the email alert SNMP and camera settings on the Monitoring tab of the Configuration page See Unit Configuration section for details Figure 16 Configuration Monitoring Tab ...

Page 24: ...24 Configuration Diagnostics Tab The user can update the Syslog settings on the Diagnostics tab of the Configuration page Figure 17 Configuration Diagnostics Tab ...

Page 25: ...25 Configuration Event Log Tab The user can view the Event Log and update the Memory Syslog settings on the Event Log tab of the Configuration page Figure 18 Configuration Event Log Tab ...

Page 26: ... Tab The user can set the system clock and administrative information on this tab Additionally the user can set administrator and account passwords See Unit Configuration section for details Figure 19 Configuration Admin Tab ...

Page 27: ...teway When not using a dynamic address enter static network configuration information here Telnet Service Enable or disable the built in Telnet server See Telnet page 31 for details HTTP Services Enables disables access via HTTP and HTTPS Available options are HTTP and HTTPS HTTP only and HTTPS only It is not possible to disable the web interface completely HTTP HTTPS Server Port Changes the TCP p...

Page 28: ... servers back to the defaults The unit attempts to contact the time servers during boot up and periodically while running Until a time server is contacted or the system clock is manually set all log time stamps will present time as the number of seconds since the unit was powered up and graphs will not be shown The clock can also be setup to automatically change for Daylight Savings Time when need...

Page 29: ...OP3 POP before SMTP or ESMTP The unit can be configured to send alarm emails always only during business hours or only after hours by selecting the desired option next to each email address Figure 23 E Mail Configuration An SMTP server as well as From and To addresses are required to send e mails Some mail servers may require a username and password In most cases the username does not have to matc...

Page 30: ...is created by checking the corresponding e mail destination box Allowing the cursor to hover over an e mail destination box will display the e mail address that the box is associated with Figure 24 Email Report Settings SNMP The unit supports retrieval of all data via Simple Network Management Protocol SNMP v1 v2c and v3 In addition alarm traps can be sent to up to two IP addresses The SNMP config...

Page 31: ...acters and underscores Note The Administrator account must be active to enable the Control Access and View Only accounts Note The Control Access account must be active to enable the View Only account Note The account names root and admin are disabled for security reasons and cannot be re enabled Warning Record your passwords To reset lost passwords follow the instructions for resetting the unit s ...

Page 32: ...pted Some settings can be changed and user names and network settings are available via Telnet In unsecure environments it is recommended that Telnet be disabled Camera Configuration Enter the domain names IP addresses and models of up to four IP addressable network cameras in the Cameras section of the Monitoring tab on the Configuration page The unit will present a linked snapshot from each came...

Page 33: ...s Reset XML File Backup The 7S 7M 7N or 7W unit s configuration is stored in the XML file The XML file can be downloaded and stored in order to backup the unit s current configuration settings On the Admin tab of the Configuration page simply hit the Download Current XML File button to download the XML file A previously downloaded XML file can be uploaded to the unit in order to restore the unit s...

Page 34: ...e Key can be uploaded to the unit by pressing the Upload SSL Files button on the Admin tab of the Configuration page The SSL certificate and key file must be in Distinguished Encoding Rules DER format The SSL Certificate and Private Key can be cleared by clicking the Erase SSL Data button on the Admin tab of the Configuration page Figure 32 SSL Certificate and Private Key Upload ...

Page 35: ...sabled on the Alarms page Clear Occurs when a sensor already in the Tripped or Unplugged state goes back into its normal range Alarms can be added for each internal device or external sensor displayed on the Alarms page An alarm is added by pressing the Add New Alarm Button and selecting the sensor value to be monitored from the drop down menu Thresholds The user must set a trip threshold and type...

Page 36: ...time required by entering a value from 0 240 minutes in the text box on the Alarms page Additionally alarm notifications can be set to send multiple notifications for an alarm that remains in a tripped state The alarm notifications are set to repeat at intervals of no repeat 10 30 or 60 minutes by selecting the desired option in the drop down menu on the Alarms page Note Changes in settings take a...

Page 37: ...eous RMS voltage o Volts Peak Reports the highest reported voltage since the last time the data was updated typically every 15 seconds o Real Power Average of instantaneous voltage and current over last 1 5 seconds o Apparent Power The product of instantaneous RMS Voltage and RMS Current o Power Factor The ratio of Real Power to Apparent Power o Amps Measures instantaneous RMS current o Amps Peak ...

Page 38: ...sor data collected by the unit can be graphed except kilowatt hours and outlet level data 7W only The Logging page allows the user to select data to be logged The user can also choose to view a graph of any logged data Selected sensor values are logged into the data file at a rate of one point per minute The number of selected sensors determines the maximum data logging time span This period is ca...

Page 39: ...tion sets the delay after power down and before power up Reboot Delayed Cycles power to the selected outlets with two applicable delays Reboot delays before power down and Reboot Duration sets the delay after power down and before power up Reset kWh Resets the kWh total on all selected outlets to 0 7W only Cancel Actions Cancels any actions currently in progress on the selected outlets Figure 35 O...

Page 40: ...ected outlets will be turned off Reboot Duration Delay from the time the Reboot or Reboot Delayed action is executed and each selected outlet has turned off until the outlet will turn back on Note All delays are in seconds Power On Actions The state of each of the unit s switched outlets on unit power up is user configurable by setting a power on action Available settings are Delay Used in conjunc...

Page 41: ...41 Note for units with built in circuit breakers Should one of the unit s circuit breakers trip upon being reset any outlets powered by that breaker will perform their power on actions ...

Page 42: ...access the serial command line Type help after logging in to the unit to see a list of available commands Note All data sent via the serial port is unencrypted Some settings can be changed and user names and network settings are available Figure 38 Serial Command IP Addressable Network Cameras The unit is able to interface with up to four IP addressable network cameras A live snapshot from each ca...

Page 43: ...p web browser 7M 7N 7S and 7W Series products present data in multiple formats for easy integration with other monitoring systems Data formats available via links on the unit s web page are Figure 40 Alternate Format Links PDA Phone Presents data in a format best suited for PDA or cellular phone web browsers XML Extensible Markup Language Presents data in a structured tree for use with automated s...

Page 44: ...leases or sign up for notifications www siemon com Resetting PDU Should the PDU loose communication the processor may be manually rebooted without affecting power to the outlets Pressing the Reset button on the face of the unit will cause the processor to reboot The web interface will remain off line during boot up Service and Maintenance No service or maintenance is required Do not attempt to ope...

Page 45: ... 18 Configuration Event Log Tab 25 Figure 19 Configuration Admin Tab 26 Figure 20 Network Configuration 27 Figure 21 Manual Time Settings 28 Figure 22 NTP Time Settings 28 Figure 23 E Mail Configuration 29 Figure 24 Email Report Settings 30 Figure 25 SNMP Configuration 30 Figure 26 Initial SNMP V3 Data 30 Figure 27 Account Configuration 31 Figure 28 Configuration and Supported Models 32 Figure 29 ...

Page 46: ...46 ...

Reviews: